How to lay tiles on a kitchen floor
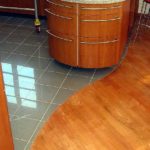
 The flooring in the kitchen is subject to greater loads than in other rooms. In addition, a characteristic feature of the kitchen is high humidity. These factors are decisive when choosing a flooring material. The best, meeting the criteria of wear resistance, strength and moisture resistance, is tile. In addition, a large assortment of colors and patterns also allows you to improve the interior.
The content of the article
Preparation of tools and material, calculation of the number of tiles
The following tools are required for laying tile products:
- tape measure, ruler, pencil;
- bubble levels 2 m and 40 cm long;
- paint brush or roller;
- regular, comb and rubber spatulas;
- rubber hammer;
- tile cutter;
- crosses;
- puncher with whisk attachment.
It is also necessary to prepare the following materials:
- deep penetration primer;
- tile adhesive;
- grout.

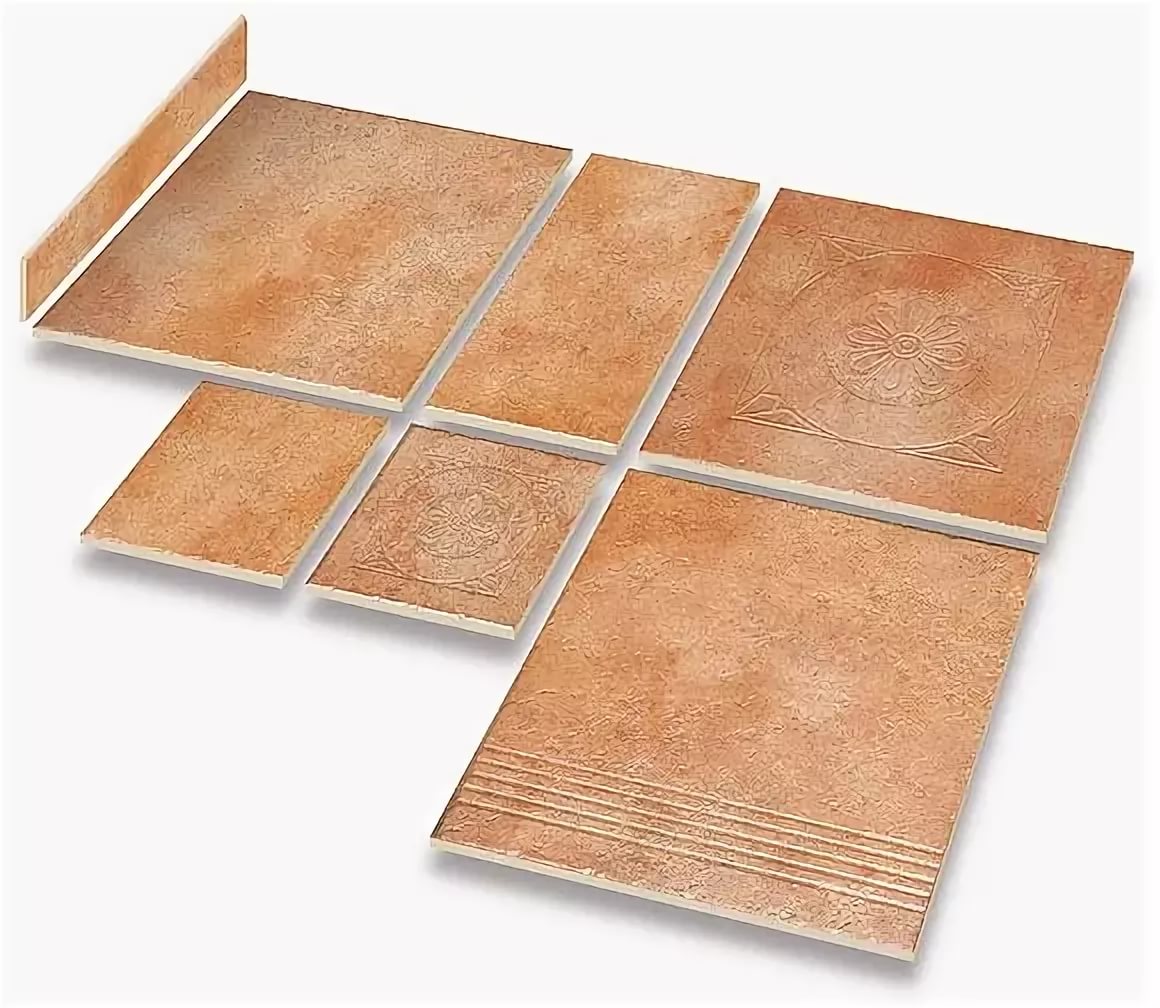
The decision to choose a tile is made individually based on its cost, color, quality, and manufacturer.
ATTENTION! It is not recommended to purchase cheap tiles of no quality, the sizes of which can vary greatly from each other, even in the same package. It is impossible to make a high-quality coating from such material.
The easiest way to calculate the required amount of material is to divide the kitchen area by the tile area and add a margin of 10%. But it does not take into account the installation method and the amount of material that will go to waste. Therefore, the layout of tile products on the appropriate scale is more accurate.
Preparing the base for kitchen tiles
A flat base simplifies the tiling process, reduces glue consumption and eliminates the possibility of cracks on the tile covering due to uneven drying of the adhesive solution. First, the installation site is thoroughly cleaned and “beacons” are set according to the level. Using special mixtures based on cement and sand, the screed is poured, leveling it along the “beacons”.
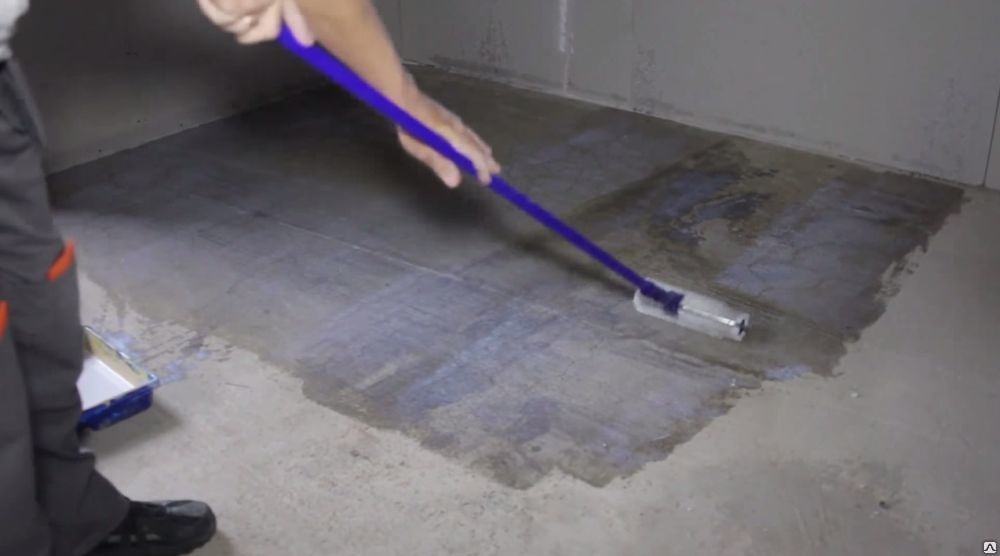
After complete drying, check the evenness of the resulting surface with a level and apply a deep penetration primer with a paint brush or roller. This is necessary to improve the adhesion of the tile adhesive to the base.
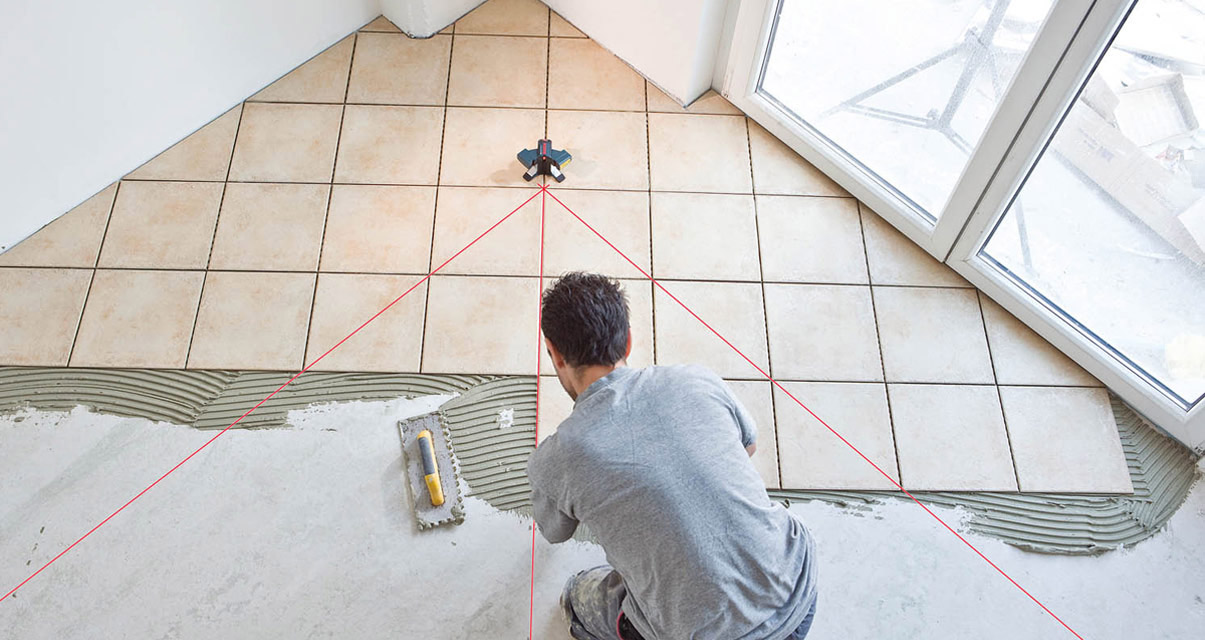
Marking the floor surface
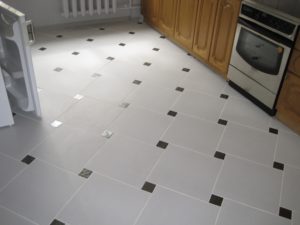
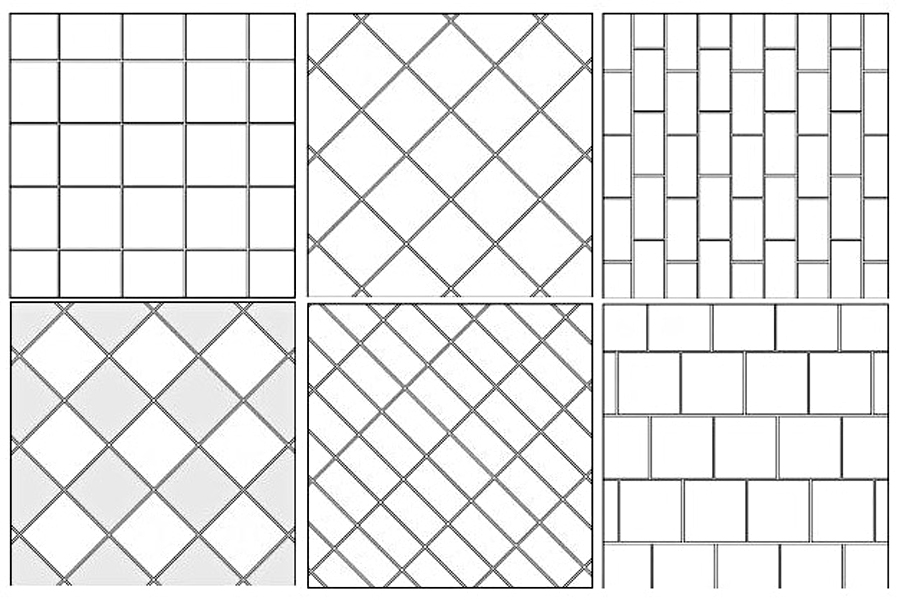
Before you start laying tiles, you need to determine the method by which it will be done and mark the base. This will greatly simplify the work. When tiling in rows, along the wall opposite from the entrance, a distance equal to the size of the tile plus 5 mm is marked and a line is drawn along which the tile products will be aligned. If the installation method is more complex and contains decorative elements, then it is recommended to mark the base over the entire area.

Making adhesive solution
To obtain tile adhesive, dry mixtures are used, which can be purchased at any hardware store. Instructions for making the solution are printed on the packaging.
To prepare, pour the required amount of water into the container and gradually add the dry adhesive mixture. The solution is constantly mixed with a whisk attachment installed on the perforator.
The glue should reach the consistency of thick sour cream. Then it is allowed to stand for 10 minutes and stirred again. After this it is ready for use.
How to lay tiles on a kitchen floor
If the tiles will be laid in rows, on its end side you must first make a mark about the location on the reverse side of the arrow. It shows the orientation of tile products when installed in one direction.
It is better to apply the adhesive to the tiles, and not to the base, because while installation and leveling are taking place, the excess adhesive solution that does not fall under the area of the tile product will dry out. The glue is applied with a regular spatula and leveled with a comb. The height of the resulting ridges should be about 10 mm.
The first product is laid in accordance with the markings. After installation, press it down and use a small level to check the horizontal position. If necessary, leveling is carried out by striking with a rubber hammer until the required result is obtained. The next one is placed end-to-end first and crosses are inserted between them, which form a gap between the tiles.
The adhesive between tile products must be removed immediately before it dries. The second tile is aligned not only horizontally, but also in relation to the first. To check, the level is installed on two products at once and, if necessary, corrective actions are carried out. After laying several tile coverings, the check is carried out using a large level.
Often the last tile in a row rests against the wall and does not fit entirely. Using a tile cutter or grinder with a diamond wheel, it is cut. When calculating the cutting line, it is necessary to take into account the gaps between the tiles and from the wall. To lay tile coverings, round cutouts are made in places where pipes pass, using a grinder or drill with special attachments.
After finishing the facing work, the quality is checked at a high level in all areas. If deficiencies associated with poor-quality installation of a particular product are identified, it is removed and reinstalled.
After completing the work, you can proceed to the next steps after 24 hours. This time is necessary for the glue to dry.
ATTENTION! Walking on the tiles is not allowed until the glue has completely dried.
The remains of the adhesive solution are removed from the gap between the tiles and filled with grout using a rubber spatula, the excess of which is removed with a sponge. To hide the gap along the wall, install plinths.
This article contains all the necessary information on how to lay tiles in the kitchen yourself.