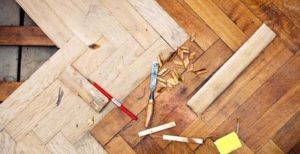
Restoration of parquet without sanding
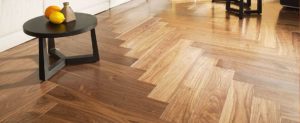
 Parquet is one of the most expensive and sophisticated floor coverings. It is aesthetically pleasing, environmentally friendly and durable in use, especially if it is properly cared for. However, like any other finishing material, over time parquet loses its external luster. The reason for this may be exposure to chemical detergents, high humidity or mechanical damage.
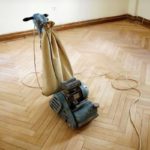
The most common method of restoring parquet is sanding and then applying a new layer of varnish. But this option takes a lot of time and effort. In some cases, it is possible to restore parquet flooring without resorting to such radical measures.
We will tell you how to renew parquet flooring yourself without sanding.
The content of the article
Materials and tools for work
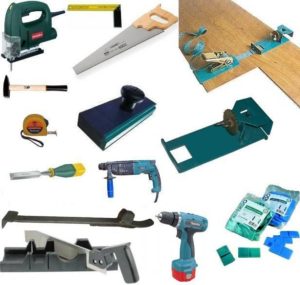
The range of possible damage to parquet floors is quite wide. This determines what tools will be needed to carry out repair work. The most common problems we encounter are scratches and chips, loosening of individual dies, and squeaking.
For paintwork You will need the following tools and materials.
- A roller with medium length bristles, up to 1 cm, or a wide brush.
- Rolling trough for varnish or primer.
- Paint and varnish materials: varnish, primer, and, if necessary, stain.
If you need to seal cracks and chips, you will need to purchase a spatula and wood putty.
To get rid of squeaks or strengthen loose dies, you will need, depending on the repair technology, a hammer and nails, a screwdriver with self-tapping screws, a tube of liquid nails and a syringe gun for them.
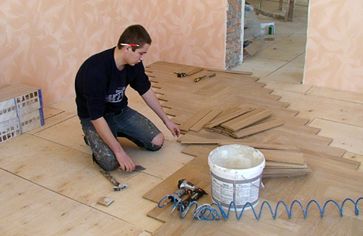
Types of restoration work without parquet sanding
Restoration of parquet floors does not always involve sanding the parquet. You can often do without this procedure, which is time-consuming and labor-intensive.
Putty
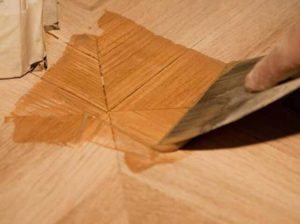
External defects resulting from mechanical influences, deep scratches and chips, can be masked with wood putty.
Buying a ready-made putty composition today is not difficult, but many people prefer to make it the old fashioned way. To do this, take small sawdust and mix it with epoxy resin in a ratio of 1:4.
The putty is applied to the damaged surface using a small spatula. It is recommended to use a plastic or rubber tool.
IMPORTANT! If you only have a metal spatula, then while working, be careful not to scratch the varnish on adjacent areas of the parquet with it.
When the putty area is dry, it is rubbed with fine sandpaper. Sometimes it is necessary to restore the mosaic pattern of individual tiles in a putty area. “Pseudo joints” are applied with a knife or scratched with an awl on a slightly dried putty solution.
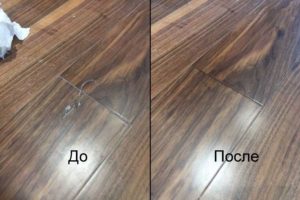
Sealing scratches
Deep scratches can be repaired using the same homemade putty made from sawdust and epoxy resin. Another option is to use a ready-made compound purchased at a hardware store.
Before you start puttingty, you will need to clean this area down to a clean board. This can be done using coarse sandpaper or a sander.
At the end of such local scraping, the resulting dust is washed off and the scratch is thoroughly covered. After the putty solution has dried, it is sanded with fine sandpaper.
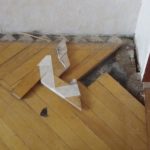
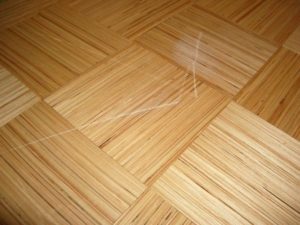
Removing cracks
Sometimes wide cracks appear between individual blocks, and they themselves become loose. This occurs when insufficiently dry material was used when laying the floors. After drying, the dies decreased in volume, and cracks appeared between them.
They can be sealed using the same putty, followed by drawing the seams. But if the dies do not hold tightly in their nests and when walking on them they “play” relative to each other, then the putty will very quickly crack and crumble.
ADVICE. This problem can be solved with the help of nails driven into adjacent dies at an angle of 45°.
The bars tightened in this way will not “play”, and the putty will last in the cracks much longer. To prevent the heads of the nails from sticking out, they should be buried in the tree using some kind of hammer.
Getting rid of squeaks
Another common problem with hardwood floors is squeaking when you walk on them. The reason for this is the loosening of the dies and loose fit to each other.
A new planking of the flooring can solve the problem. To do this, purchase a set of special wedges from a hardware store. Next, you should remove the baseboards around the perimeter of the room and remove the old wedges. Every 50 cm we drive new wedges between the wall and the parquet flooring. The parquet compacted in this way should stop creaking.
If creaking is observed only in certain areas of the floor, the reason for this may lie in the “bubbling” of the parquet when it lags behind the floor. Such places may also pop when you step on them.
This type of defect can be eliminated using “liquid nails”. In the problem area, holes the size of the spout of a tube of glue are drilled in several places. After this, glue is pumped into the space between the floor and the parquet flooring, and some massive object is placed on top, for example, a cabinet or chest of drawers.
After the glue sets, the parquet in this place should stop creaking and clapping.
Useful tips
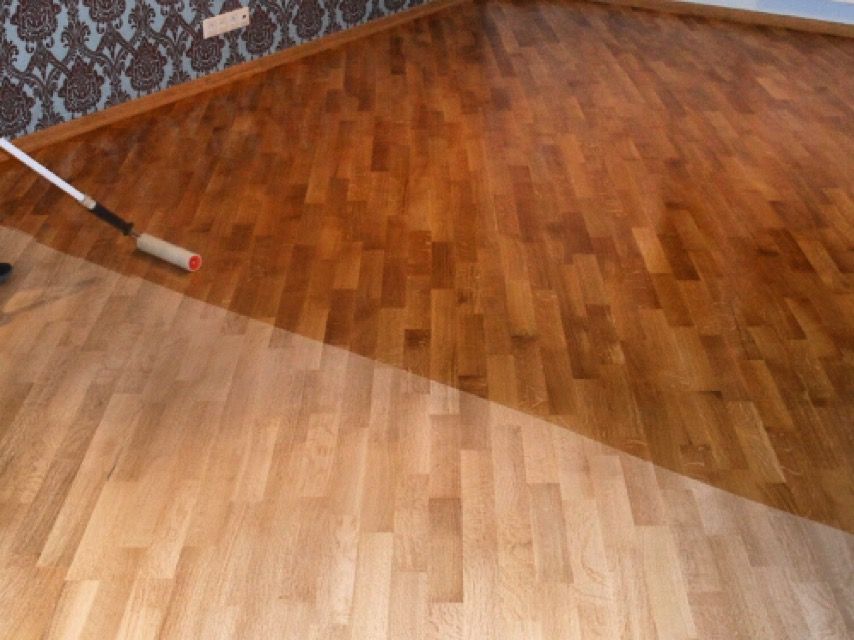
- To obtain an ideal surface after puttying, the varnish should be applied on top in several layers. The recommended minimum number of layers is 3.
- After the first layer has dried, it should be thoroughly sanded with fine sandpaper. It is recommended to carry out all work on puttying and subsequent varnishing of parquet at a temperature of about +15 to +25 degrees.
- When drying the varnish, you should not artificially speed up this process by opening windows or installing a fan in the room. The varnish does not tolerate drafts and can peel off, crack and become cloudy under their influence.
- Parquet should be wedged when the air humidity is no more than 40%, otherwise after the wedges and parquet blocks dry, the floors will begin to creak again.