Installation of infrared floor under linoleum
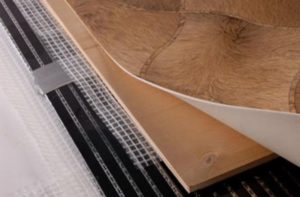 Linoleum is one of the cheapest types of flooring. In operation, it is quite critical to high temperatures - as a result of thermal exposure, its deformation is possible, and in some samples, the release of toxins. Therefore, creating warm floors with linoleum was and remains a difficult issue.
The content of the article
Which linoleum is suitable for infrared flooring?
For a long time, installing heated floors with linoleum either required complex technical solutions or was impracticable. This is explained by low permissible operating temperatures - up to 28 degrees and good thermal insulation properties, which do not allow the necessary heating of the outer surface to be achieved.
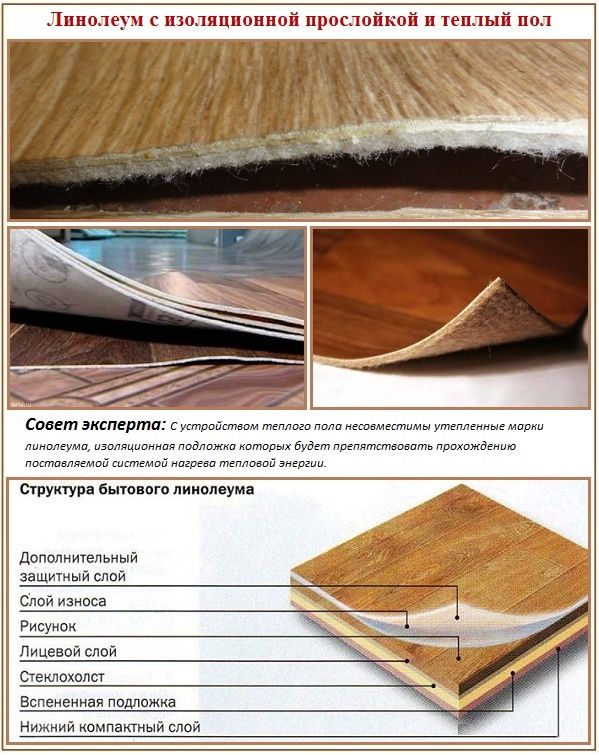
Currently, this problem has been solved by the emergence of samples with temperature characteristics of up to 35 degrees, improved thermal conductivity, as well as compatibility with film and infrared heating systems. However, even with these changes, the choice of floor heating must be approached very carefully and be sure to pay attention to the following characteristics specified by the manufacturer:
- Permissible temperature.
- Compatible with heated floors.
- Resistance to chemical and mechanical influences, which will allow you to maintain the good appearance of the coating for a long time.
- The thickness of the linoleum should be medium so that it allows you to hide small flaws in the base.
- Thermal conductivity.
Preparing for installation of heated floors
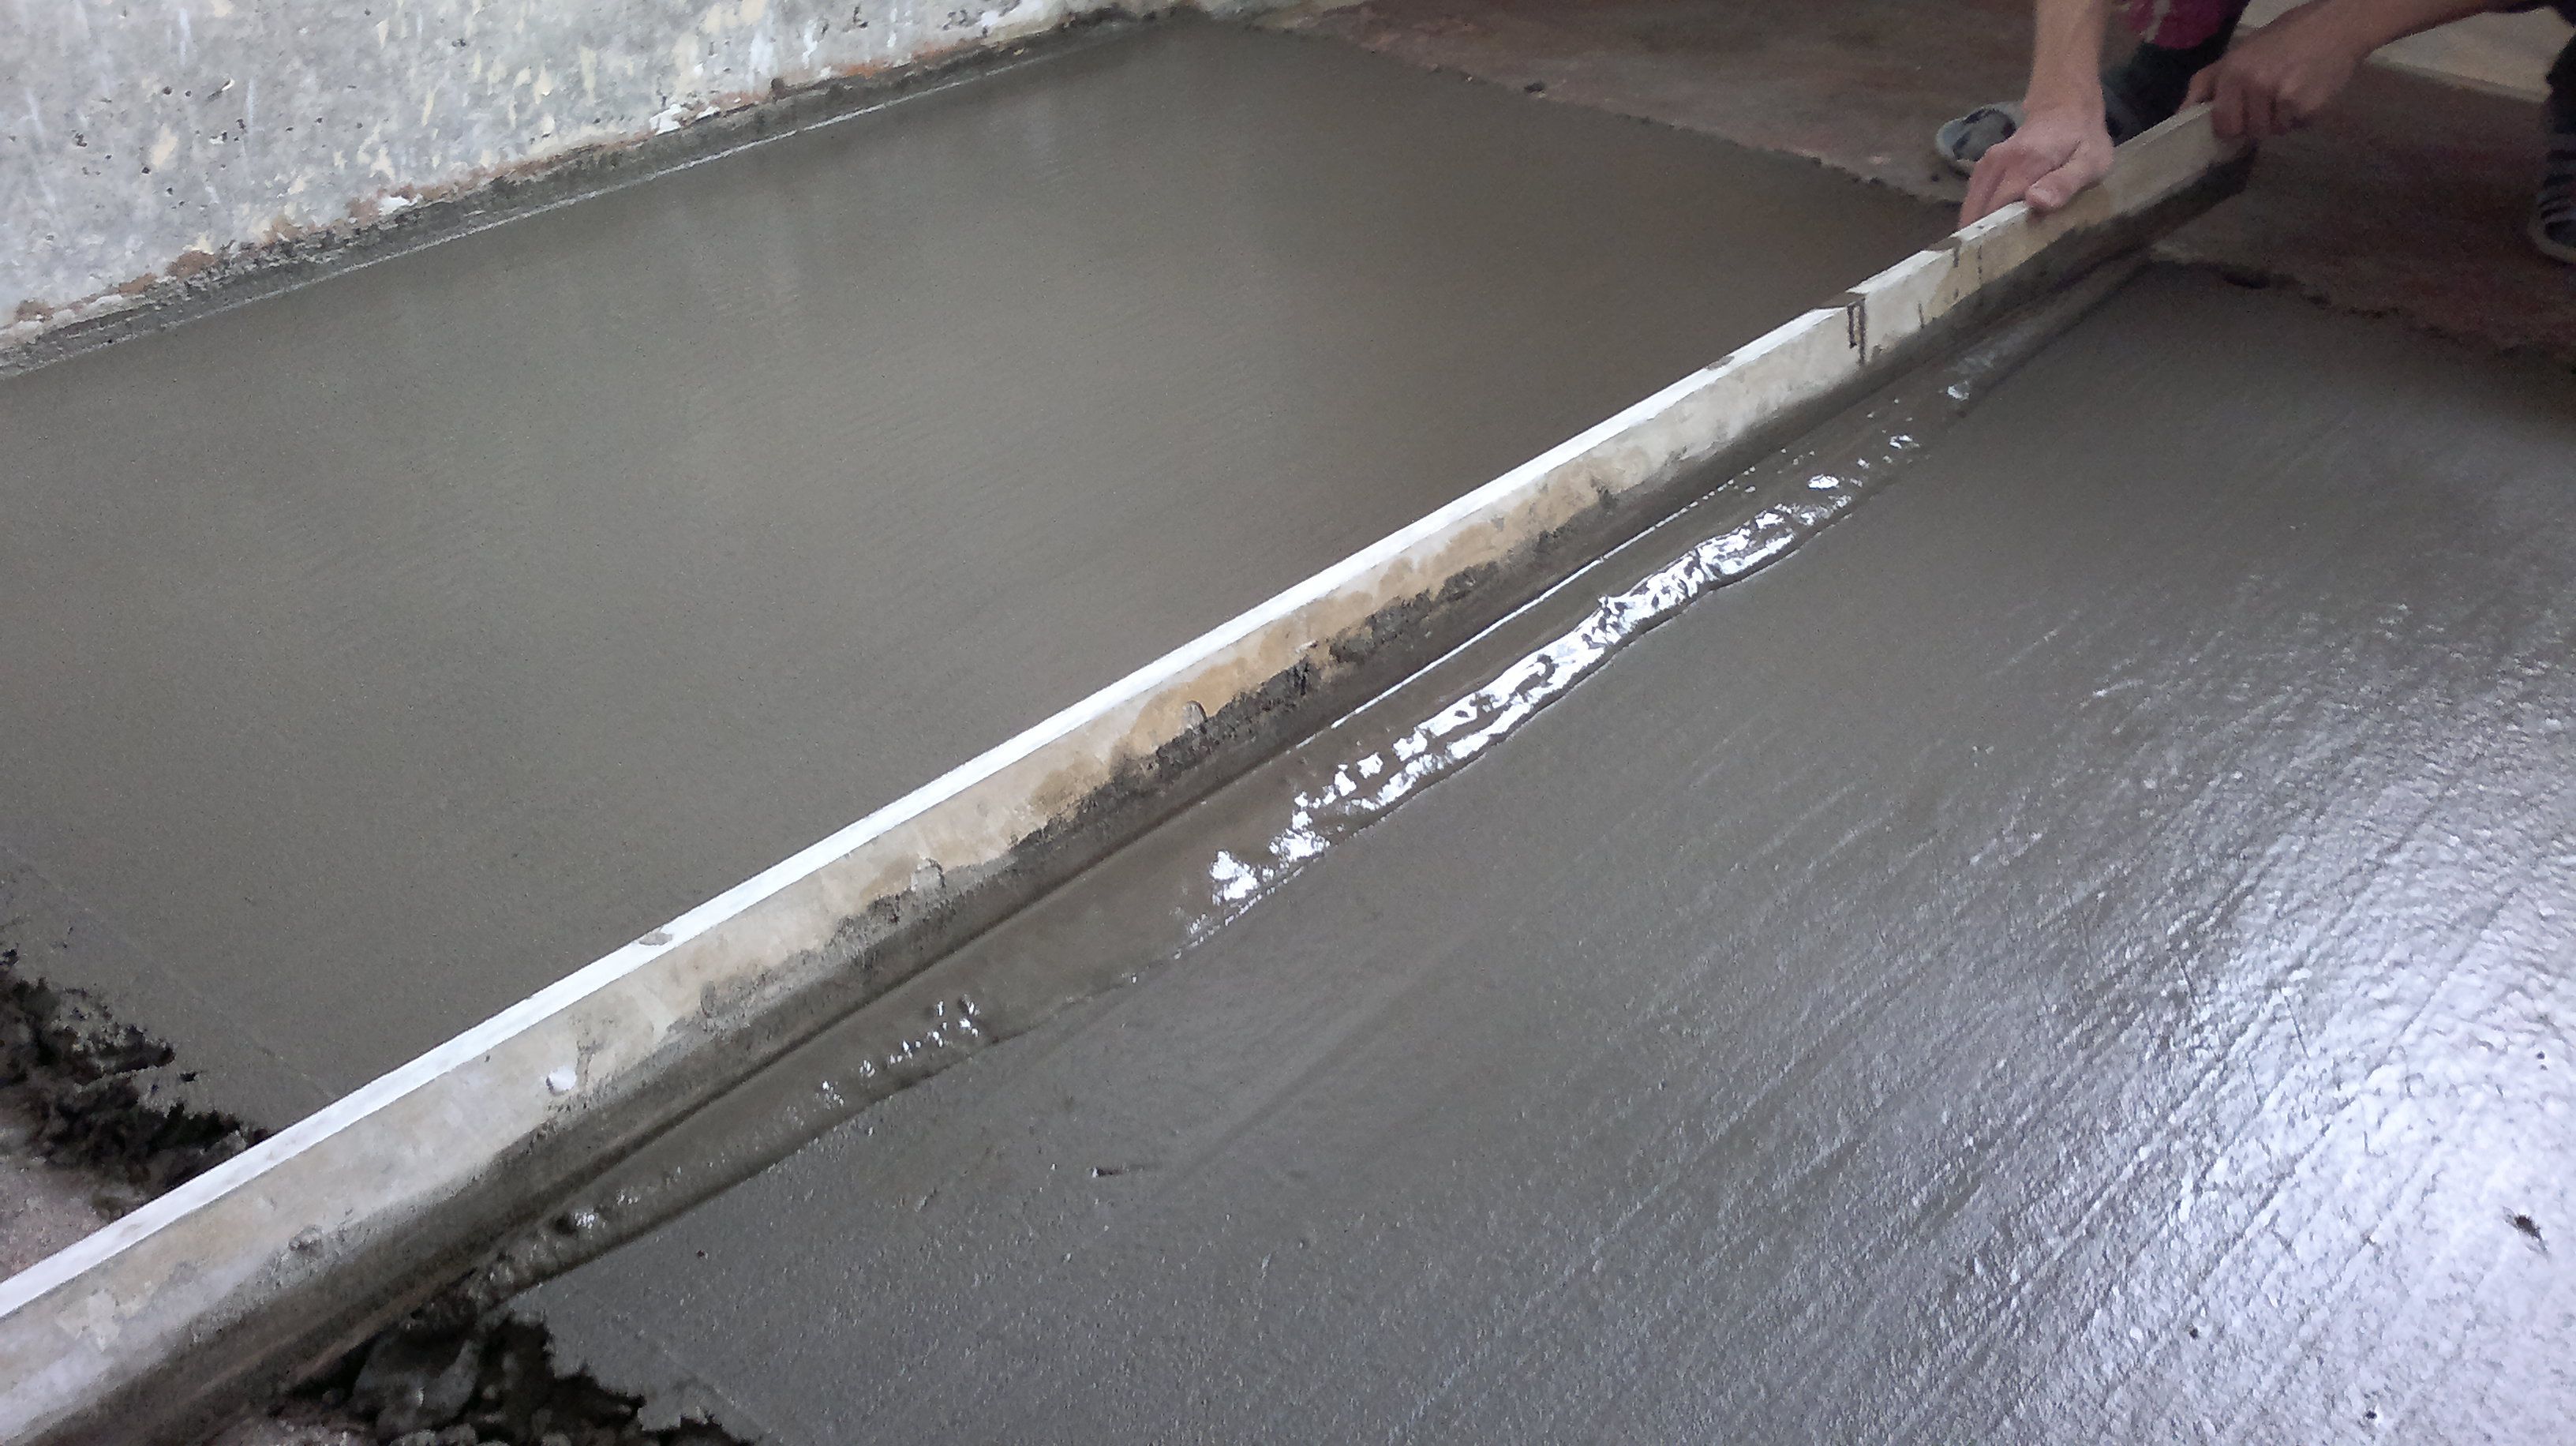
Preparation for installation begins with leveling the base. If it is concrete, then these measures are carried out using a solution called “Liquid floor”. To do this, it is poured along beacons, which are pre-set according to the level. After the screed has dried well, heat-reflecting material is laid. Typically, a lavsan or polypropylene substrate with a metallized coating is used for these purposes.
ATTENTION! Do not use aluminum foil materials.
The covering is laid out over the entire area of the room, the individual strips are connected with special tape. To prevent the linoleum from moving relative to the base, use double-sided tape or secure it with a construction stapler.
Next, a plan for installing heating elements is drawn up, taking into account the location of low furniture under which heaters are not placed. A mandatory distance of up to 3 cm from the walls and up to 20 cm from heating elements (pipes, radiators, fireplaces, etc.) is left. This “pattern” of the plan is laid out over the entire area to check the accuracy of its design. Based on the results, adjustments are made if necessary. At this stage, you need to decide on the installation location of the thermostat and its type - built-in or wall-mounted.
How to install an infrared floor under linoleum with your own hands
The technology for installing and connecting an infrared floor is simple and, if you have certain skills, it can be implemented independently. To do this, you need to perform the following operations:
- The thermal film roll is cut into strips of the maximum possible length only along the lines indicated on it by the manufacturer. Making random or shaped cuts is unacceptable.
- The heating elements are laid with the copper strip down, without overlaps, in accordance with the previously developed plan and fixed to the substrate using construction tape.
- The thermostat is installed in a certain place.
- Contact clamps are installed on the current-carrying strip of the film. To do this, peel off a little of the polymer layer and attach one contact under it, and the second on the copper strip. After checking the correct installation, the clamp is secured using pliers.
- The connection is made from the side of the wall on which the thermostat is installed. The phase and zero of each piece of thermal film are connected to similar contacts of other strips. For this purpose, the kit includes two types of wires, differing in color. The wires must be laid under the baseboard and connected to the thermostat.
- The temperature sensor is installed with its convex side down in such a place that there is no movement on it or is as minimal as possible, and is connected to the thermostat.
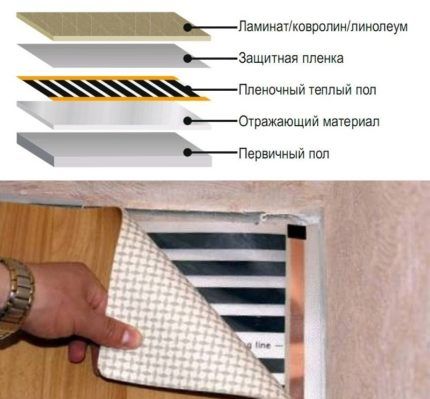
To ensure that some elements of the system, such as clamps, wires, and sensors, do not protrude above the level of the heaters, they must be hidden by creating cutouts in the substrate. After checking the operation of the infrared floor, a polyethylene film is laid on it for insulation, then a hard layer of plywood or chipboard up to 5 mm thick and linoleum.
ATTENTION! To ensure a uniform floor level throughout the entire area of the room, in places where heating elements are not installed, it is necessary to lay a thermo-reflective, insulating and hard coating.
Installation safety precautions
Before connecting a heated floor to the network, the following safety requirements must be met:
- All places on the thermal film where there are exposed contact strips, as well as clamps and damage to the wire insulation, should be insulated with bitumen tape.
- Check that the cross-section of the wires matches the total power of all elements of the infrared floor.
- Make sure that the power of the network line is sufficient to operate the heaters.
An infrared floor under linoleum allows you to create an additional source of heat in the room, but due to its characteristics it cannot be the main and only one.


