Vinyl laminate installation
 When choosing flooring for their home, every owner strives to buy a material that will last a long time, will look impressive, and will not be damaged by the claws of pets, furniture, or accidental falls of any objects. All these requirements are met by vinyl laminate - a fairly “young” finishing material, but already popular with consumers.
The content of the article
Features of vinyl laminate
Vinyl laminate has many advantages, which explains its popularity among designers, finishing craftsmen and renovation customers:
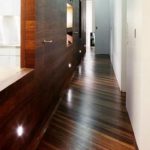
- Versatility - vinyl laminate can be used in rooms for various purposes, including the kitchen, children's room, hallway, and office.
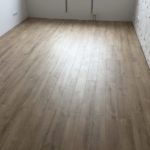
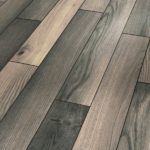
- A variety of colors and shades allows you to choose a coating to suit any interior, taking into account the style and color scheme.
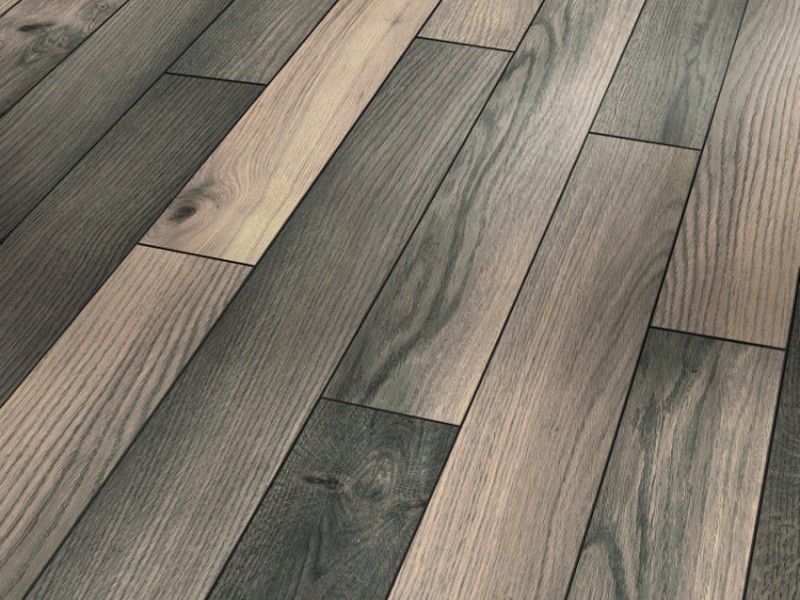
- The strength of the material is explained by its special structure. The planks consist of two layers - a vinyl base and protection. The PVC base contains various additives, for example, quartz. The outer layer of laminate also consists of vinyl mixed with fiberglass.
- Vinyl laminate is durable and wear-resistant. The service life of the coating with proper use is 15–20 years.
- Despite its synthetic origin, the material is non-toxic, environmentally friendly, does not accumulate static electricity, and has good heat and sound insulation.
- PVC laminate is easy to care for and is not afraid of modern household products.
- The material is fire resistant. Vinyl coating does not burn and does not support combustion. When exposed to open fire, the panels only melt.
IMPORTANT! Vinyl laminate flooring is easy to install. Even an inexperienced person can cope with laying this flooring if he follows the recommendations below.
Surface preparation before installation
Any finishing work begins with preparing the base, and working with PVC laminate is no exception. Installation of panels with a lock is carried out without glue, which simplifies and speeds up the work process. The base for the laminate must be level, clean and dry. If the subfloor has significant differences, it is necessary to make a screed.
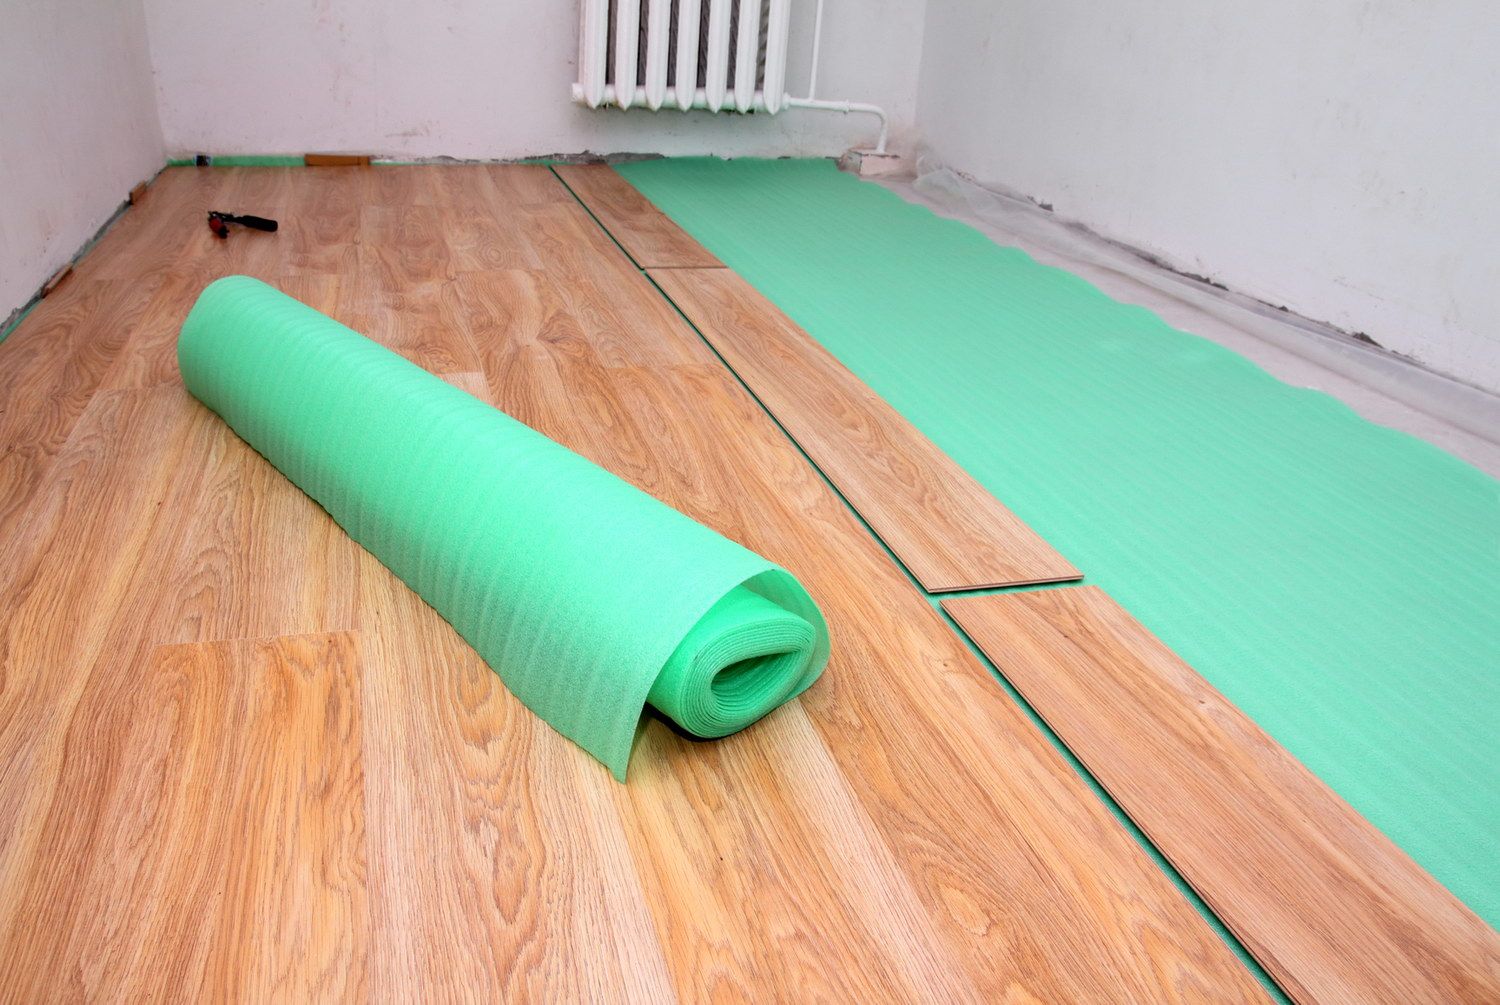
You can lay an OSB board 9 mm thick on a wooden base. This is done more for aesthetics, rather than out of necessity. Flexible vinyl laminate can be laid even on old floors with a difference of up to 3 mm per 1 m2. However, all cracks will have to be filled with putty.
If a new screed is made, the moisture from the concrete must completely evaporate. Otherwise, condensation will accumulate under the laminate, which, with the adhesive installation method, can lead to the boards falling off. It is better to level the old concrete floor with a finishing self-leveling compound.
Tools:
- rubber hammer;
- roulette;
- stationery knife;
- wood hacksaw;
- square;
- a simple pencil;
- limiters.
IMPORTANT! The purchased laminate must lie in the room being finished for at least a day.This is necessary to adapt the material to local humidity and temperature.
Laminate installation process: step-by-step instructions
Vinyl laminate is easy to cut - just cut through the top layer with a stationery knife and bend the panel along the cut line. There is no need to select a drawing, since the material is produced mainly with abstract images.
Glueless laminate installation
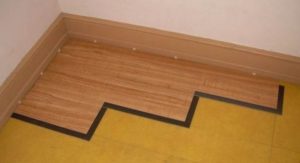
Laying begins from the far corner of the room. Along the entire perimeter of the room, you need to install limiters 1-1.5 cm thick, thanks to which a compensation gap is formed between the walls and the coating. This gap will prevent the lamellas from swelling on hot days when the heated material expands. The expansion of the planks also occurs when the humidity in the room increases.
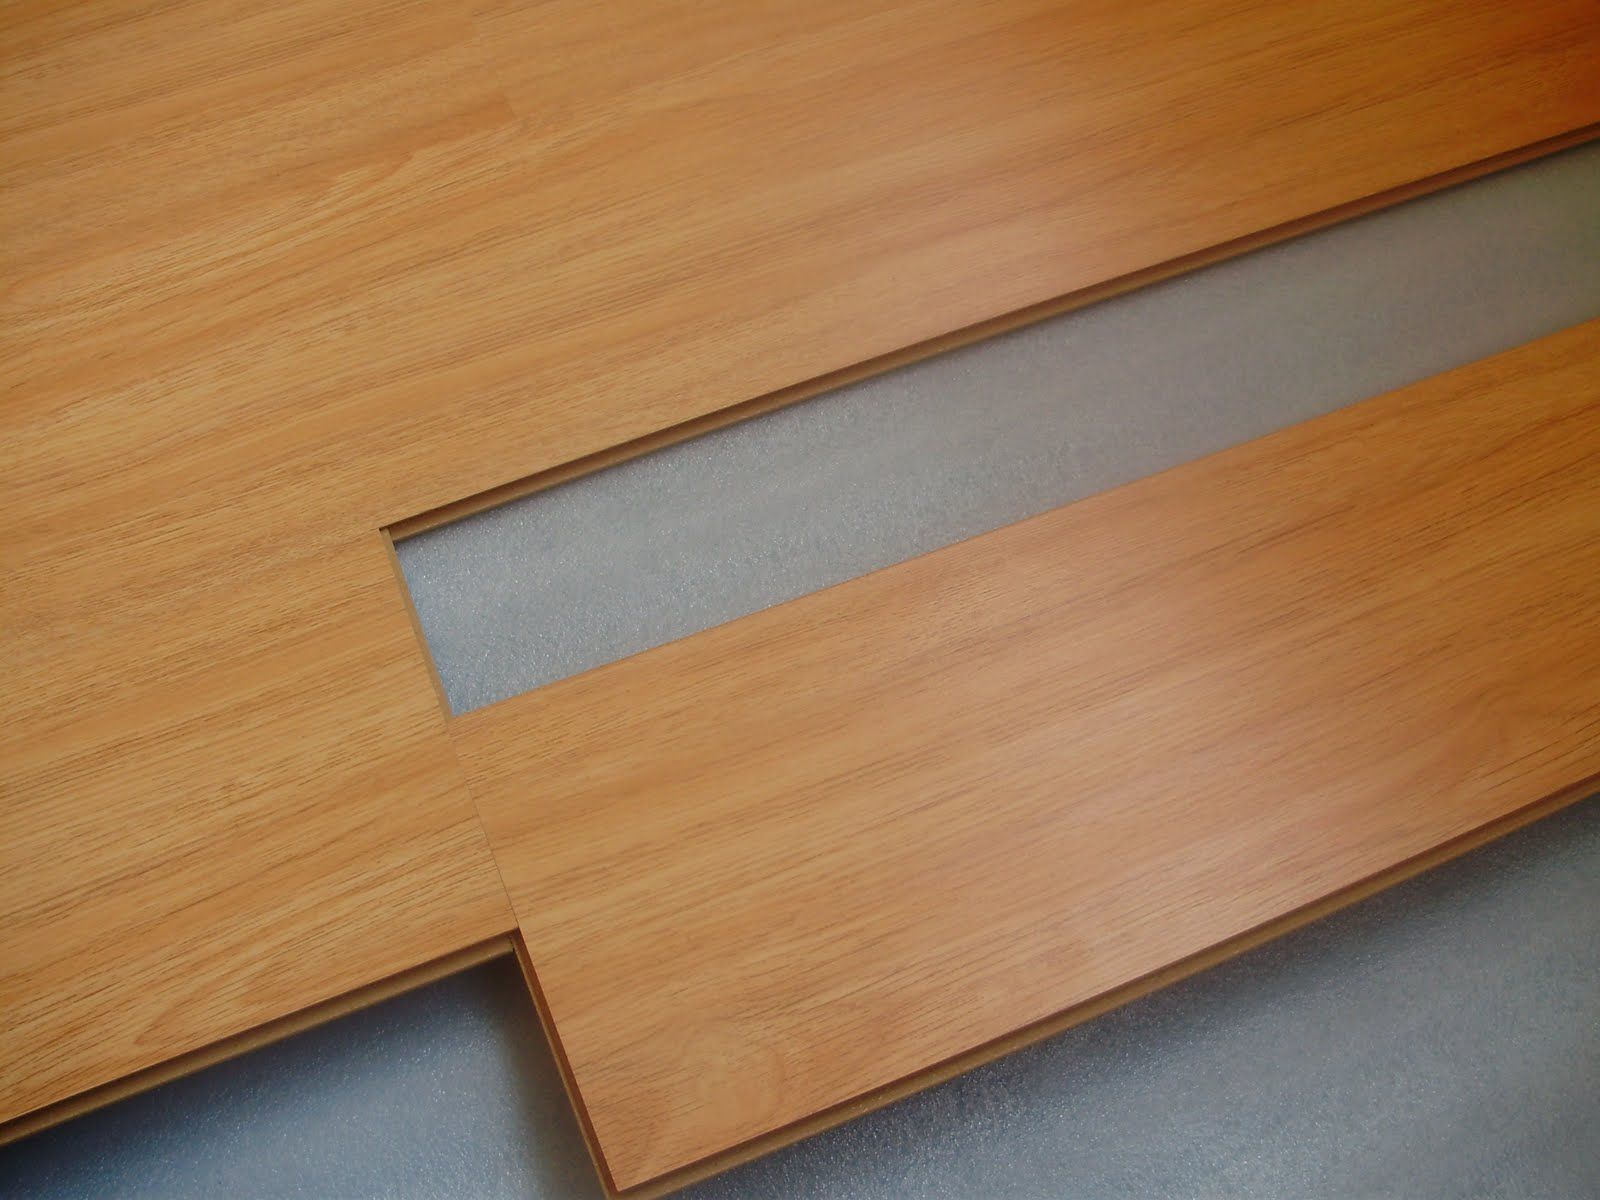
First, the first row is laid completely. If a piece of 1/3 or 1/2 in size remains from the last lamella, you can start forming the second row from it. This will result in an offset of a third or half of the board. The panels are connected effortlessly. In order for the tenon to easily fit into the groove, the second plank must be brought in relation to the first with an inclination of 25°, then lowered with light pressure until it clicks. The end locks are connected last. If the locks are very tight, you can use a rubber mallet, lightly tapping it will not damage the slats. So gradually, step by step, the entire floor of the room is filled.
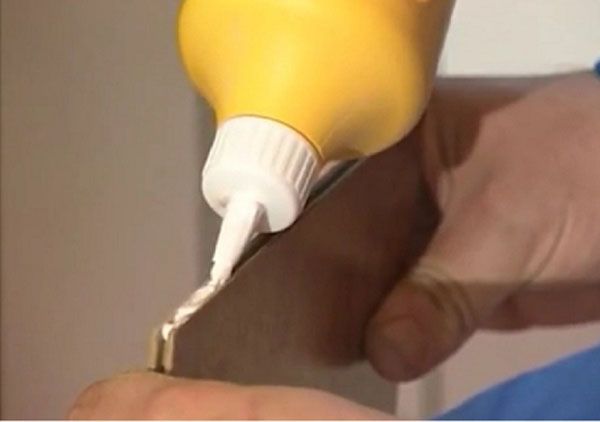
Laying laminate using adhesive method
The adhesive installation method is slightly different. Here preliminary marking is necessary - the floor is divided into 4 squares. First, the square that is furthest from the entrance is laid, and work begins from the center of the room to the walls. The glue is applied to the back surface of the lamellas with a notched trowel.The adhesive mass must be kept for several minutes (the holding time depends on the composition and is indicated on the label) and only then can the panel be applied to the base. Excess glue showing between the boards must be immediately removed with a damp cloth. The coating may be used no earlier than after 24 hours.
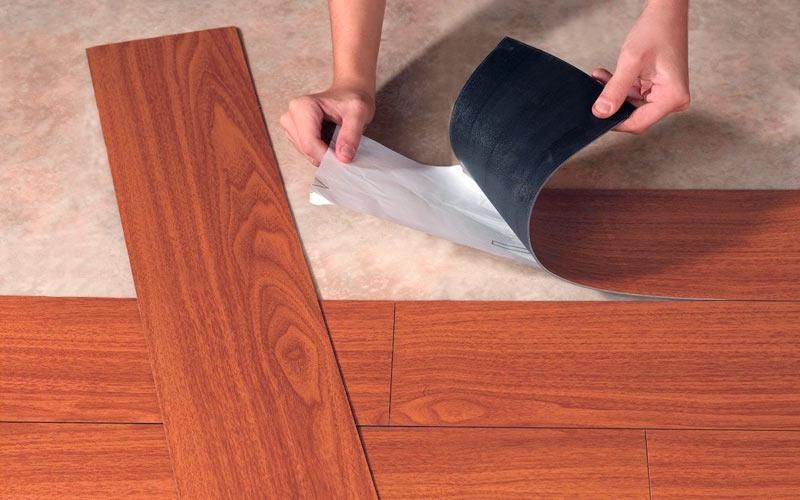
Self-adhesive laminate has a sticky backing with a protective coating. This type of laminate is widely used in rooms with high humidity. For installation, you just need to remove the protective film, attach the flexible material to a clean base and walk over the entire surface with a rubber roller.