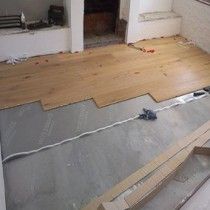
Laying laminate flooring on a concrete floor with underlay
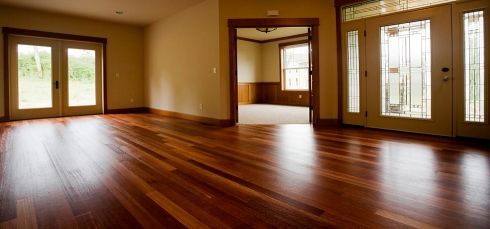
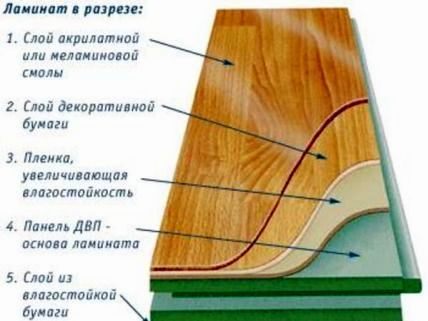
 The variety of floor coverings is amazing; laminate is in particular demand. The material is based on fibreboard, a special bottom layer that prevents moisture from entering the base, and the laminated surface helps the slats to withstand external influences.
When purchasing a new apartment, many owners prefer this particular coating, so the question of how to lay laminate flooring on a concrete floor is always relevant. Below you will find information on how to lay or lay laminate flooring with a backing yourself.
The content of the article
What types of locks are there for laminate flooring?
 The technological process for installing laminate flooring on a concrete surface remains unchanged, regardless of the interlocking connections. Basically, the material is laid in rows. Despite the fact that quite a lot of locks have been invented, every year more and more advanced devices appear that allow the slats to be fastened together. At the moment, the most popular and widespread are two types of locking connections:
- Lock – clutch using direct force. The side with the tenon is placed evenly, without tilting, against the groove and forcefully driven into the socket. In this case, it is allowed to use the impact method.In most cases, a strong connection is accompanied by a click - this is an end connection;
- Click – connection at an angle of 45 degrees. After the tenon is inserted into the groove, the lamella is lowered to the surface, and the connection snaps into place - this type of lock is very often used on the sides of the lamellas.
IMPORTANT! It is worth noting that for different types of laminate, the combination of locking connections may differ significantly. To make the joints more durable and resistant to moisture penetration, they can be coated with the sealant itself before bonding, and then the coating can be laid.
Laminate features
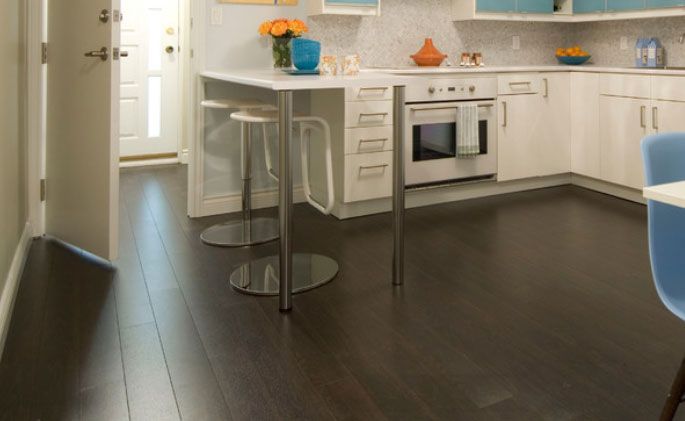
This material has become very popular recently; many apartment owners prefer to lay it on concrete floors. There are several reasons for this, for example, it is much stronger than linoleum, and much cheaper than parquet. And the technology is quite simple.
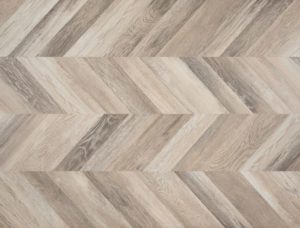
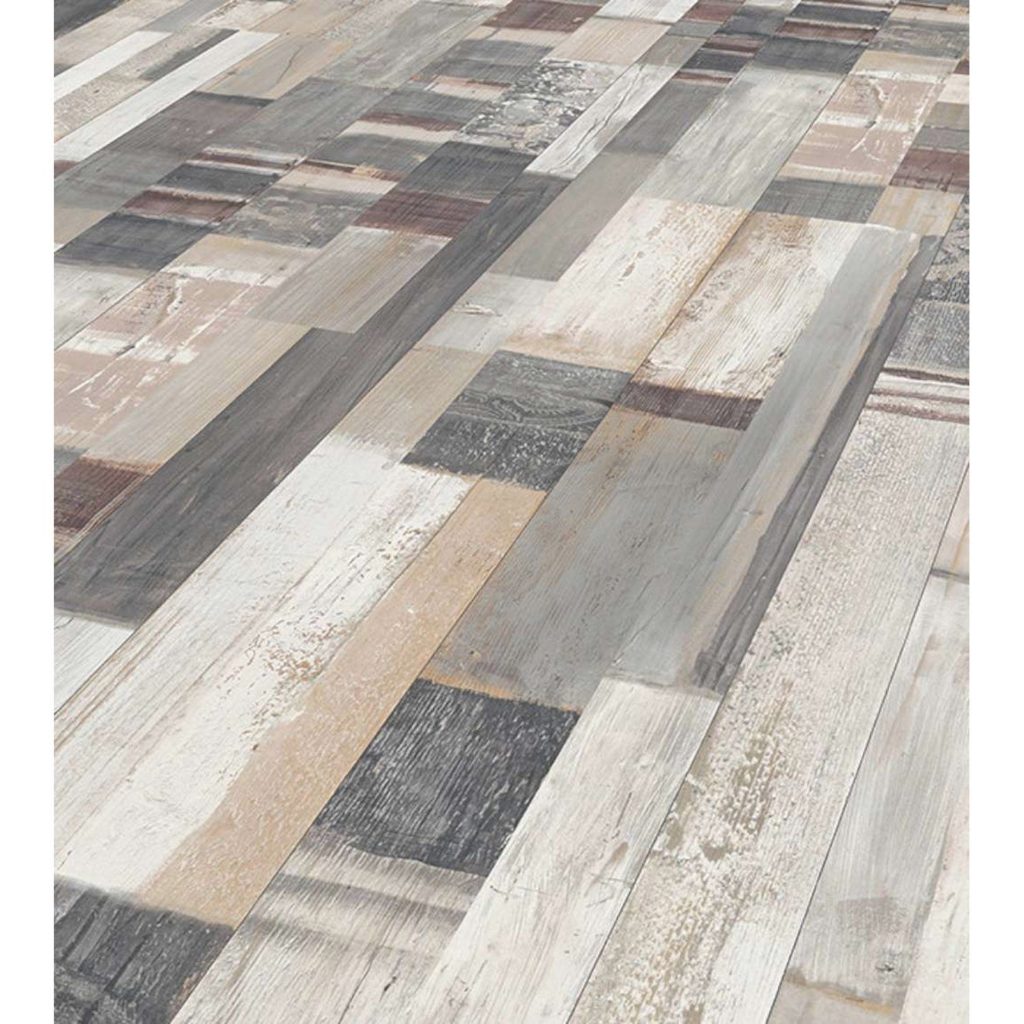
 A wide range makes it possible to lay material simulating wooden boards or natural stone. The demand for the material is due to its positive characteristics:
- low cost, allowing you to equip a beautiful floor covering without large financial investments;
- resistance to various types of damage and wear resistance;
- ease of installation - with the right approach, anyone can install the flooring without involving professionals;
- a huge selection of textures and colors. On sale you can find laminate not only imitating various natural materials, but also with images of flowers and fruits;
- Easy to maintain, just wipe with a damp cloth to restore the flooring to its original appearance.
In addition, the slats are resistant to fading and loss of color.
If we talk about the disadvantages, we can note:
- unnaturalness - various chemical elements are used in production;
- sensitivity to water and humid environments, since its impact can cause the material to deform.
Many experts believe that when choosing a floor covering, you should give preference to laminate if you choose an inexpensive, practical and durable material.
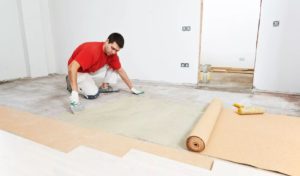
Substrate and other materials

Before laying laminate flooring on a concrete floor, you need to lay out an underlay, which is necessary for the floor covering to last a long time. In addition, the material has heat and sound insulation properties, and allows you to smooth out small unevenness in the concrete base.
Also, do not forget that concrete can accumulate moisture, especially during temperature changes, which can lead to deformation of the lamellas; the use of a backing eliminates this possibility.
There are several types of this material, there are both natural and synthetic products, for example:
- The cork backing is made from natural raw materials. This is a soft, elastic, natural material with increased sound and heat insulation and environmental friendliness. In addition, it is durable and wear-resistant. The disadvantages include high cost.
- A product made of polystyrene foam is inexpensive, but does not last as long as cork. This is a good, fairly budget option for economical repairs. But it is worth understanding that this synthetic product, when burned, can release caustic, toxic gas.
- Foamed polyethylene. Not exactly a good option, although inexpensive. The fact is that such a substrate very quickly loses its elasticity during operation.
- Coniferous substrate is a new material, it is expensive, but it lasts for a very long time without losing its strength characteristics.
When choosing a substrate, you should give preference to the material that will be optimal for a particular case. But often the choice is influenced by the cost of the product.
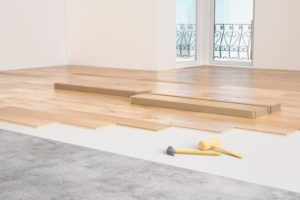
First row laying
The quality of a laminate-lined surface is determined by the correct installation of the first three rows, and especially the very first one.
There are mandatory conditions that must be observed when installing the first row of lamellas:
- when laying, a gap of 1 cm is maintained between the wall and the floor base, which is subsequently masked with a plinth;
- when cutting the outer planks, their length must be at least 30 cm;
- When laying the final row, inserts of less than 5 cm cannot be left; if the calculations result in exactly this distance, then it is worth trimming the slats of the first row.
Important! If it is intended to use a thin plinth when installing the floor covering, then the technological gap must be appropriate.
 When installing the initial row, begin by removing the locking part directed towards the wall. These actions are carried out both from the transverse and longitudinal sides. Assembly is carried out according to the instructions that are attached to the material, depending on the type of lock on the lamellas, snapping the connections at an angle of no more than 45 degrees.
On a note! If the transverse sides are interlocked, then you need to try to prevent shifting and skewing of the planks lying next to each other.
Checking the correct joining of the lamellas is as simple as running your finger along the seam. In this case, the finger should not feel even the slightest distortion.As soon as the first row is ready, it is moved to the wall, without ignoring the gap, which is best fixed with special wedges so that it does not move.
The clamps are installed every 40 cm, and you should adhere to the rule of 2 spacers on each side of the locking connection.
If you have to trim the last plank, then this action is performed as follows:
- turn the lamella 180 degrees horizontally;
- place face up;
- install 2 wedges against the wall;
- using a construction corner, draw a straight line;
- saw off the element.
Now you can finish assembling the initial row.
Connection individually
The piece remaining after trimming the lamella is used as the basis for laying the 2nd row, if its length is at least 30 cm. If this parameter is not met, then the sawn-off lamella is left and installation begins by sawing off a new element.
The 2nd row is assembled regardless of the initial one, and it is necessary to check the quality of the transverse locking connections - there should be no shifts or discrepancies.
 Move the finished layer to the first row, check the groove well, there should be no foreign objects in it: shavings, crumbs and dust.
Carefully lift the row at an angle, which should be fixed at the proper height using available objects.
Insert the lock of the second row completely into the strike plate of the first.
It’s worth warning right away that this will not be easy to do the first time.
Gradually removing the supports, hold the lock tightly along the entire seam without snapping. If the actions are performed properly, the second row will hang at a slight angle above the surface of the base.
Check everything again - if everything is good, then you can snap the structure into place with a few blows of a mallet or fist.
In case of distortions or small gaps, you will have to disconnect the row and perform all the above steps again
Advice! When laying, it is better not to use laminate padding, even with a block - this rule should be observed strictly in the first 4 rows.
The first few rows are very movable, so it is very easy to move the structure, even with a slight tap, but you will have to start all over again.
Installation at utility locations
You need to saw off the strip to length, attach it to the wall in the place where the communication pipes are located, put marks.
Then it is worth measuring the distance from the wall to the end of the water pipeline, not forgetting to take into account the technological gap.
Using a construction angle, draw a rectangle according to the marks and cut out an element of the required size with a jigsaw.
 If you need to make a small recess in the end, you can use a drill with a drill of the required section, and the cut will look more neat and aesthetically pleasing.
As soon as the cut is ready, you can install the lamella in its permanent place, having previously coated the seam with sealant; immediately remove the excess with a clean, damp rag. Don't forget to install spacers - 2 on the side of the longitudinal cut and 2 on the side of the transverse cut.
Finally
If the surface of the concrete floor is properly prepared and a substrate for the laminate of the appropriate quality is purchased, then laying the flooring yourself will not be difficult. To do this, you do not need to have a construction education or special knowledge. If you do everything correctly and in accordance with the instructions, then the beautiful floor in your apartment will delight you for many years.