Snowflakes from laminate backing
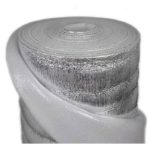
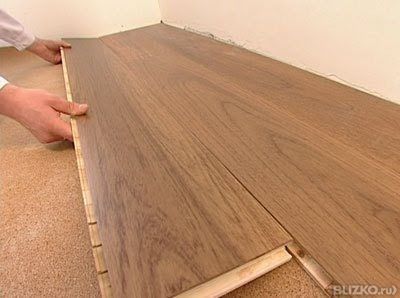
 Every year crafts and decorations are made for the New Year. There is an interesting method for making New Year's toys from waste plastic construction material, which is laid underneath on concrete before laying the laminate. Fortunately, there will always be pieces left over from repairs.
The content of the article
Tools and materials for making snowflakes from substrate
To create such New Year's crafts you will definitely need:
- paper;
- cardboard;
- scissors;
- pieces of backing.

It is possible to use a burning device, stapler, or glue. What happens next depends on the method of cutting the stencil, the complexity of the products being created, and the location.
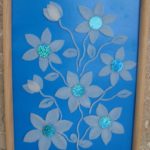
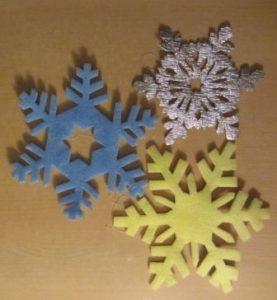
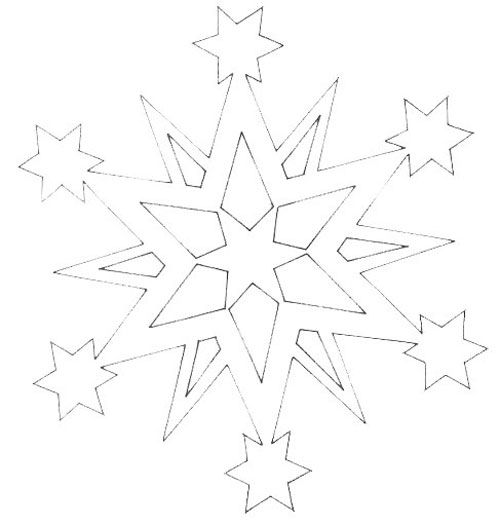
Snowflake from laminate backing: step by step process
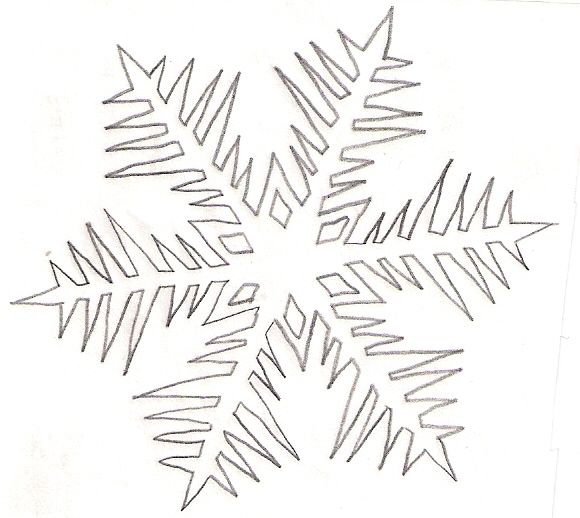
First, a stencil is cut out of paper. Drawing a design on a substrate through a thin paper sample is problematic. Therefore, take good cardboard and transfer the snowflake diagram from the paper onto it. A template is cut out of cardboard, according to which drawings are made on the substrate. They are then cut in different ways. Traditionally - with scissors. If you need to make a lot of figures, then it is better to burn them.

Further is at your discretion. Complex patterns have three-dimensional configurations, then a stapler is used. Then a place is chosen where the created creations will be displayed. It needs to be glued to the window. Or hang it on a chandelier using strings.Crafts made from polypropylene can even be placed outdoors. This material is good for its availability and the necessary qualities for making holiday toys:
- easy to cut;
- has different shades;
- elastic.
The cut out pictures are strengthened as intended. If they hang on threads from the ceiling, then any breath of air vibrates them, they move and turn.
Recommendations for making and using snowflakes
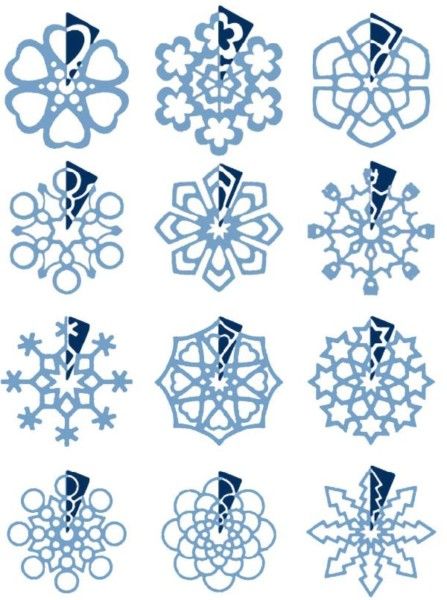
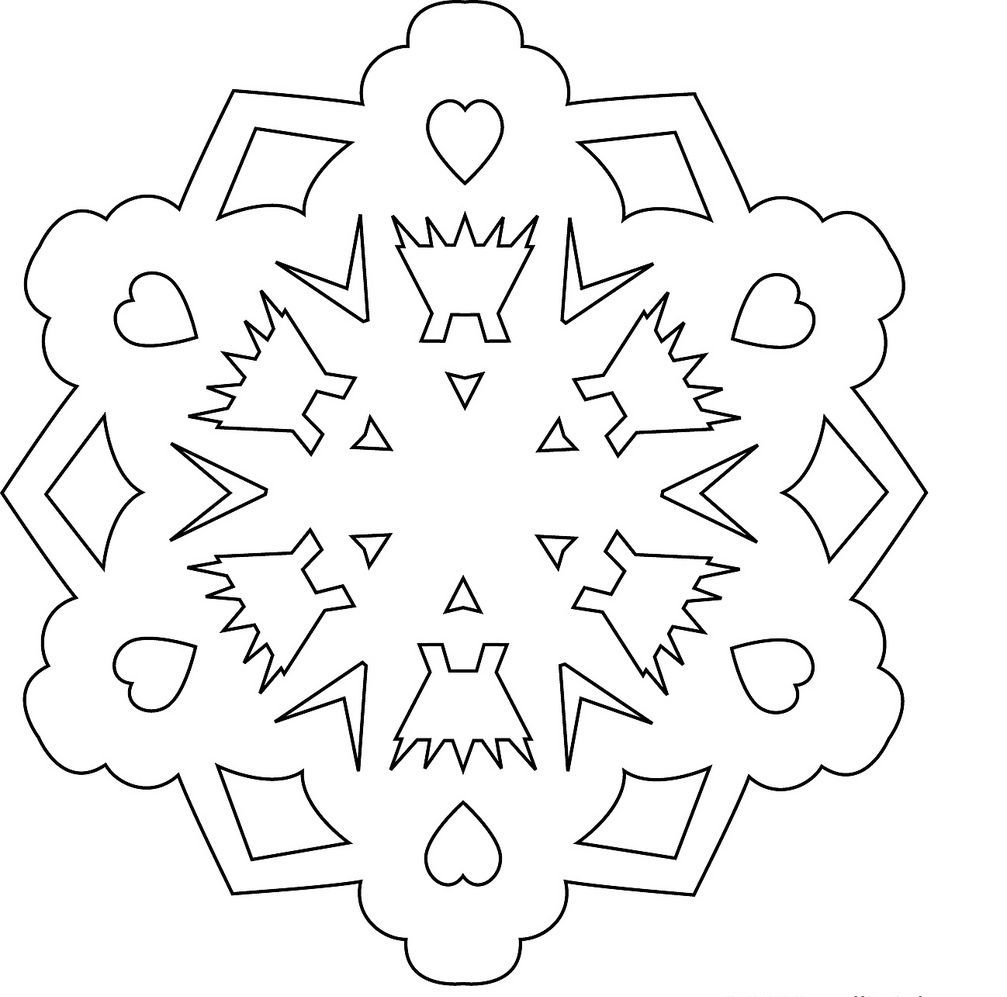
When creating a stencil, you may encounter a problem. There are a lot of diagrams on the Internet and mostly they are of normal size for printing. But it happens that when printing a diagram, its edges extend beyond the boundaries of the paper. Trying to print a double one is useless. The borders will still not be visible! What to do?
ATTENTION! A little trick will help in this situation. You need to open the image downloaded to your computer. Without printing, take a screenshot of the image, along with the adjacent area. Allocate more space for the screenshot - the image with the rays will be in the center. Then print out the screenshot. It will print as needed - with intact rays.
Using the screenshot, you can adjust the size. Moreover, now a double picture will be printed normally and even four pictures on one A4 sheet will be without defects.
The further procedure is the same as described above. True, there are nuances here too. Resourceful people came up with the idea of decorating a Christmas tree with polypropylene toys. The created elegant product is placed on a branch and pressed lightly with the palm of your hand.
ATTENTION! Crafts should be placed in places where there are few Christmas tree lights - for safety.
Additionally, you can decorate a snowflake using a burning machine. In general, you can use whatever your imagination tells you.