DIY crafts from underlay for laminate flooring
 If you are a creative person and from time to time spend your leisure time creating crafts from various scrap materials, then you probably know what a laminate underlay is and how it can be used. If not, we will tell you about it and share interesting options for its use.
The content of the article
Features of making crafts from a laminate substrate
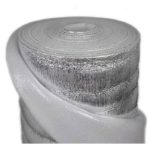
First, let's figure out what it is. This is a building material, so you need to look for it in the appropriate store. This backing is made from different materials and can come in several shades. All that remains is to choose the right one. The substrate is soft, bends well and will last quite a long time, so working with it is a pleasure!
How can you fasten the material? An ordinary needle and thread are perfect for this. The needle will easily enter the substrate and will hold the parts tightly.
IMPORTANT! If you want to fasten parts with glue, be sure to check how well it will connect them on a test piece of the substrate. This is necessary to ensure the strength of the glue. Due to the smooth surface of the material, the parts may not stick to each other.
How to paint on a substrate
Often you have to work with templates and stencils.Then the question arises: what to draw on the material with? The pencil will print poorly, so it will be inconvenient to work with. Instead, use a regular ballpoint pen. You will get bright lines, which will then be convenient and easy to wash off. For this you will need a cotton pad and alcohol. Moisten cotton wool with alcohol and wipe the surface.

How to cut
To cut out the pieces, you will need sharp scissors and a utility knife. Use a knife to cut out small and internal parts, and scissors – large external ones.
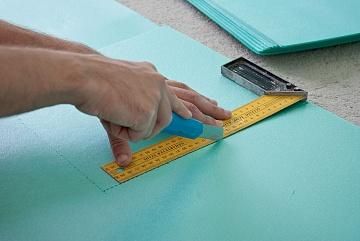
IMPORTANT! Before cutting, place a wooden board or a special rubber covering under the product to avoid damaging the table surface.
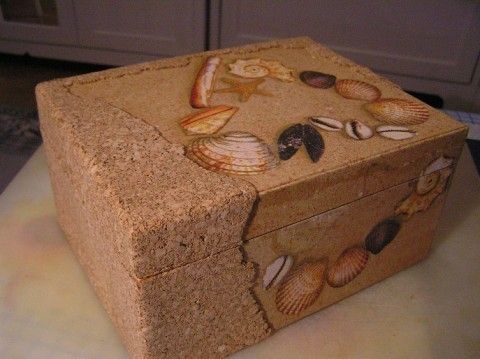
DIY crafts made from laminate backing: box
You can make many beautiful and unusual crafts from this material. Here we will describe the process of creating a box step by step.
You will need:
- cork sheet (one of the types of substrate for laminate);
- PVA glue;
- glue "Moment";
- acrylic paints;
- acrylic lacquer;
- napkins for decoupage;
- hemp rope;
- seashells.
Step-by-step instruction:
- Take the box and prime it with acrylic paint. This place will then be decorated using decoupage technique.
- Choose a piece of napkin that you like.
- Glue the napkin onto the primed area with PVA glue.
- Repeat all previous steps, but now stick the napkin on the side of the box.
- Cover the empty part of the box with cork backing. Use glue.
- Make a three-dimensional shell. To do this, cut out several pieces of material along the contour of the shell that you like best, stick them on top of each other and paint them with white acrylic paint.
- Glue a piece of napkin with the corresponding image on top of the voluminous shell.
- Glue the 3D shells onto the box (right on top of the shells on the napkin).
- Paint over uneven edges with brown paint using a dry brush.
- Glue the rope and cover the entire box with varnish.
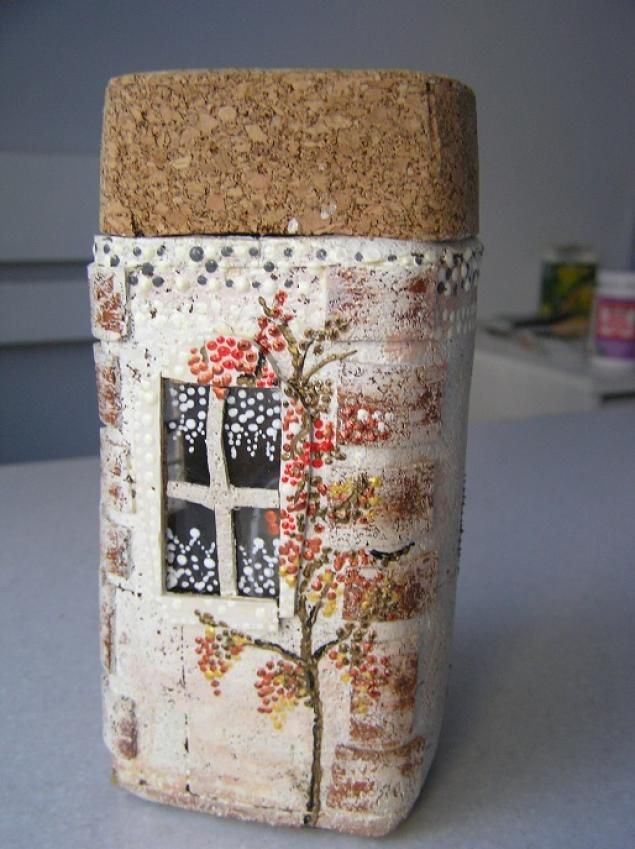
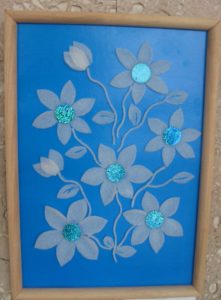
In the same way, you can decorate mirror frames, clocks, vases and bottles.
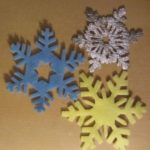
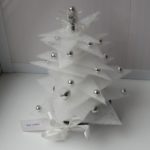
The soft backing underneath the laminate makes amazing New Year's decorations. Try cutting out and decorating snowflakes, Christmas trees and other Christmas symbols.