Film heated floor under laminate
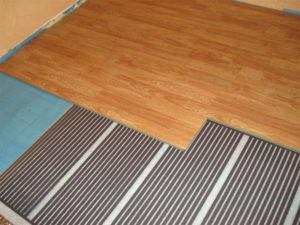 Warm floors are the best option for furnishing any room in a house or apartment. There are several options for arranging this system. The simplest one is installing heated floors from a water supply system and a double-circuit boiler. But if the house does not have an autonomous heating system, then you need to look for alternative options. In this case, film heated floors will be a good choice.
The content of the article
What is a film heated floor?
The above-mentioned underfloor heating system, which is connected to an autonomous boiler, like many other heating systems, is based on direct heat exchange. The water heats the pipes under the floor covering, then the screed, then the laminate and then the air in the room. Film flooring is based on infrared radiation, which is its direct advantage.
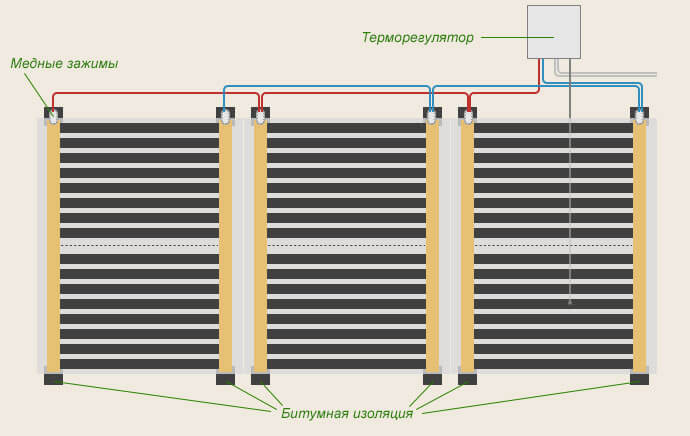
In the film floor there are strips made of carbon paste. They are located between polyester layers. The strips, in turn, are connected to a copper bus, which is supplied with voltage. Electricity passing through the copper bus does not heat it, but directly transfers heat to the surface. Because of this, the surface heats up quickly.
Important! The floor works on the principle of infrared rays: it heats everything it hits, without wasting energy on transferring heat over a distance.
What is necessary for installing heated floors under laminate
First you need to purchase a heated floor kit. It includes:
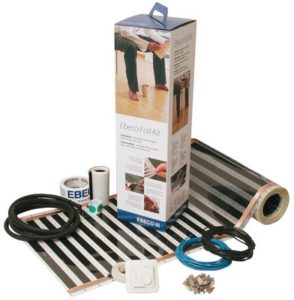
- Heating elements. They look like a film from 500 mm to a meter. Length may vary. Usually the film comes in the form of a roll, which can be cut into pieces.
Important! You can cut the film only in those parts where scissors are drawn.
- Clems.
- Bitumen tape. Be sure to check the presence of this element, as it is an insulating material.
- A temperature sensor, thanks to which the surface heating level is controlled, and a cable for it.
- Thermostat. It is a control unit. It can have different types of controls and designs.
It is important to pay attention to the maximum power. For installation under laminate, 150 W is the best option.
A substrate is also needed, which is laid on the concrete under the film.
Important! The substrate should not be susceptible to current conduction.
Step-by-step installation of heated film flooring under laminate
Before you begin installation, consider the basic installation rules.
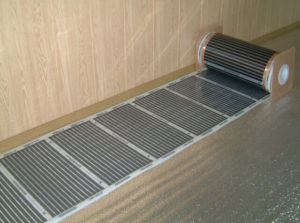 Make a layout diagram. The film is not located over the entire surface of the floor. It needs to be spread out in places that are not crowded with furniture.
- Maintain a safe distance from walls and radiators. The offset should be 300 mm.
- It is better to lay the film along the length of the room. That is, along the larger wall.
- Make sure that the distance between each film is about 50 mm.
- Provide a place to install the thermostat.
- Provide a separate outlet. It is better to install a power line that is not related to the main power supply.
On a note! The film is laid on 60–70% of the surface.
Now let's move on to installation.
Preparatory stage
The base must be leveled. This is the key to successful installation of both the heated floor system and laminate boards.
After leveling the surface, you need to prepare it for laying the tape.
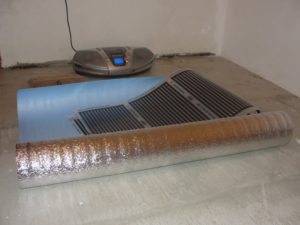 Thoroughly clean the entire surface of any small debris or debris. It is better to do this with a construction vacuum cleaner, but a household vacuum cleaner will also work. If this step is ignored, debris may damage the substrate, resulting in system malfunction.
- Cover the surface with a backing. Please note that the underlay is placed around the entire perimeter of the floor, and not just in the areas where the film is located. When choosing a foil backing, place the shiny side up.
- Using the diagram, cut holes in the substrate for laying the cable, temperature sensor and terminals.
Now you can mount the main element - the film.
Installation of heated floors
All elements must be handled carefully to prevent damage.
Important! Damaged elements must be replaced.
Follow the following sequence when working.
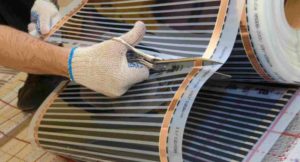 Lay the film according to the existing pattern. Secure it to the substrate with regular wide tape. The shiny side of the tire is placed down.
- Insulate live busbars at cut points. But only those that will not be used in connection. This is done using bitumen tape. Cut a small piece and secure it tightly on both sides of the tire.
- Next, the sensor is installed. It is located in the center of the carbon black stripes, across them.
- The terminals are installed in the places where the floor is connected to the electrical network in such a way that one petal is on top of the special contact cut, and the other is on the bottom.
- Next, the cables are laid in accordance with the diagram.
- The final stage of installation is contact insulation.
When finished, it should look like all the wires converge in one place. Then all wires are connected to the thermostat unit. This happens according to the scheme specified in the instructions.
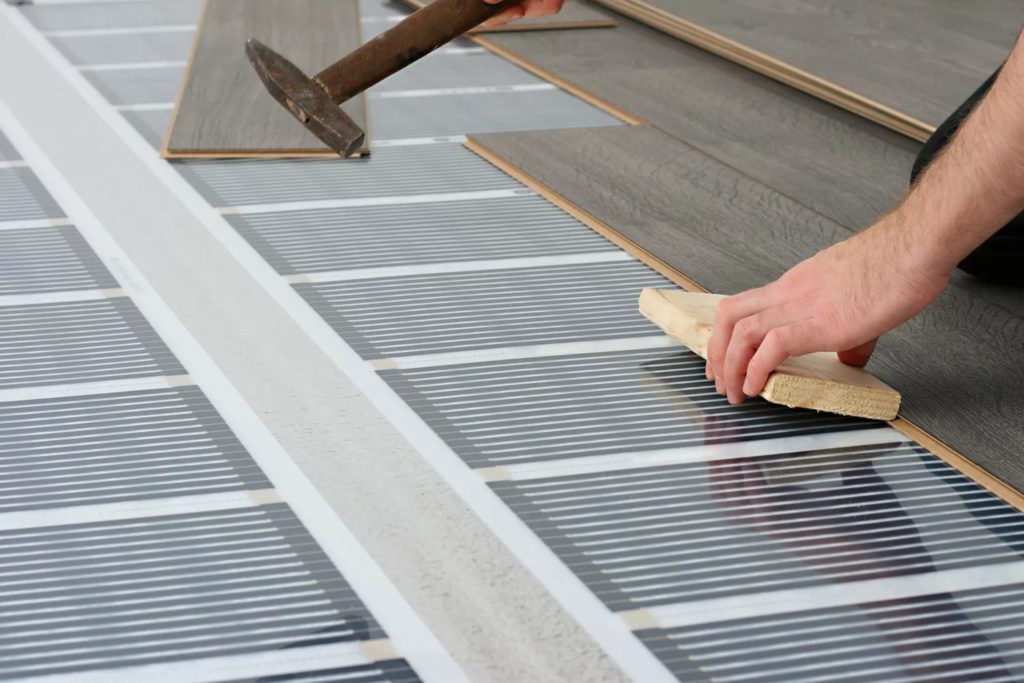
And the completion of the whole action is laying the laminate. Choose any method you like and get started. If all the steps are carried out correctly, you should not have any damage or swollen places, and the underfloor heating system should work smoothly.


