How to level a laminate floor
 Creating a cozy and comfortable environment in a residential or office space depends on the quality of finishing materials used to create the interior.
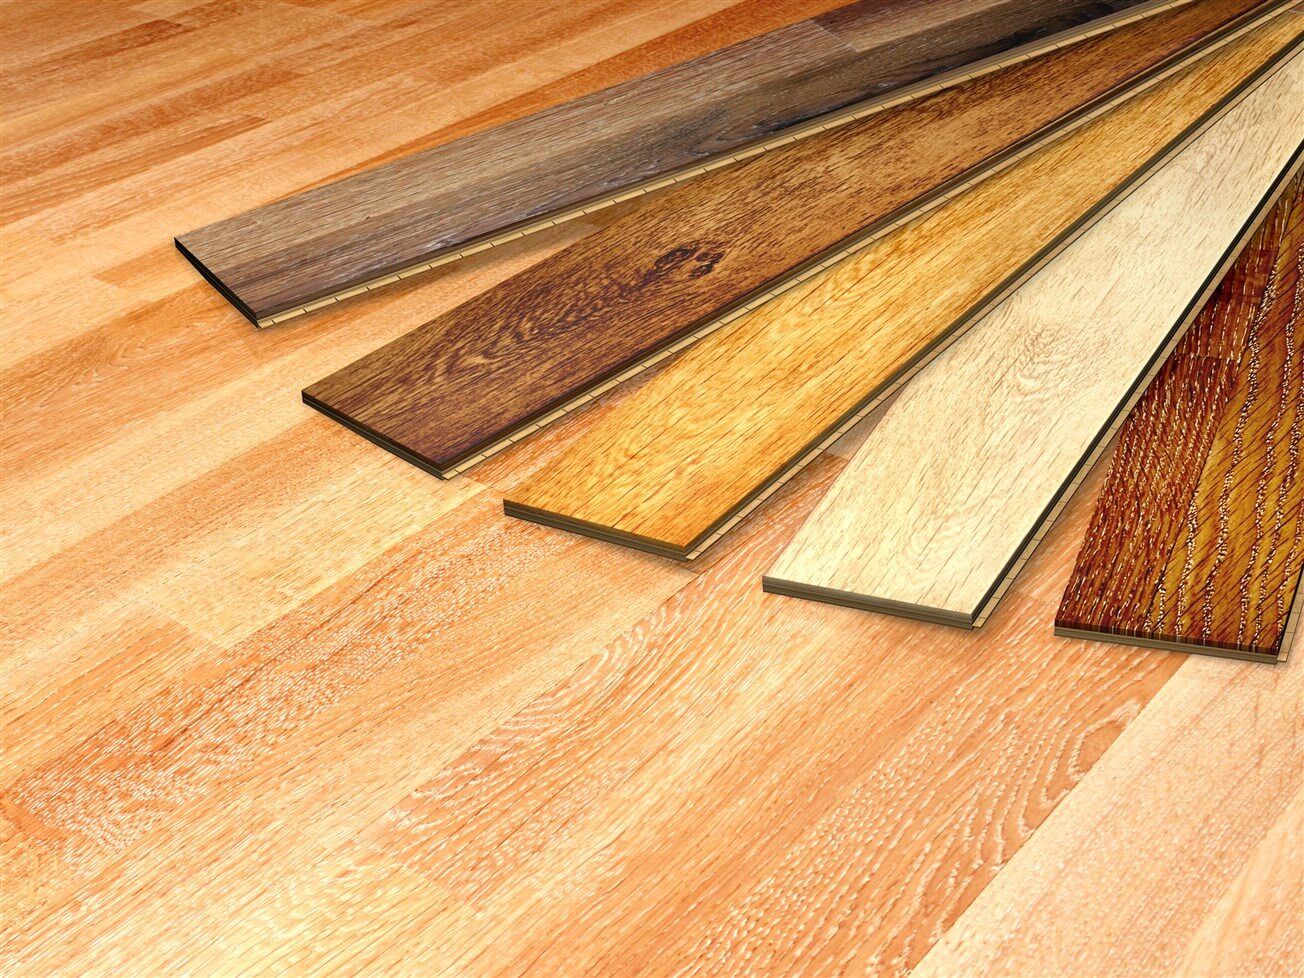
The use of laminate flooring is becoming popular due to its wear resistance, aesthetics and the variety of colors produced.
The service life of the panels depends largely on how the concrete base is prepared for installation. Lamellas laid on a flat, flat surface without cracks or changes in height are guaranteed to last 20–25 years, during which they will retain their purpose. The need to renew the coating will not arise soon if the preparatory work is carried out correctly.
We will tell you how to prepare the base for laminate flooring in an apartment with your own hands.
The content of the article
What should be the base for laminate flooring?
The panels are laid only on a perfectly flat floor.
If the differences in surface heights exceed 2 mm per 2 sq. m, then manufacturers do not recommend installing lamellas. This is due to the fact that under load the finishing material will be subject to bending. And locks, with the help of which the covering can be easily and simply installed, may not withstand the engagement between adjacent elements.First, small cracks may appear, then a slight creak, and during operation, the fastening will collapse. As a result, the service life of the finishing material will decrease.
In addition to making the floor level, it must also be hard. Manufacturers of lamellas recommend laying the coating on a concrete screed or after using special cement-based leveling mixtures.
Construction Norms (SNiPs) regulate the requirements for the base for laying hard coverings, which include laminate.
- The floor must be strong and withstand a load of 15 MPa.
- The humidity of the cement-sand screed cannot exceed 5%, and of the wooden base - 15%.
- The surface must be clean and free of dust and residues of other building materials.
- The difference in height along the terrain is allowed no more than 1%.
The presence of cracks or other defects on the base is unacceptable. If such deficiencies are discovered, they are eliminated using special adhesive mixtures and putties.
Leveling a wooden floor under laminate
Regardless of the base material, it must meet the installation requirements of a modern coating.
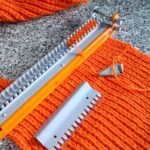
Materials and tools
To prepare a wooden surface you will need:
- carpentry tool set;
- measuring devices;
- wood putty;
- Sander;
- primer, painting tool;
- jigsaw;
- screwdriver and screws.
If it is necessary to make flooring from sheet material, you will need slabs on a wooden base or plywood.
New floor

If the floor on which you want to lay laminate is new, you can do without a screed. In this case, using a long rule with a water level, unevenness in the base topography is revealed. And then high places are marked.Using a grinding or scraping machine, these defects are eliminated, after which the chips are removed from the surface. Then they check the work done and, if necessary, eliminate deficiencies.
IMPORTANT! When operating a scraping machine, a large amount of dust is generated, so it is necessary to use personal protective equipment: a respirator or a gauze bandage! Headphones can protect against electric motor noise.
The power tool used will allow you to remove the bumps, and wood putty is used to level out the depressions. The layer of the mixture applied must comply with the manufacturer’s recommendations.
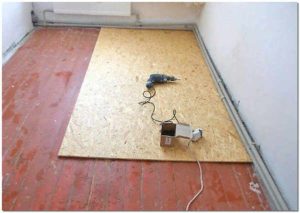
Destructive floors
If a large number of destroyed or rotten boards are identified, the floor is dismantled along with the joists and a concrete or dry screed is performed. If complete removal of the wooden base is impossible, then it is repaired, leveled using putty and covered with cement-bonded particle boards (CSP) or plywood. At the same time, the price of the material used is taken into account, which will affect the cost of the floor.
REFERENCE! When carrying out surface repairs, use a budget putty made from sawdust and PVA glue.
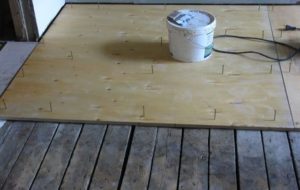
Leveling the base is carried out using beacons, which are made in the form of screws screwed into the wooden floor at the required height. And so that the heads of the screws do not rise above the screwed sheets of plywood or chipboard, a hole is first made in the fastening points, then countersunk, and only then fixed. Gaps of 2–3 mm are left between the sheet material (for plywood) so that temperature changes do not affect the relief of the floor plane.
After installing the slabs, check the horizontalness of their fastening and, if necessary, adjust them.Sometimes an undertightened self-tapping screw causes unevenness in the wooden base. After this, chips and dust are removed. Before laying the coating, the surface is primed using a roller or wide brush.
How to level a concrete floor
The concrete coating familiar to most city dwellers requires preliminary leveling if laminate flooring is planned. The installation of a screed for a modern coating is done in two stages:
- elimination of gross defects and irregularities using cement-sand mortar;
- final finishing leveling using self-leveling mixtures.
If the concrete slab in the room where the lamellas are planned to be laid is flat and does not have large differences in height, only the second method can be used. Let's take a closer look at both stages of work.
Preparing the base
Before installing the cement screed, the base surface is cleaned of traces of paint and varnish materials, greasy stains and construction waste. To do this, use solvents, scrapers and other entrenching tools.
Excess concrete that forms lumps is removed using a chisel and hammer, and, if necessary, a hammer drill. Swells of small height, which will be hidden by the screed, are left.
After this, debris and dust are removed from the base and treated with a special primer for concrete. It will increase surface adhesion, which is very important when concreting.
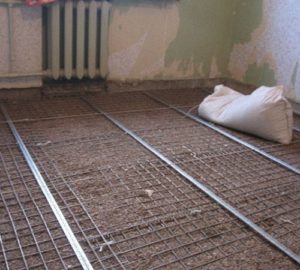
Having decided on the thickness of the screed, install beacons along the perimeter of the room. If the room is large and there is no rule covering the distance between the slats, intermediate beacons are installed. To do this, use a square metal profile pipe or similar material.The installed slats are checked using a water level and fixed to the base using concrete mortar.
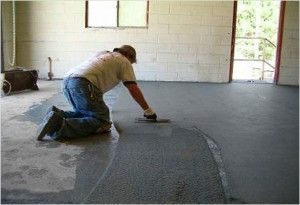
Rough screed
After the beacons harden, prepare a mixture in a cement to sand ratio of 1:3. Mix thoroughly with water until a creamy consistency is obtained and pour onto the floor.
IMPORTANT! When the screed thickness is more than 4 cm, add 1-2 parts of expanded clay (in relation to cement) to the solution for lightness, insulation and better binding of the mixture being poured!
It is not recommended to make a screed less than 2 cm, because it will not fulfill its purpose!
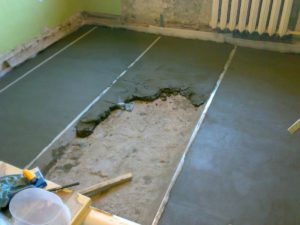
- Filling begins from the blank end wall. The solution is supplied in an amount exceeding that required, and, using the rule, it is stretched along the beacons.
- When shells or cavities form on an already leveled surface, add solution and level again.
- After the screed has set, the beacons are removed and the cavities from the slats are filled.
- The poured floor is left for 2-3 weeks until completely dry.
ATTENTION! To reduce the likelihood of cracks forming, the surface is covered with polyethylene! This slows down the drying process and the base remains intact.
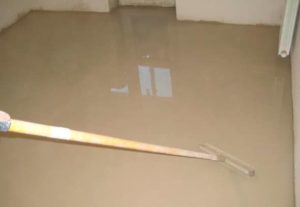
Precise alignment
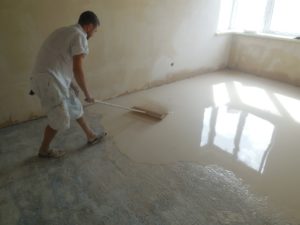
After the rough screed has completely hardened, precise leveling is applied using a self-leveling mixture, the so-called self-leveling floor.
- First of all, the error of the finished surface and its deviation from the horizontal level are measured.
- Depending on the obtained value, the brand of self-leveling mixture is selected. Typically this is a compound that corrects 1–2 mm or 3–10 mm.
- In accordance with the manufacturer's instructions, prepare the solution using mixing attachments on a drill.
- A large area is filled with sections, and a room up to 10 square meters. m - at a time.All sections of the divided area of the room are done within one day for integrity and the absence of differences during complete hardening.
- After filling each section, the surface is treated with a special needle roller to remove air from the mixture.
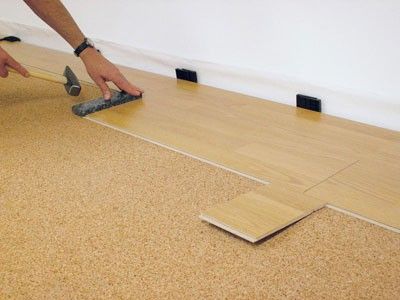
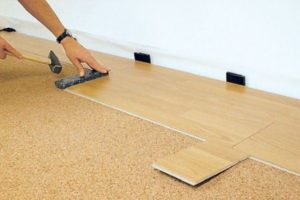
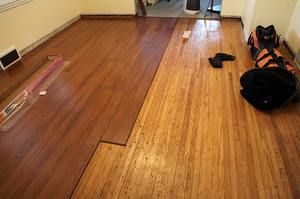
1–2 hours after pouring, you will feel that the floor is already ready, but you can continue working on such a coating no earlier than 2 days later. After taking the necessary pause, they begin laying the lamellas.
Tips for leveling floors under laminate
- To obtain a concrete screed with a smaller amplitude of height differences, rough pouring is rubbed with special long trowels made of wood or polymer materials within 3 hours after pouring. A day later, this operation is repeated. Such work will allow you to use a self-leveling solution with less error or avoid its use altogether.
- When installing underfloor heating pipelines in a screed, it is not advisable to use expanded clay as an additional component, since it will interfere with heat transfer. This base is supplemented with a fine fraction of screenings, which increases the heat transfer of the cement-sand layer.
- To reduce the risk of cracks, a welding mesh is used, which is placed in the middle of a layer of thin screed. And with a layer of more than 5 cm - closer to the top.
Having studied the technique of leveling a floor under a laminate, anyone can do this work independently, provided they have the tools and, of course, the desire.