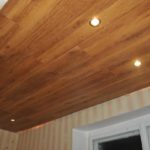
How to attach laminate flooring to the ceiling
 There are times when it is necessary to attach laminate flooring to the ceiling. It is necessary to choose the right product, prepare the ceiling and choose the appropriate mount. This will make the surface beautiful, durable, and increase its service life.
The content of the article
How to attach laminate flooring to the ceiling
There are 2 ways to glue laminate to the ceiling:
- Using glue.
- Having created the foundation.
The first method is rarely used. There are two reasons for this:
- When steam or moisture is released, water may fall onto the ceiling. This will weaken the adhesive base and the laminate may fall off.
- Ceiling unevenness. When installing laminate flooring using glue on an uneven ceiling, you will first have to level the ceiling. For this, putty is used, which is extremely undesirable. This adds extra weight and the laminate may fall off.
You need to buy special glue for laminate flooring. Besides glue, all you need is a hacksaw to straighten the edges of the boards. Before applying glue, it is necessary to clean the surface and coat it with varnish or primer.
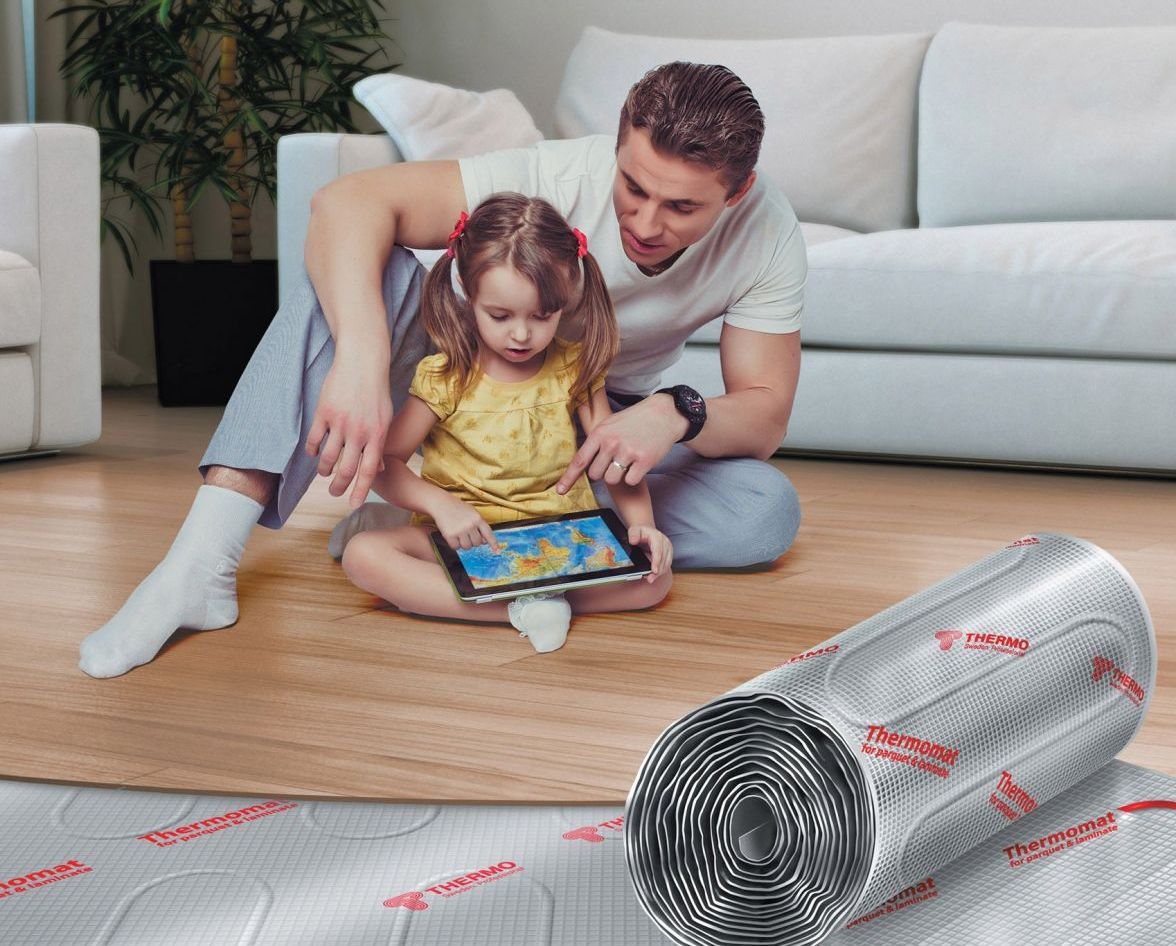
The second method is more practical, since you can create a perfectly flat surface, and thanks to ventilation, the material can breathe. This will provide protection from moisture.
We need to create a frame made of wood, no more than 10 mm thick. The material can be replaced with metal, but then creating the base will take longer, and attaching the laminate will become more difficult.This method also has a drawback; additional space is required for the frame.
Ceiling requirement
To attach the laminate, you need to prepare the surface. We remove all dirt and dry it (if moisture has accumulated). All this can harm the wooden material. Now you need to calculate the area of the ceiling. We divide the resulting value by the surface area of one sheet. We get a number that means the number of wooden boards needed. Round them up to a higher value. Do not forget that trimming may be required during the installation process. Therefore, you should purchase several additional panels. In this case, you can begin work without fear that there will not be enough material for the entire surface.
Attention! Naturally, the requirements also depend on the materials from which the ceiling is made. If it is concrete, we seal all the gaps, and if it is wood, we treat it with a moisture protection agent (so that mold does not appear inside).
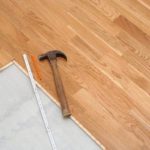
Tools
We will need the following tools:
- Roulette or ruler.
- Marker.
- Slats for wooden sheathing.
- Level.
- Hammer and nails.
- Dowels.
- Jigsaw and hacksaw.
- Glue.
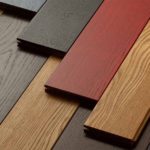
Material selection
In order to understand what the laminate is made of, it is necessary to consider the structure in section. We will see many layers that are a bit like lining, but laminate is more reliable and has a longer shelf life. When cut, the material looks like this:
- The board is based on fibreboard. It is impregnated with special solutions. It is necessary to ensure the strength of the material.
- The base is covered with paper that imitates some material (in most cases, wood, since laminate is considered one of the types of parquet).
- Melamine or acrylic film is applied to the paper layer. This is necessary to protect the paper (it is not a durable material, so it wears out quickly).
- The other side of the base is also covered with paper. It is coated with substances to protect it from moisture. But if there are no problems with high humidity in the room where the laminate will be installed, you can buy the material without this layer, saving a little money.
- Connection layers. On one side, a longitudinal ridge is installed, on the other, a groove corresponding to the ridge. These layers allow you to create a tongue and groove lock.
Laminate is always made of wood, so it is considered one of the varieties of parquet. But if you compare laminate and parquet, the latter has less rigidity and is less protected from water, temperature changes and mechanical damage. But it is pointless to compare these materials with each other, since each has its own advantages and disadvantages.
Attaching laminate to the ceiling: step by step
The process will differ depending on the chosen mount. For example, when using glue you need to:
- We level the ceiling using a building mixture.
- Apply several thin layers of putty.
- We are waiting for the mixture to dry.
- Apply glue to the area of the ceiling to which the board will be attached.
- Now we apply glue to the panel.
- We treat the locks of the modules with sealant to maintain the good condition of the material.
- We begin to install the panels. The first installation location is to choose one of the corners.
- While the glue dries, you need to hold the panel so that it does not fall off. But there are ways to avoid this - put a support or use double-sided tape in combination with glue.
- We close the lock.
- Glue the next panel.
- If any panels have moved, they will need to be corrected.
This method is very similar to installing laminate flooring. If the ceiling diameter is small, you can do everything much simpler:
- We glue all the modules together in advance, creating one large panel. We are waiting for the glue to dry.
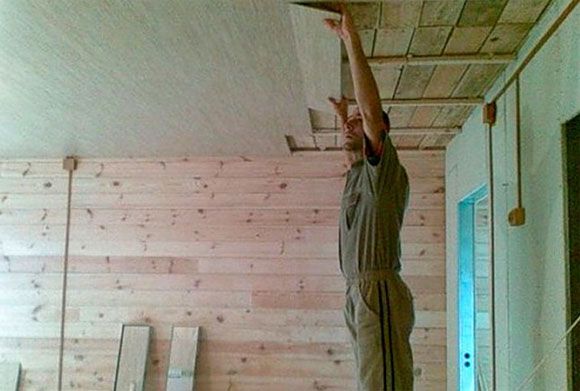
- We attach it to the ceiling.
- We put up a support. It holds the coating while the glue dries.
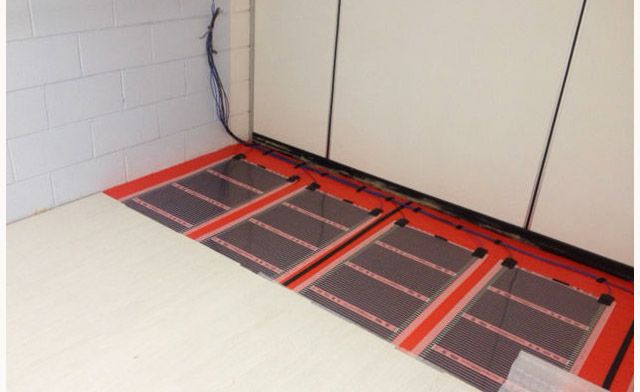
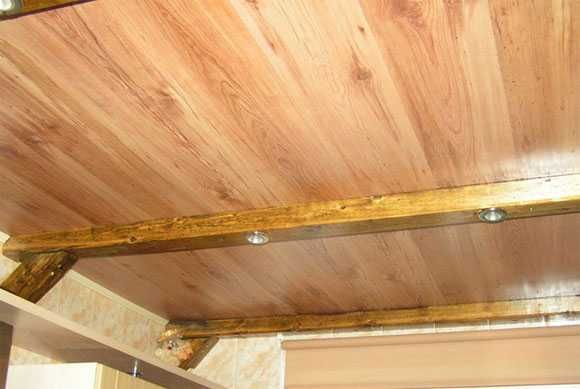
Reference! Using a frame is suitable if it is not possible to level the ceiling, or there is a risk of material falling due to the use of plaster. This method will also hide the wires.
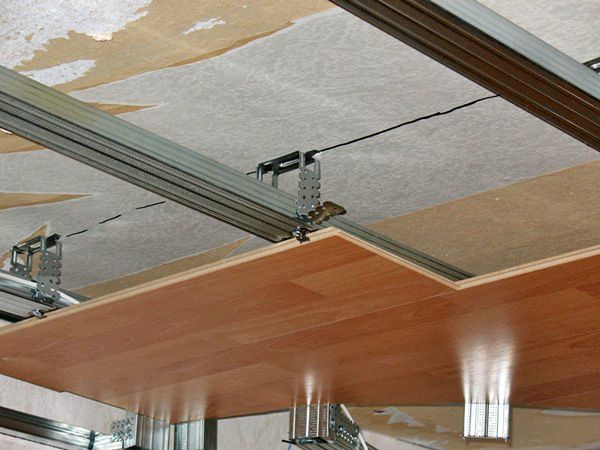
Self-tapping screws or dowels are used as fastenings, but you can also make a suspension system. Self-tapping screws are more suitable for a wooden ceiling, as they will securely fasten the panels to the surface, without making holes. Dowels and hangers are more suitable for concrete ceilings. To create a frame you need:
- Clean the ceiling. We remove old layers of plaster, as they will crumble during the work.
- We beat off the surface relative to the level of the walls.
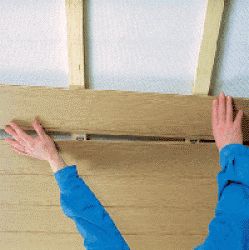
- We fasten the timber so that it is proportional to the length of the laminate panel.
- We fix the panels on the timber. Nails are used for this. We drive them through the panel. The fastening will not be visible, since the distance to the ceiling is large. But if nails are not suitable, you can use clamps. They look more beautiful, but the installation process becomes more difficult, since for proper installation, the laminate locks will have to be cut in some places.
- Do not forget to leave gaps between the slabs and the walls, ranging in size from 1 to 1.5 cm. They can be covered with decoration items, for example, cornices with curtains.
- The structure is ready.
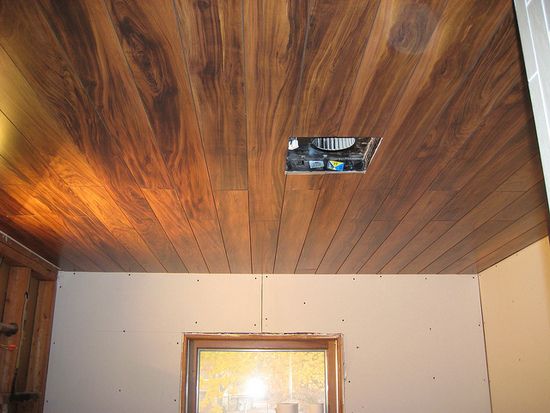
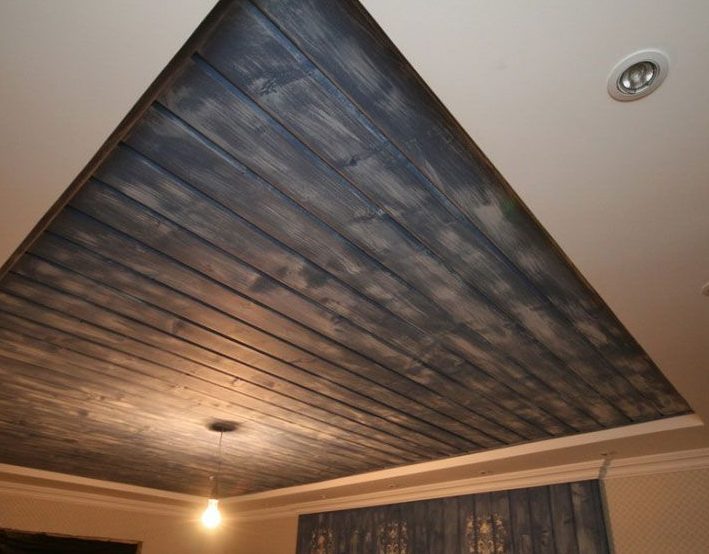
To do everything correctly, you must follow certain rules and strictly follow the instructions.According to the instructions in the photo, anyone can install laminate flooring at home. This finish looks beautiful in the interior and is of high quality.