Installing a faucet on a sink
Most people in matters of minor plumbing repairs or replacement of individual components are accustomed to relying on the experience of plumbers, however, many operations, for example, replacing a faucet at home, can be carried out independently - you just need to collect the necessary tools and follow the algorithm of actions, which will be described in detail below . In this material we will touch on all aspects of the replacement procedure: from choosing a model to testing after installation.
The content of the article
Sink faucet: selection criteria
Before you go to the store in search of the desired model, it is a good idea to determine which device is best suited for your needs. For example, a low tap will be enough for washing your hands, but it won’t be very convenient to wash your hair or, for example, a dog’s dirty paws after an autumn walk.
Mixers are classified according to installation location and type of control. If everything is clear with the first (bathroom sink, sink, bidet, etc.), then in the second case there are as many as 5 subtypes:
- single lever;
- two-valve;
- thermostatic;
- sensory;
- portioned.
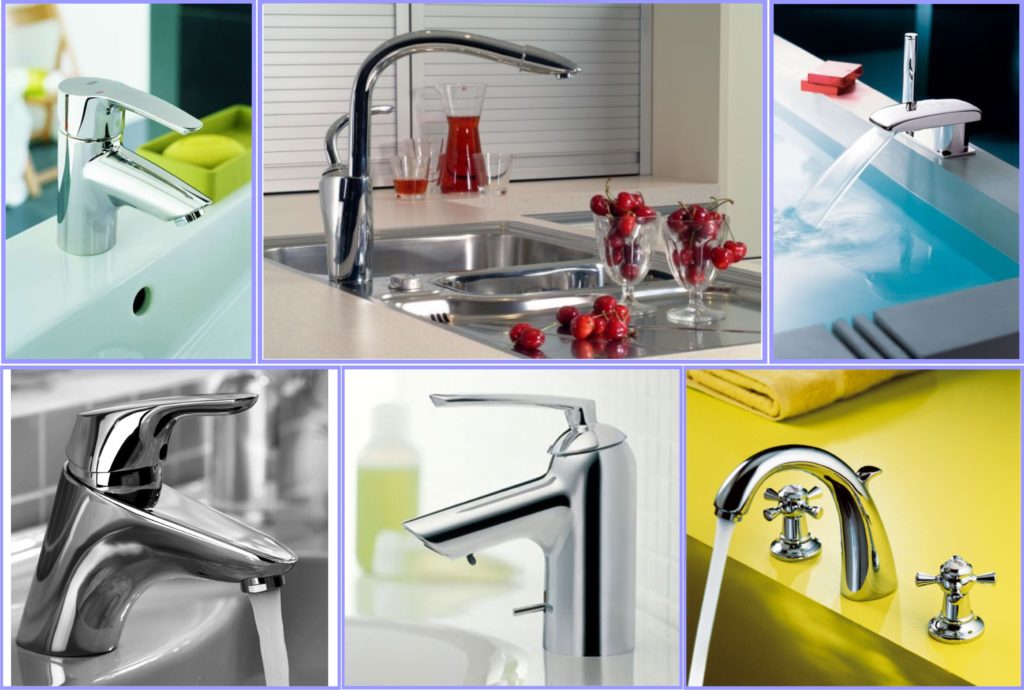
Single-lever and two-valve faucets are “classics of the genre” for most apartments in the CIS countries, but recently, in many shopping centers or individual houses, touch models can be increasingly found.They look quite stylish, and due to the lack of physical contact with the surface of the device (water is supplied after a signal from a sensor that detects the movement of hands in front of the tap), it is very convenient to handle.
Thermostatic mixers are perfect for families with small children, as they provide excellent protection against burns by limiting the water temperature to 38 degrees Celsius. As for portioned models, they also have their own advantages: after pressing a special button, water is supplied from the tap in just a few seconds - this is quite economical and reliably protects your home from a possible flood.
Reference! Some companies produce models with an adjustable aerator. They can be easily “adjusted” to fit a sink of any shape and depth so that not a single extra drop falls outside of it.
It is worth noting that sometimes it is quite difficult to choose a faucet for a sink so that it matches it not only stylistically, but also in terms of technical parameters. The solution to the problem in this case is quite simple: you need to buy both the faucet and the sink itself from the same collection, in which the developers and designers have already taken care of the balance of sizes, shapes and style.
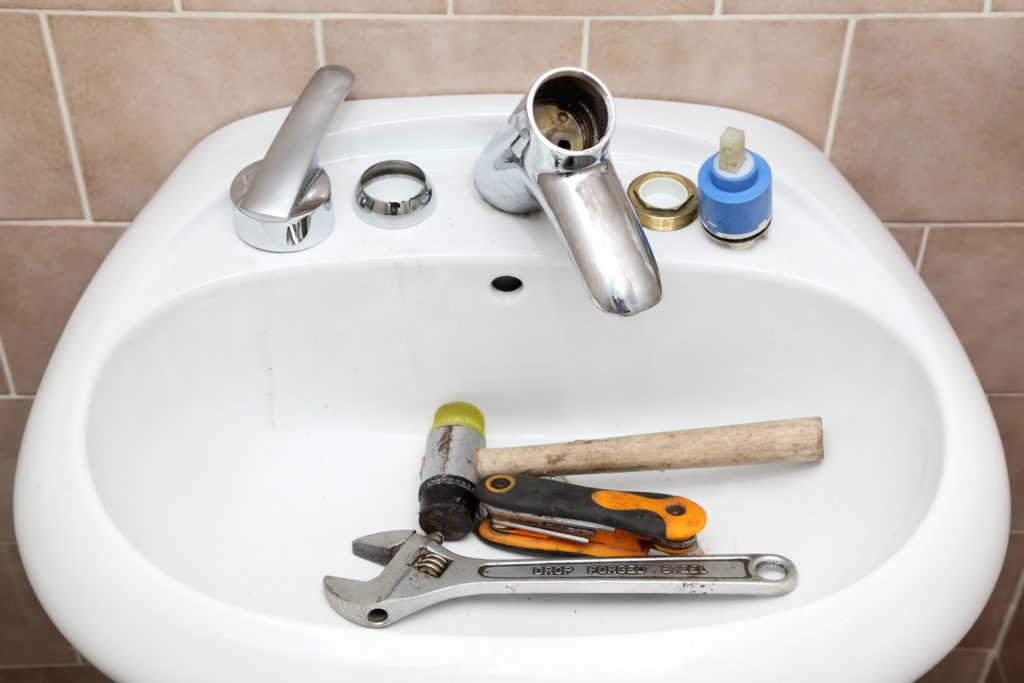
Necessary tool
Before proceeding with installation, you must check the availability of all components for the mixer. These usually include fastening nuts or bolts, rigid or flexible lines, gaskets, seals, and so on. Most modern models are supplied to the market fully equipped, but it is better to check the availability of parts before purchasing.
To install virtually any standard faucet, you will need:
- Adjustable (gas) wrench and set of wrenches.
- Pliers.
- A pair of screwdrivers.
- Sealing tape.
- Masking tape.
- Flashlight or other bright light source.
- A piece of rags.
- Plumbing fixture kit.
Attention! If the length of the “native” tubes of the device is not enough to reach the water supply pipes, you will need to additionally purchase a couple more flexible hoses. In addition, if you plan to install a model with a bottom valve, a hacksaw will be added to the list of necessary tools.
Removing the old mixer
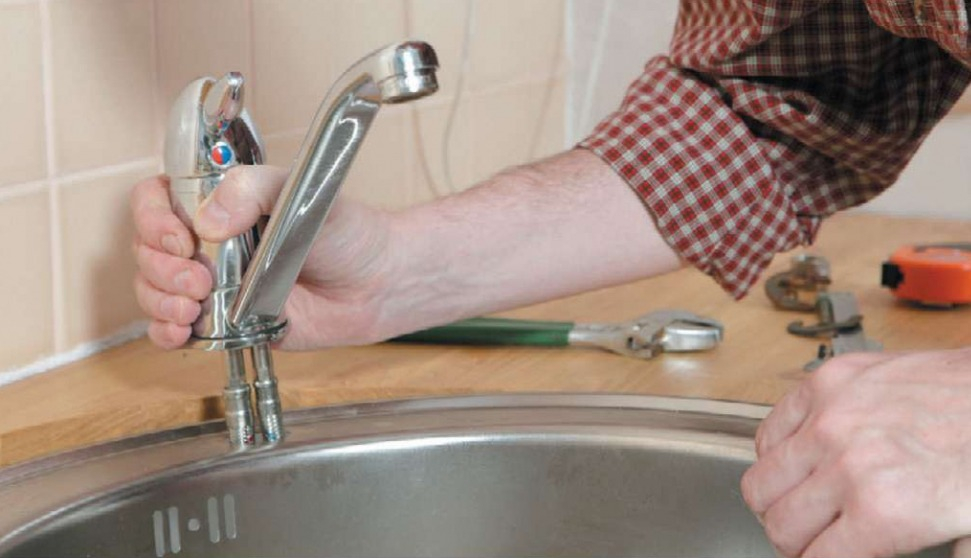
When removing a replacement faucet, you must be extremely careful with the sink: metal parts can easily leave a couple of unnecessary chips and scratches on it. Dismantling begins by shutting off the water supply to the sink. Most often, the taps can be turned off on the supply pipes near the supply pipes, however, if this cannot be done there due to the lack of valves or their malfunction, you will have to turn off the water in the entire house.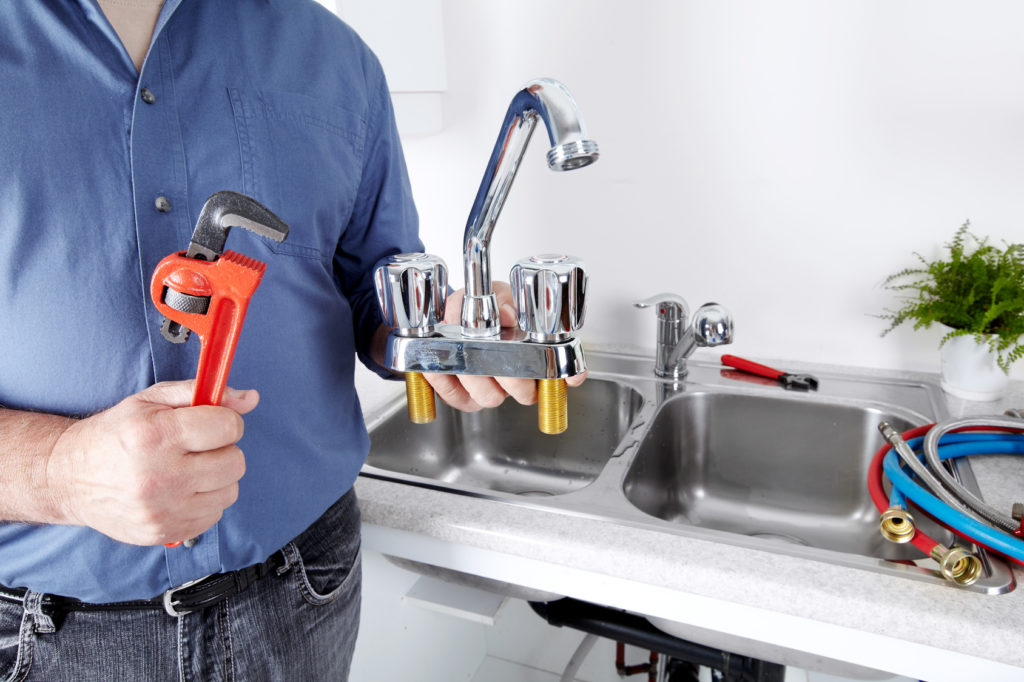
In order not to accidentally damage the sink, you can place pre-prepared rags on its bottom. After turning off the water supply and draining the remaining water from the tap, you can unscrew the fasteners holding the tap above the sink or in the wall and proceed directly to the installation.
Mixer installation
You should not rely on your vast experience (if any) and ignore the installation instructions: often they help not only save time, but also protect parts from premature failure. The installation process itself usually proceeds according to the following algorithm:
- a flexible hose is mounted on the mixer (most often it is easily screwed on with an 11 or 10 wrench);
- a silicone or rubber gasket-seal is installed on the base of the tap;
- using a key or manually screw in two studs (for models without a sleeve);
- flexible hoses are threaded into the holes in the sink;
- a horseshoe-shaped part is put on from the bottom of the sink;
- a metal washer of the same shape is placed over the gasket;
- A nut is put on each stud and both are tightened with a wrench (do not be overzealous with tightening the nuts).
Important! To avoid damaging the new device with metal parts and tools, wrap its base with masking tape before tightening the nuts.
After the faucet is attached to the sink, you need to connect it to the water supply network. To do this, soft or hard line tubes are secured to the water supply taps (which were closed during the dismantling of the old device) using nuts. To further seal the connections and prevent possible leaks, you can use sealing tape.
Important! Excessively long supply hoses can take up too much space under the sink, and if kinked, they can fail prematurely, so it is better to adjust the length of the supply hoses in advance.
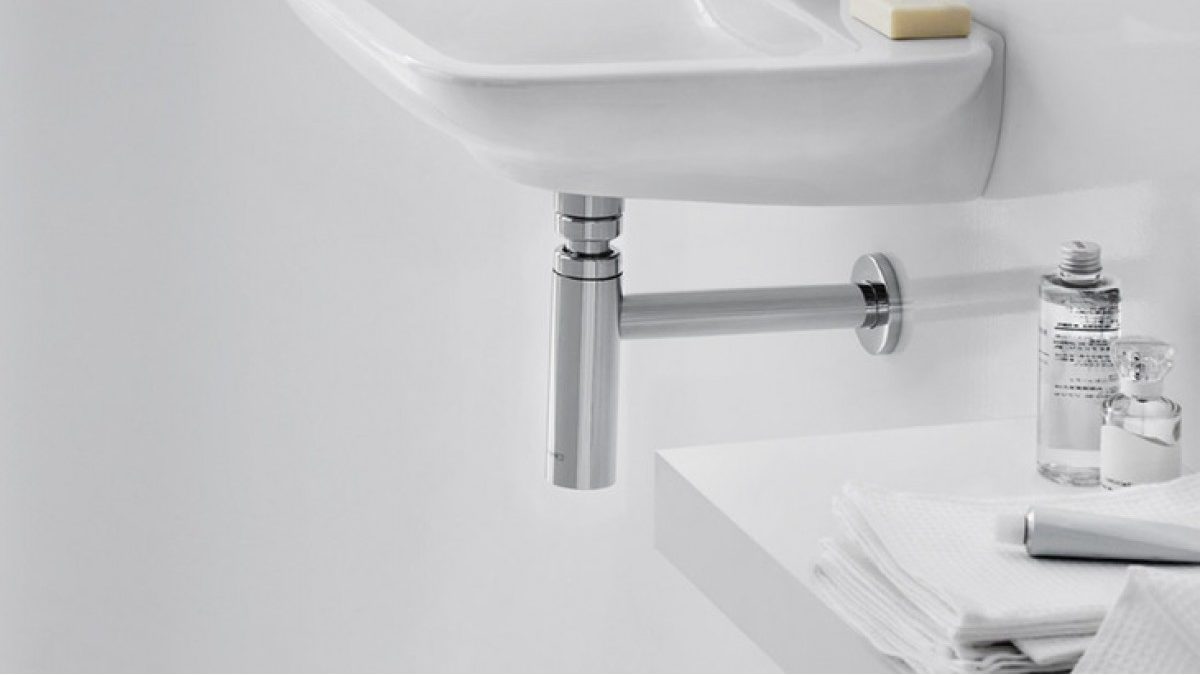
After the mixer is installed, the siphon should be replaced (if planned). When installing the siphon, you must strictly follow the instructions supplied with it, paying special attention to the installation of gaskets and the tightness of connections between parts.