Installing a siphon on a kitchen sink
Replacing your home's plumbing may seem like a daunting task to a newbie. However, after studying the problem, you will understand that simple procedures are accessible to everyone. Read about the features of the siphon and how to install it in our material.
The content of the article
Siphon designs for the kitchen
The device has many options. In general, it is represented by 4 large groups, depending on the raw materials used or the shape given.
Devices can be made of chromed metal or plastic. The first option has a beautiful design, a high price, but is subject to corrosion during operation. Plastic specimens are popular and have the greatest practicality and benefit.
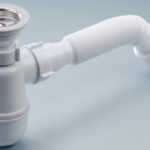
By shape, bottle and knee products are distinguished.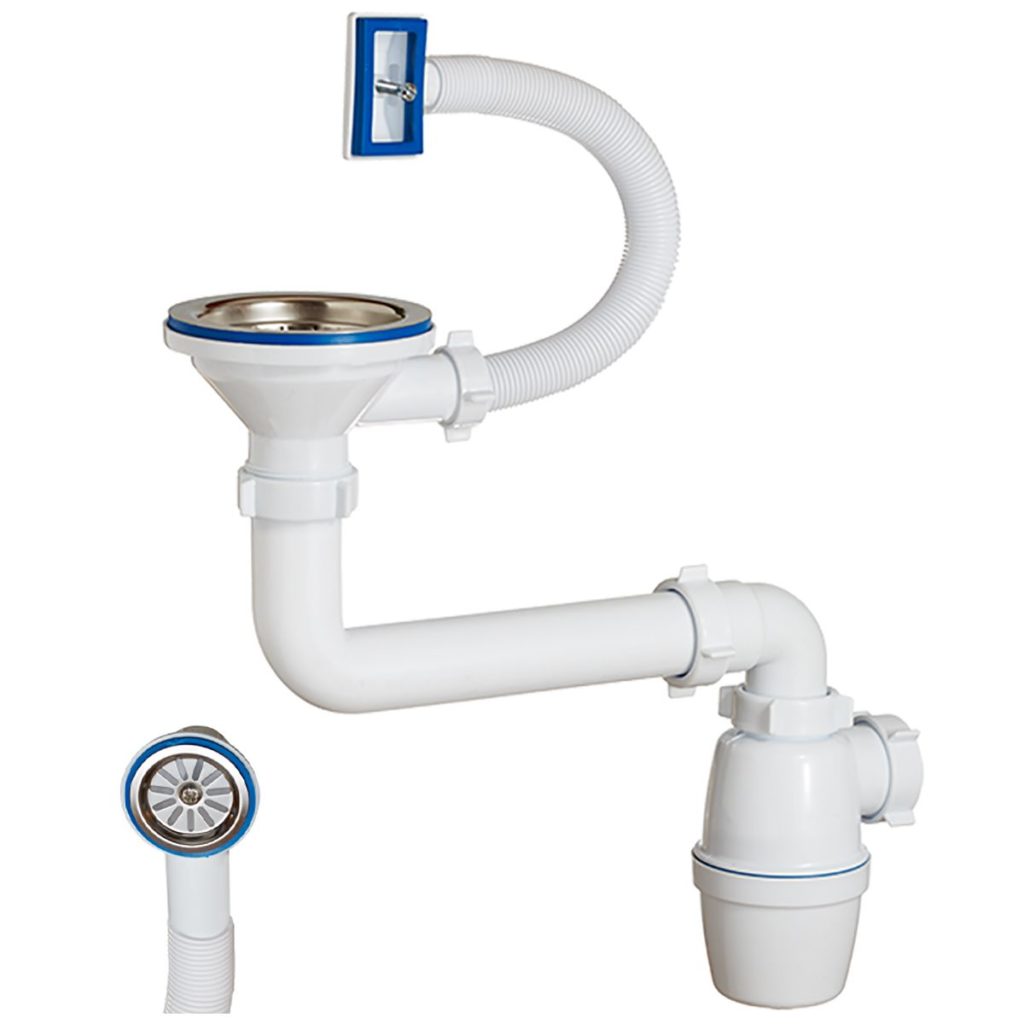
The first category has the form corresponding to the name. It is optimal for kitchen spaces if there is enough space under the sink to accommodate them. The owner can easily disassemble, clean and reassemble the parts at any time. They can be found in 2 versions:
- budget segment, characterized by a large number of elements (from 10);
- a product from reputable companies, equipped with built-in gaskets, made of high-quality plastic, high cost, long service life, easy to connect and adjust.
The second class is tubular specimens, which are rigid and elastic (with corrugation). They are used where there is not enough space, including U-shaped and S-shaped models can be used in the kitchen.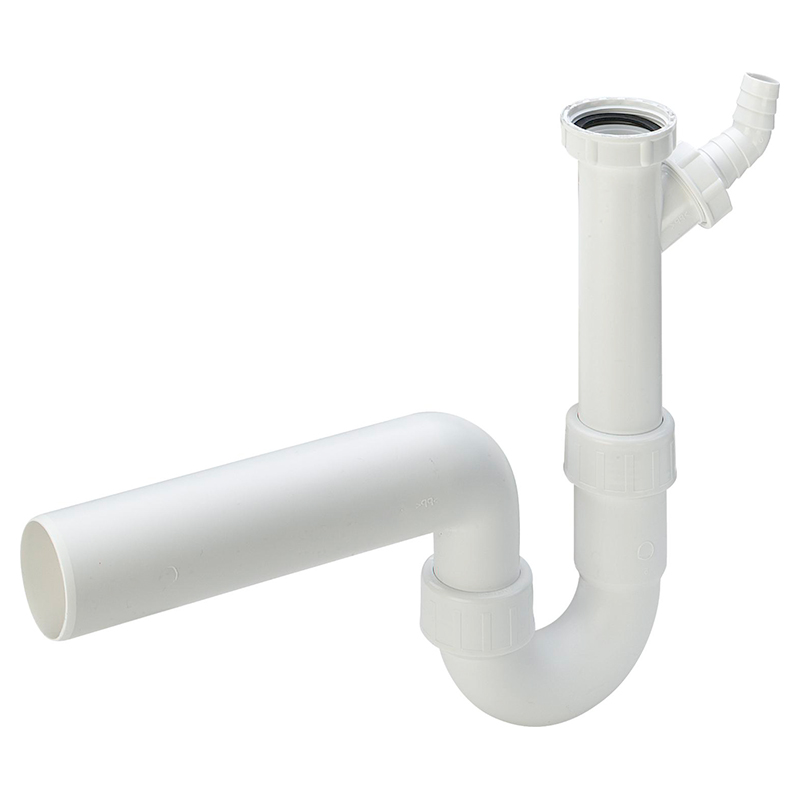
Reference! When choosing, you need to proceed from the size of the free space at the bottom of the washbasin and the technical parameters of the product: reliability of components, possibility of dismantling.
Regardless of the modification, the shutter always performs its inherent tasks: it prevents debris from entering the sewer system and blocks the penetration of harmful and dangerous gases into the apartment.
Components of the standard model:
- a pipe, 3–4 cm long, connects to the sink at one end;
- overflow (additional) pipe, intended for connecting a washing machine or sink overflow mechanism (if not planned for use, it is closed with a plug);
- the glass is the main part of the shutter, there is always a water plug inside the container (reduces noise level), the bottom element is equipped with a removable lid, which is easy to remove and clean accumulated dirt;
- drainage pipe - interfaces with the sewer system, dirty liquid leaves through it.
Assembling and installing a siphon on a kitchen sink
Devices differ in connection methods. There are two main methods:
- first we assemble the mechanism into a single whole, then we connect it to the sink drain opening and the outlet to the sewer;
- The valve is partially completed during installation work.
Important! Installation of the device should be done after laying the sewer system and placing the main plumbing.
Bottle siphon installation
Let's consider the procedure.
We visually check the integrity of the purchased kit: the smoothness and tightness of the parts, the quality of the corrugation - it must be elastic, the gaskets are tight and have no damage or tears.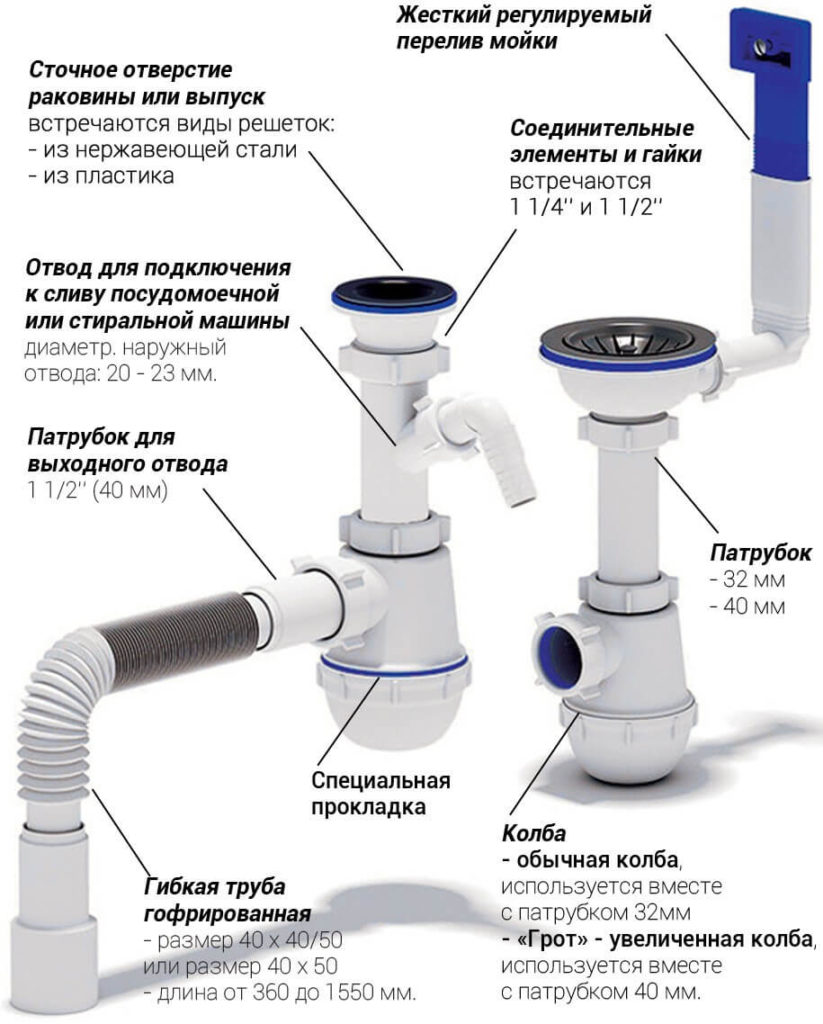
Attention! We do not recommend using wrenches; it is better to install all components by hand, controlling your efforts - this way you can avoid the risk of twisting the threads.
We take a glass, select and place a thin flat gasket of the appropriate diameter on its threaded connection (from below), then screw on the lid.
We sequentially place the union nut and cone seal on the upper branch pipe, connect the finished component with one side to the glass, screw the other end to the washbasin drain.
We put the nut and cuff on the drainage pipe, connect the element with the siphon.
Product assembly is complete.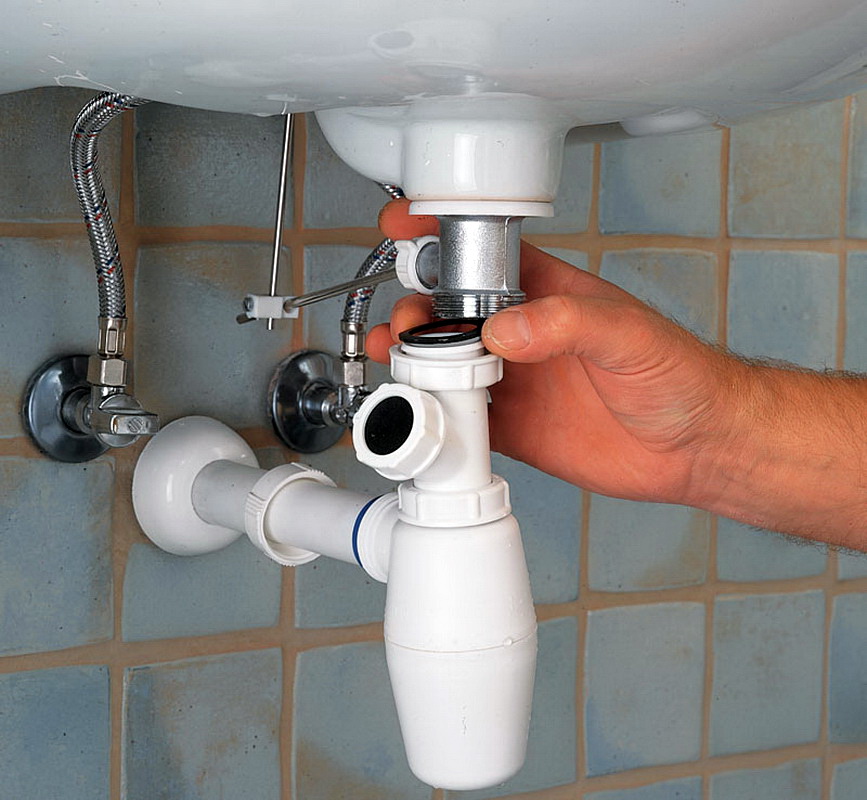
Attention! Waterproofness plays a major role. If you have doubts about the reliability of the cuffs, we recommend purchasing higher quality analogues. Experts advise applying sealant to the seals for maximum reliability. Excess gel is removed with a rag. After using it, wait 30 minutes (drying time), turn on the system and check the result.
How to install the option with overflow
The design protects the kitchen from possible flooding if the drain opening is clogged and the water overflows the bowl.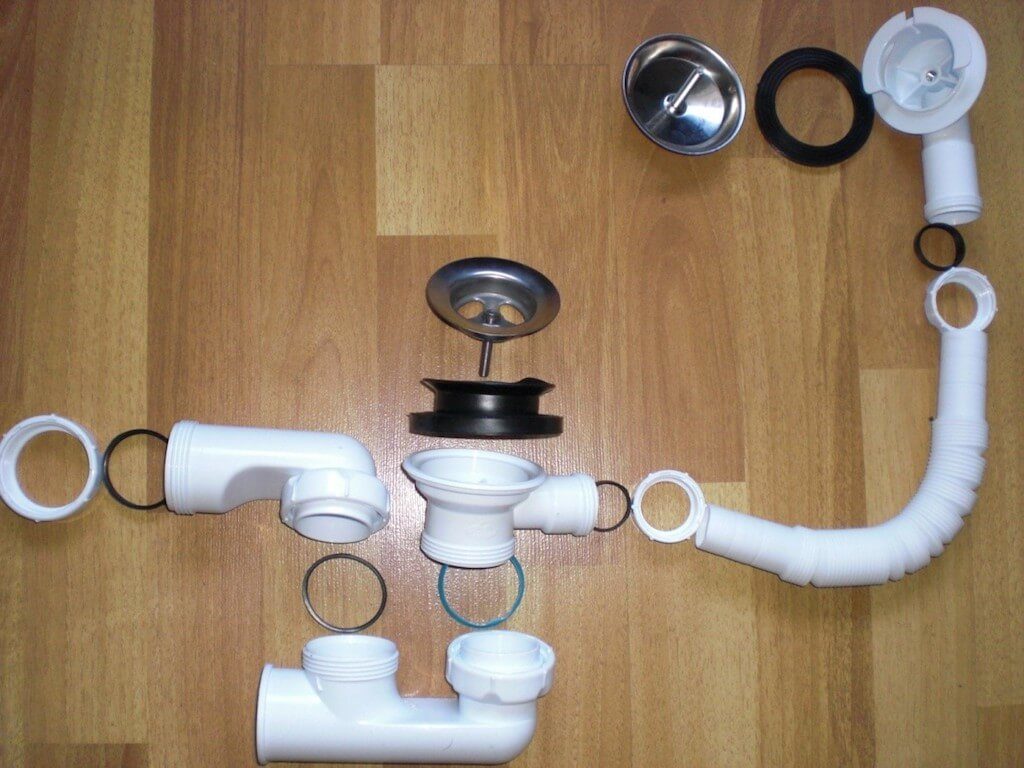
On the sink itself there are several miniature or one large diameter holes.
The second option involves installing a decorative element (grid) - we place it first.
Then a seal (can be of various shapes) is attached to the corrugated tube and fixed to the washbasin on the reverse side with a screw.
We mount the other part of the pipe to the free entrance of the siphon using a union nut.
Upon completion of the work, we will check the device for leaks: close the sink drain, fill the liquid up to the top edge and watch how it flows into the siphon. In case of problems, tighten the clamps more tightly.
Connecting a siphon to the sewer
There are two docking methods. The choice is determined by the structure of the device and the location of the sewer pipe.
The corrugated tube has elasticity and mobility, stretches to the required length and is placed in any convenient place. However, over time, it begins to sag - the flow of water will slow down, and blockages will form.
If the diameter of the sewer outlet exceeds the size of the drainage system, a thicker gasket or a special nozzle is used.
A rigid element is a piece of solid plastic pipe of suitable size, characterized by durability, and ensures stable discharge of liquid. It is connected to the sewer using a transition coupling. But this scheme only works if the sewer outlet is conveniently located.
Changing the siphon with your own hands is not so difficult. In addition, the owner, by performing these steps independently, saves his time and money. There is no need to take time off from work, wait for a plumber and pay for expensive services. To install everything correctly, you only need to clearly know the connection diagram, perform the installation procedures sequentially and make sure there are no leaks.

