Installing a bathroom sink
The sink is one of the most important components of the bathroom, which, unlike a bathtub or shower, performs a much larger number of functions. Modern plumbing stores present consumers with a huge number of different types and models of sinks. And although each of them usually comes with installation instructions, it can sometimes be difficult to figure out how to install or replace a sink in your bathroom from scratch. Let's figure out the procedure that will help you do everything right.
The content of the article
What types of bathroom sinks are there?
Experts consider just a few types of sinks to be the most popular today:
- Models on a pedestal.
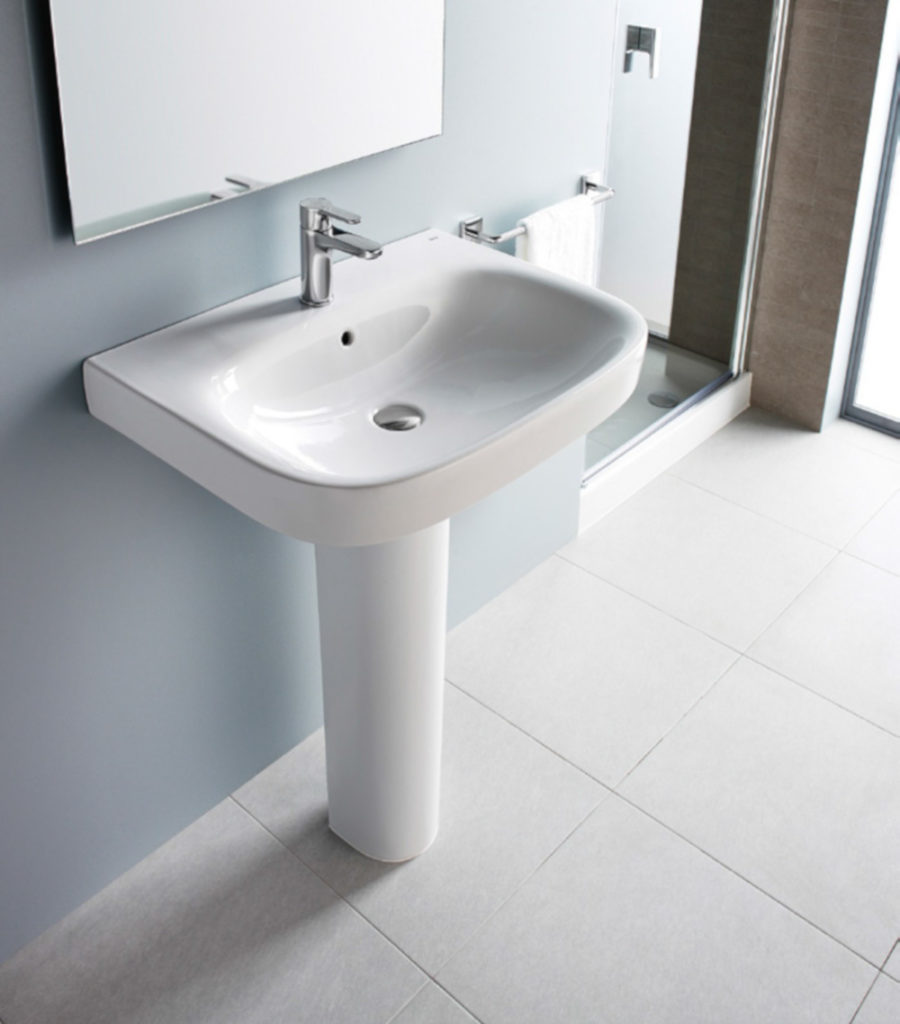
- Models on a semi-pedestal.
- Console and wall-hung sinks.
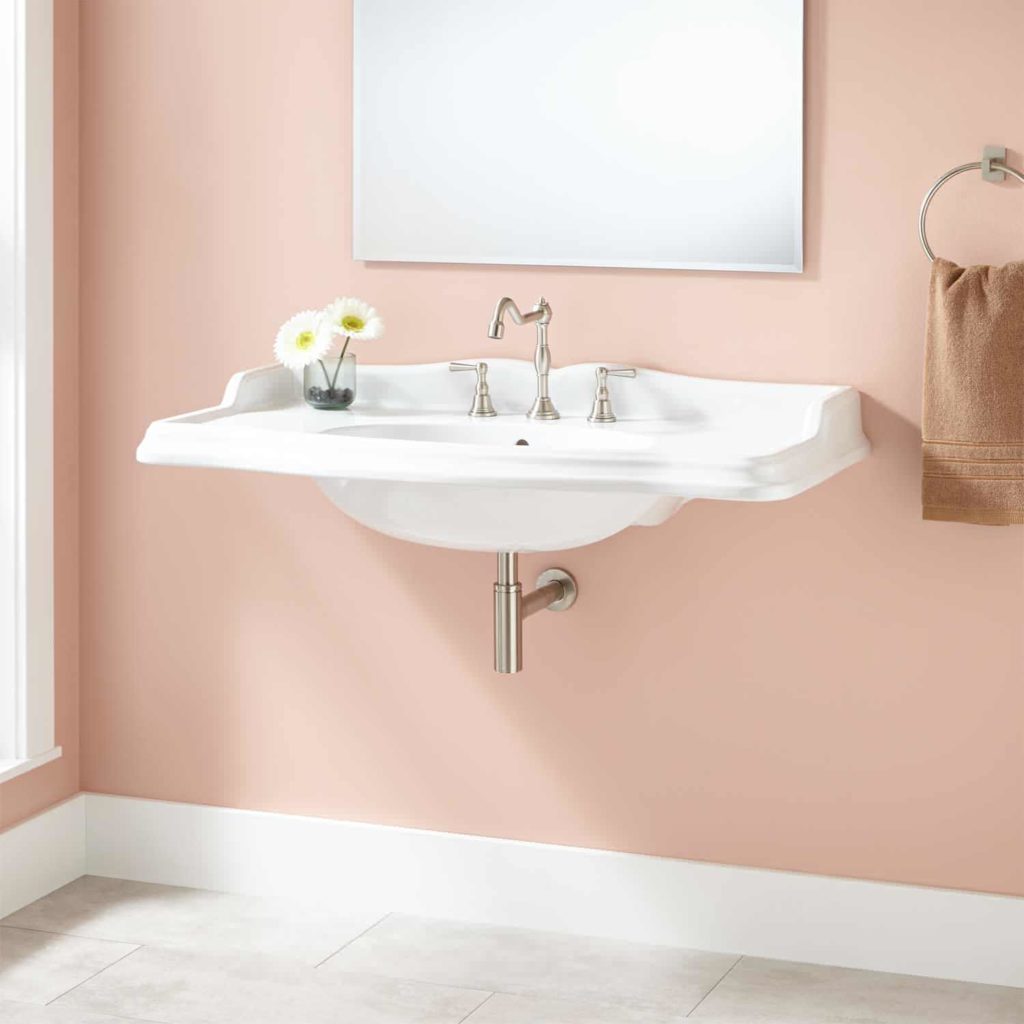
- Built-in.
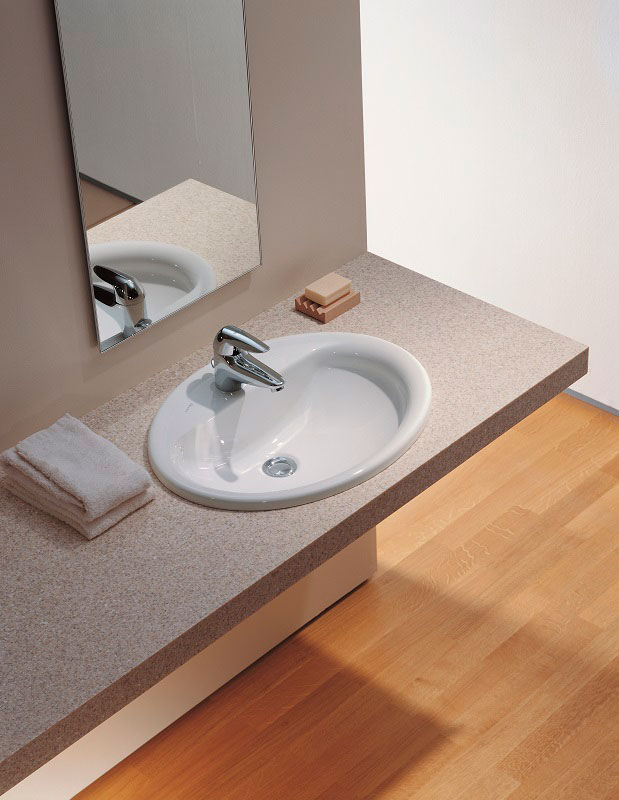
- Invoices.
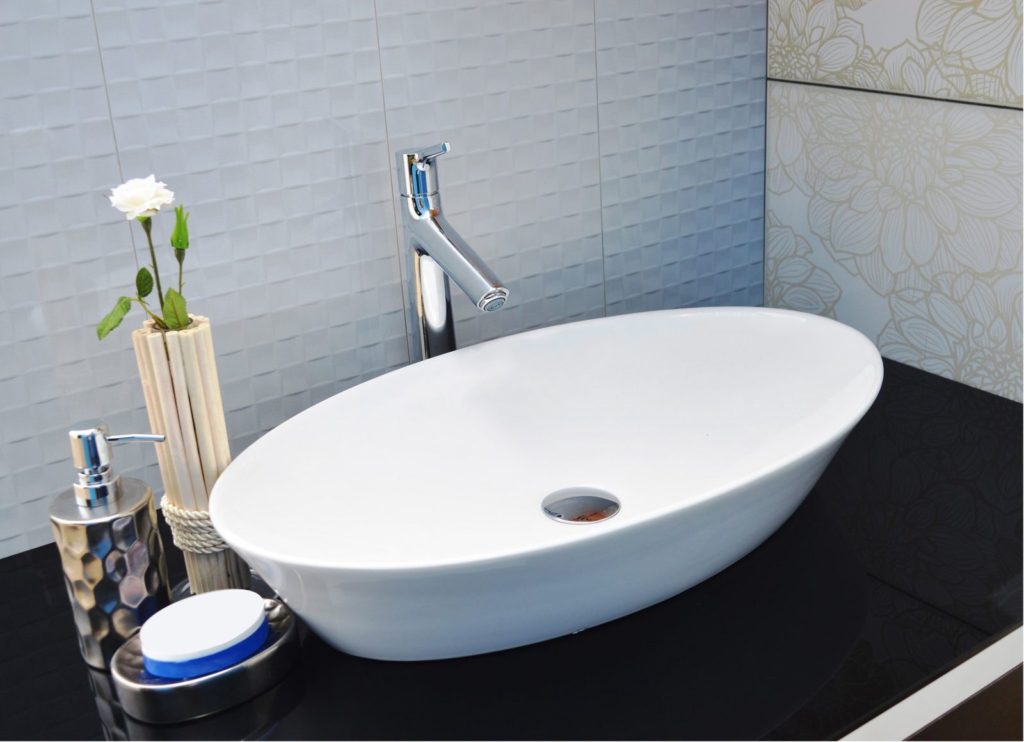
The first ones are also called “tulips” and they are more widespread than other models. As for hanging-type devices, in fact, each of them has its own installation scheme, depending on the subtype. Built-in sinks are mounted directly into the countertop, significantly saving space.
Reference! Before you go shopping, it’s a good idea to evaluate the size of the space allocated for installation and the type of sink. For example, built-in models are best suited for small bathrooms designed in a minimalist style.
Preparing for work
When all the necessary measurements have been made, you can proceed to removing the old “washbasin”. First of all, the water supply to the old sink is shut off (you can turn off the water either higher up the supply pipes, or by turning it off in the entire house/apartment). After this, it is necessary to disconnect the mixer along with the supply pipes from the supply pipes.
You should not try to unscrew the nuts on the hoses with pliers or, especially, by hand: to avoid leaks, the fastening points are sealed and tightened quite tightly, so you will need a wrench or a gas wrench. After the line is disconnected, the siphon must also be disconnected. As soon as the sink and faucet are freed from all communications, it can be carefully removed.
Depending on how the bowl and pedestal are secured (if provided for by the design), different dismantling methods are used. The easiest way is if it is secured with bolts - in this case you can simply unscrew them. If the bowl is attached to the wall on a special metal frame (this often happens in “Soviet” apartments), then it will have to be cut down with a grinder or a hacksaw.
Reference! Even if the water supply is completely shut off, a fairly large amount of water may remain in the siphon and liner, so it is better to prepare rags in advance before starting work.
How to attach a wall-hung sink
Wall-hung washbasin models are quite versatile and save valuable space for owners of small bathrooms. Installing a wall-hung sink can hardly be called simple, but if you have the necessary knowledge tools, it can be done.
The installation algorithm looks something like this:
- The brackets or mounting frame are mounted to the wall.
- A faucet is installed on the sink (this is done so as not to place the faucet “in place”).
- A special sealing lubricant is applied to the back of the sink.
- The washbasin is mounted on brackets, a frame or studs, all fastenings are tightly screwed.
- A siphon is attached to the sink, according to the installation instructions.
- The siphon is connected to the sewer, and the supply hoses are connected to the cold and hot water supply pipes.
After completing all of the above steps, you need to check the levelness of the installation using a building level, and also check the liner and siphon for leaks by opening both taps for a couple of minutes.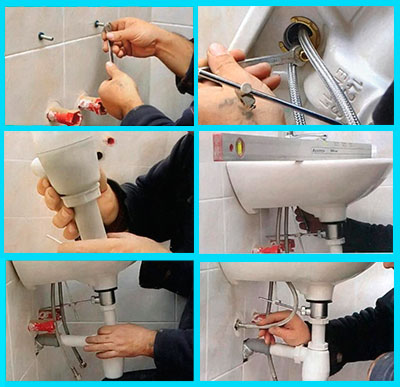
Reference! There is a certain standard for the height of the sink above the floor. The optimal height is considered to be from 800 to 850 mm, but no one forbids varying these indicators depending on the average height of the owners of the room. For short people, the bowl can be lowered a little, and for tall people, it can be raised to a height of about 930 mm.
"Tulip" in the bathroom
You should not assume that the model that involves installing a sink on a special column is a relic of the past, since “tulips” are still installed in many new buildings today. Moreover, there are a huge number of varieties of such sinks: with “legs” in the form of vases or beautiful columns, giving the room a slightly bohemian look. In order to install such a sink, in addition to the set of fasteners that comes with it, you will also need sealant, a gas wrench, a building level, a tape measure and a hammer drill.
When all the preliminary work is completed, you can proceed to marking the attachment points. The easiest way to mark is to simply place the bowl and pedestal against the wall, marking the mounting points with a pencil. In addition, do not forget to level the bowl.
To save yourself time, it is better to assemble the mixer and siphon before installing the bowl itself. First of all, you need to connect flexible supply hoses to the mixer. The length of the “original” hoses is often not enough, so sometimes it is better to measure the required value in advance and, if necessary, purchase the necessary parts.
After this, you need to install a round rubber gasket under the mixer. The mixer along with the gasket is then mounted into the hole in the bowl. After the hoses are threaded and the mixer is inserted into the hole, a gasket is also placed on the bottom side of the bowl, and a special washer is placed on top of it (most often it has the shape of a horseshoe). The mixer is then secured in the bowl using a special nut that comes with it.
When the siphon and mixer are installed in the sink according to the instructions, you can proceed to the installation itself. First, you need to drill holes in the wall according to the previously marked marks for inserting plastic dowels. Dowels are inserted into the drilled holes, and the self-tapping screws from the fastener kit are screwed into them.
Reference! Be careful when drilling ceramic tiles: in order not to split them, you must use a special drill and do not overdo it with pressure during the drilling process.
When all the dowels are screwed in, the sink can be “put” on them through the holes provided by the design, and then immediately secured with nuts, under which plastic washers must be placed.After the washbasin is fixed, you can begin to fix the siphon to the drainage system, and the connections to the hot water supply and hot water pipes. The last thing in the process of installing the “tulip” is the pedestal, which most often does not require additional fastening.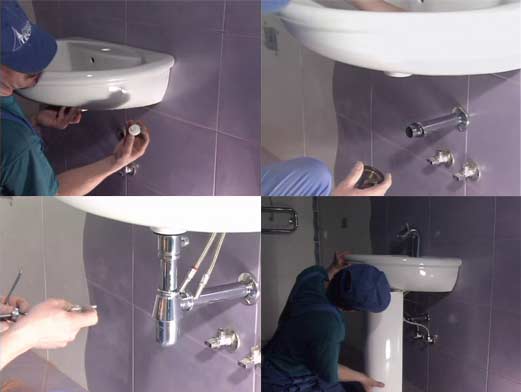
Installation of a built-in sink
Experts install a countertop sink in the following order:
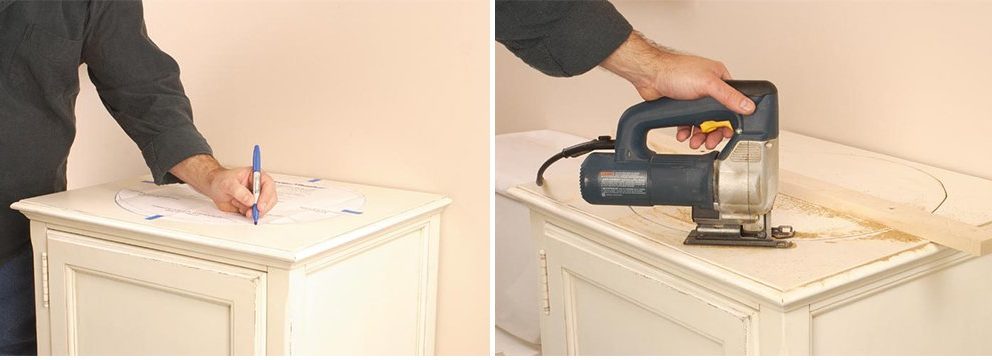
- Mark the hole for the washbasin on the surface of the countertop (this can be done by turning the bowl upside down and placing it on the surface of the countertop).
- The width of the side of the bowl is measured from all sides.
- The bowl is removed from the tabletop, and the outline of the side is drawn inside the marked outline.
- Using a drill and jigsaw, a hole is cut along the inner contour.
- The walls of the hole are treated with sandpaper and covered with several layers of sealant.
- The bowl “equipped” with a siphon and mixer is covered with sealing tape along the side.
- The sink is installed in the sawn hole and secured in it.
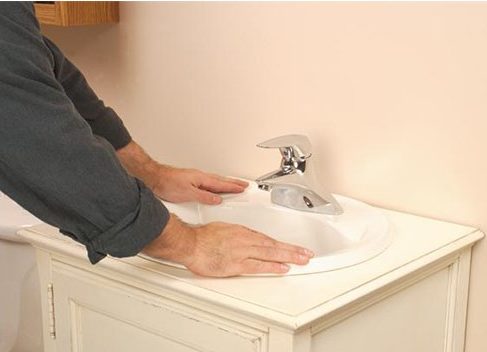
- The siphon is connected to the drain, the liner is connected to the water supply pipes.
At this stage, the installation of the built-in sink can be considered complete. It is worth remembering that some types of sealant need time to “set”, and it is better not to use an installed sink for at least a day. In order to even more reliably protect the countertop from water getting into the cut, you can apply a thin layer of sealant along the side of the sink before installation.


