DIY concrete sink
I really love this relatively new trend of concrete sinks. Not only does it look non-standard, but also in terms of its properties it is an excellent alternative to ceramic analogues that have already set the teeth on edge. What’s really cool is that you can make it yourself, which means you can give it any shape you want! And I'll tell you how to do it.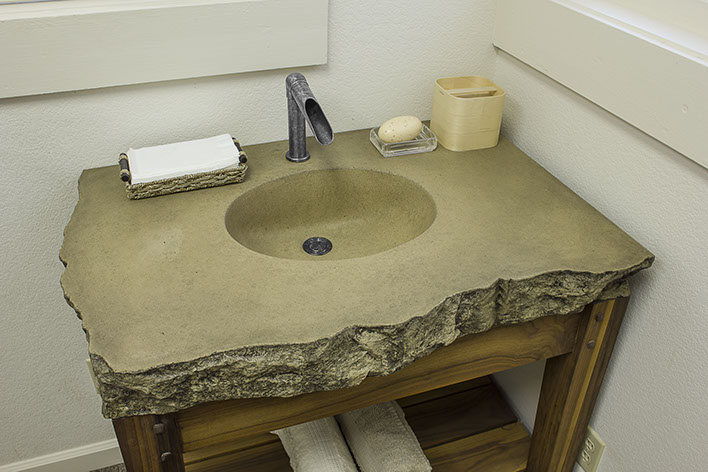
The content of the article
What you need to make a concrete sink with your own hands
For this purpose, sand concrete M300, M400 or M500 is best suited - these are the types that can provide the most smooth surface. It will be even better if you add a plasticizer to the solution. Not everyone likes the gray color of concrete, so if you are one of them, you can additionally purchase a special dye at a hardware store.
Reference! The lighter the color of the concrete, the richer the result after adding the dye.
You will also need clean fine sand (from 1.2 to 2 mm). Just wash and dry it before use.
Don't forget about the formwork. It will require particle boards, boards or sheets of plastic. If you want to experiment with shape, thin sheets of zinc-coated steel are ideal, as they are strong and bend well. In addition, you will need sheets of cardboard to create the layout.
To reinforce concrete, you will need steel rods with a diameter of 10–15 mm, and to strengthen the joints, you will need corners and tapes of the same material, fasteners and sealant. To support the weight of the sink while it dries, you need reliable supports - I recommend bricks as the simplest, most durable and inexpensive solution. While drying, the sink should be wrapped in plastic film, so make sure you purchase that too.
If you want to make an external finish, for example, with tiles, then you will additionally need tile adhesive and grout.
And finally, a list of necessary tools:
- jigsaw;
- hammer drill with concrete drills;
- screwdriver or screwdriver;
- hammer;
- metal scissors;
- welding machine;
- a large bucket to mix the concrete solution in;
- construction mixer;
- ruler or tape measure, pencil;
- building level.
Advantages and disadvantages of the material
It has many advantages and I will be happy to tell you about them. Firstly, this is the price. In terms of quality and strength, concrete is no worse than stone, but costs much less.
Secondly, thanks to the ability to experiment with shape and color, a concrete sink can fit into any interior style.
Thirdly, you can pour boiling water into it as much as you like after preparing pasta or dumplings, because such a sink doesn’t care about anything. If a heavy pot or frying pan slips out of your hands while washing, the concrete sink will withstand any impact and will not even crack.
The only weak point of concrete, which can be called its disadvantage, is that it does not tolerate any acids, even banal lemon juice. To get rid of this problem, you can cover the sink with a polymer coating, but then a new one will appear - the polymer does not tolerate high temperatures.
Design options
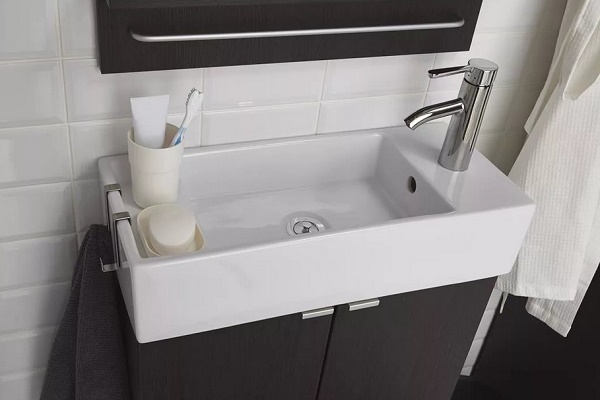
I'll start with the standard ones. First of all, this is a familiar rectangle. A familiar, pleasing to the eye and easy to use form.
The second, no less common, is the oval. This is an ergonomic and more compact option.
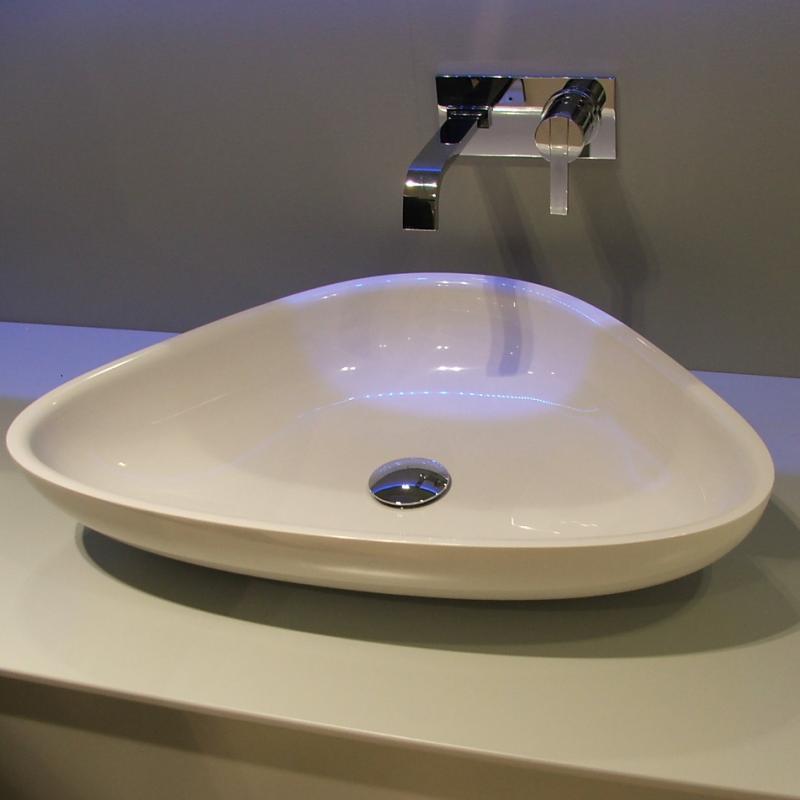
Then it gets more interesting. For example, there is a shell shape. This is what the unprocessed version looks like.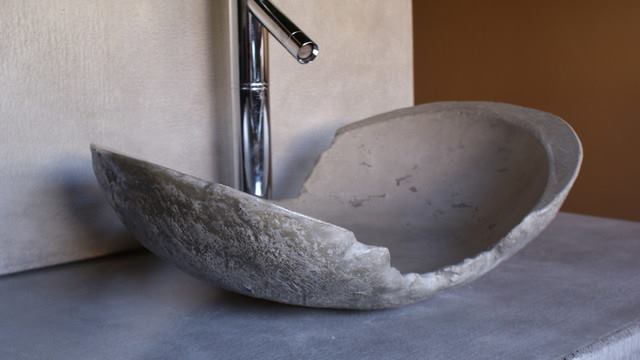
You can also experiment not only with the shape of the edge (for example, in the image below it is an ordinary rectangle), but also with the “internal filling”.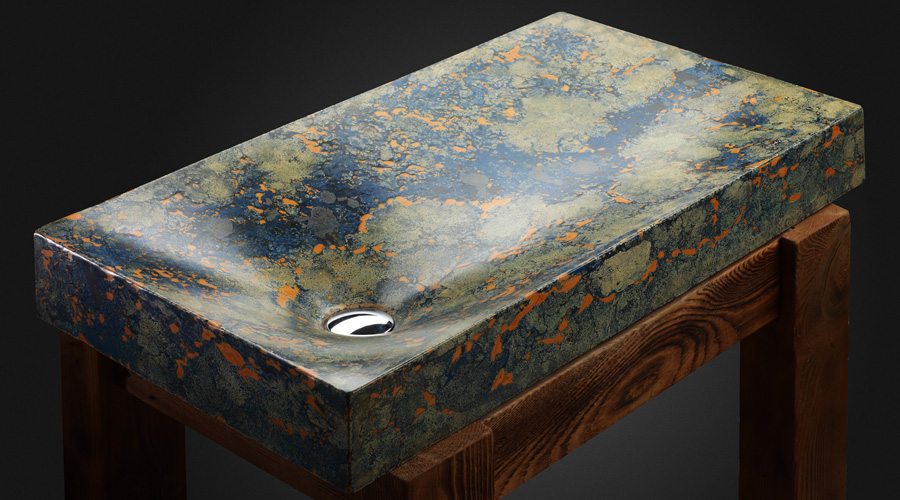
The process of creating a concrete sink
So, we’ve prepared the tools, learned about the pros and cons, been inspired by the forms, it’s time to get to work!
Markings are applied to the prepared (cleaned of paint or plaster) wall surface near which the sink will be located. To avoid distortions, a building level is used. Since you will be creating your masterpiece from scratch, there are no restrictions, you are guided only by your taste.
Attention! But don't forget about convenience. When choosing a height, consider your height.
Now it's time to start formwork. First, make a layout from cardboard: firstly, this way you will clearly see the result that you need, and secondly, if the expectation does not coincide with reality, it is faster and easier to remake a cardboard layout than finished formwork.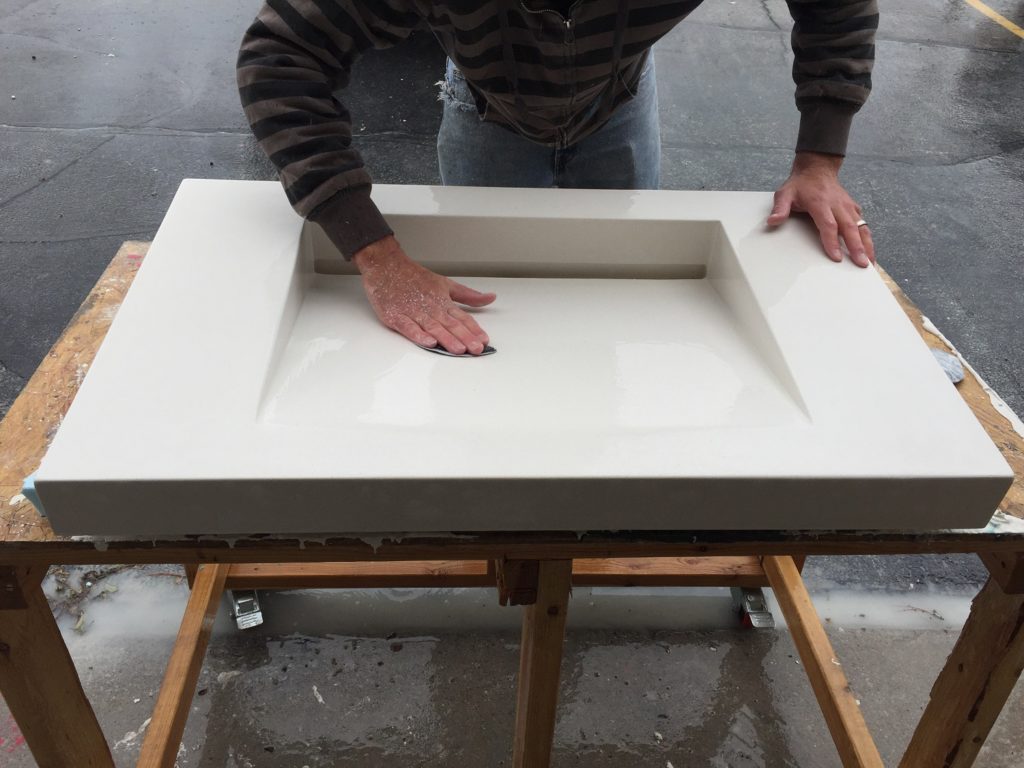
After this, you can begin to bring it to life. The base and sides are made separately, then they are fastened together with self-tapping screws and steel corners. The joints are treated with sealant.
Important! Already at this stage you need to take care of all the holes that will be at the sink, namely: for the drain, overflow and tap. Plastic tubes of the appropriate diameter are inserted into them.
Now we create something with which the sink will be firmly attached to the wall - the fittings. We use a hammer drill and a drill to punch holes in the wall for the rods. We put a metal washer on each of them, weld it and hammer it in so that the reinforcement fits tightly into the wall. The intersections of the rods are also welded or tied with wire.
We install formwork on the resulting structure. Additionally, we attach it to the wall with corners, dowels and self-tapping screws. But that’s not all: since the next stage is already connected with concrete, we immediately place brick supports below, which will take on its entire mass.
Time to get to the solution! Mix cement, sand and granite crushed stone in a ratio of 1:3:3. Then add the same amount of water as this mixture is obtained (that is, if half the bucket is filled, then you need to add enough water to fill the bucket completely).
Attention! This is a guideline recommendation. The main task is to get the consistency of thick sour cream, so if this requires more or less than half of the water, it’s okay.
Mix our “porridge-malasha” with a construction mixer. After this, we pour it into the formwork in layers. If you want to create a decorative colored surface, then a separate solution is prepared for concrete with dye.
Attention! Be prepared that the concrete mixture will “sit” by 1–2 mm, so take this point into account, especially if you want to create a sink built into the countertop.
Now we just have to wait. After a week, you can remove the formwork and plastic pipes. Dismantling is done from top to bottom. It is best not to remove the supports at this stage, even if the sink looks solid.
You can start decorating.It's up to your taste: you can lay tiles, or simply sand the surface and apply a moisture-resistant coating to it.
In a month, the concrete will finally harden and all you have to do is remove the supports and connect the plumbing equipment. All is ready! Happy washing your hands and dishes!


agree. The article is nothing!!!

A water-cement ratio of 1:1 is not even M100. You definitely can’t do that.
You need to add little water, you need a plasticizer, you need an additive for water resistance.
The laid mixture must be vibrated.