What is the diameter of the hole in the sink for the mixer?
In recent years, the assortment of stores has been expanded with sinks of symmetrical shapes. This is very convenient, since there is no fundamental difference in how to install them - on the right or left side.
The manufacturer assumes that the hole for the mixer will be made independently at the time of installing the sink. In fact, it is logical and convenient. It is often not always possible to purchase a sink with pre-made outlets, since the parameters of the mixers are different.
Most kitchen sinks are factory-prepared to have an outlet of 32 millimeters, but commercially available faucets often have a diameter larger than 34 millimeters. Shops are supplied with sinks without a pre-drilled hole, made of stainless steel and ceramics. Most consumers are faced with the almost impossible task of making a hole of the required diameter. However, not everything is so sad.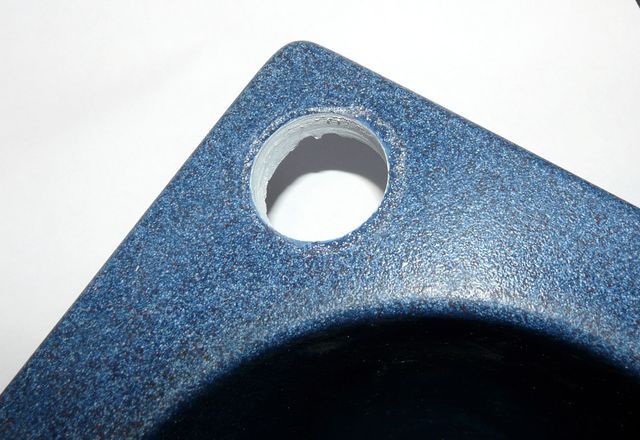
The content of the article
How to make a hole for a faucet in different sinks
Before you start drilling the sink, you need to make sure that everything you need is on hand. The following may be needed:
- drill for ceramics;
- tungsten carbide crown;
- perforator;
- marker;
- sandpaper.
The crown should be taken with a diameter of 33 millimeters. It is better to drill with a hammer drill rather than a regular drill. And the point here is not the force of the hammer blow; moreover, its striking abilities should not even be used.It’s just that the rotation of the rotary hammer is slower, but it weighs more than a drill, and it will be more powerful. Of course, if there is no hammer drill, then you will have to use a drill, but you will need to set the minimum rotation speed, otherwise the crown will not bring any benefit.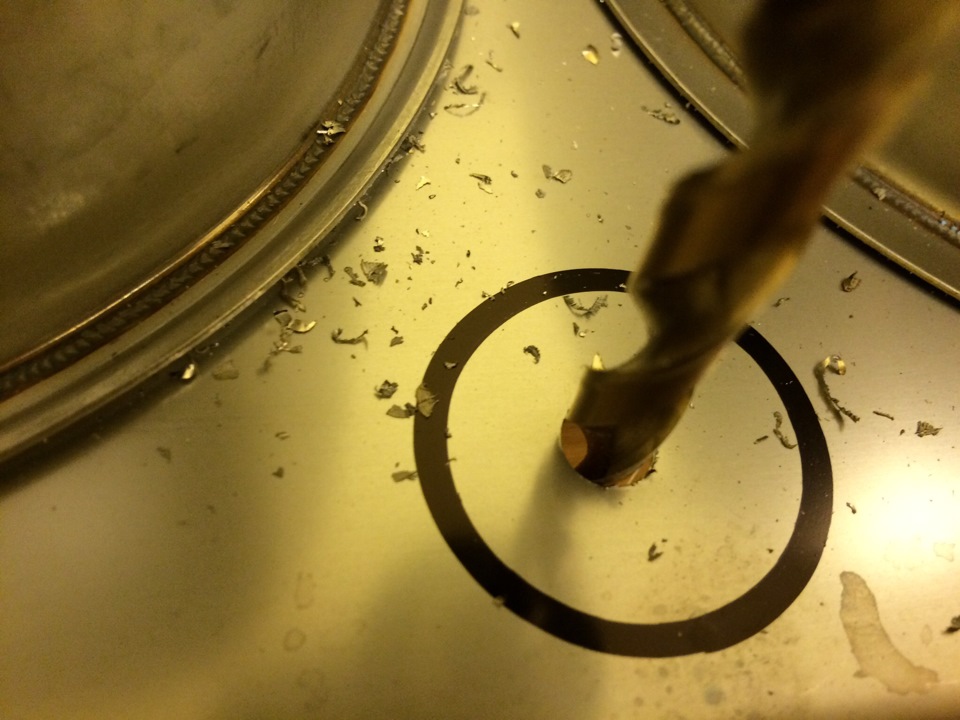
You should start, naturally, with markings. It is logical that you first need to decide where exactly the mixer will be located. Having determined the installation location, you need to mark it with a marker.
Having installed a drill bit for working on ceramics in the hammer drill chuck, you should start working. The hole must be through. We made it solely so that we could install the drill from the crown.
Reference. It should be understood that the strength of ceramics is very high. In terms of strength, it can be compared with porcelain stoneware. If you have ever dealt with this material at least once in your life, you can imagine it. Despite the strength of porcelain stoneware, it is very fragile.
The first step is to make a narrow hole, which is then widened. First, a six-millimeter drill is used, then you can use an eight or ten millimeter drill.
When working with a drill on ceramics, you should remember that the drilling site must be continuously moistened with cold water. You can just pour it from the bottle.
Once the center hole is made, it is time for the crown. It will be very easy to get through the initial two or three millimeters, but then difficulties may begin. Most likely, the crown will simply rotate, without any noticeable indentation.
To facilitate the advancement of the crown, you need to help it a little. Everything is very simple. Using a thin ceramic drill, we make shallow drills inside the selected recess.This will allow the crown to move more easily, since there is a stop. After the crown goes deep and stops again, the indentations should be made again.
What should be the diameter of the hole for the mixer?
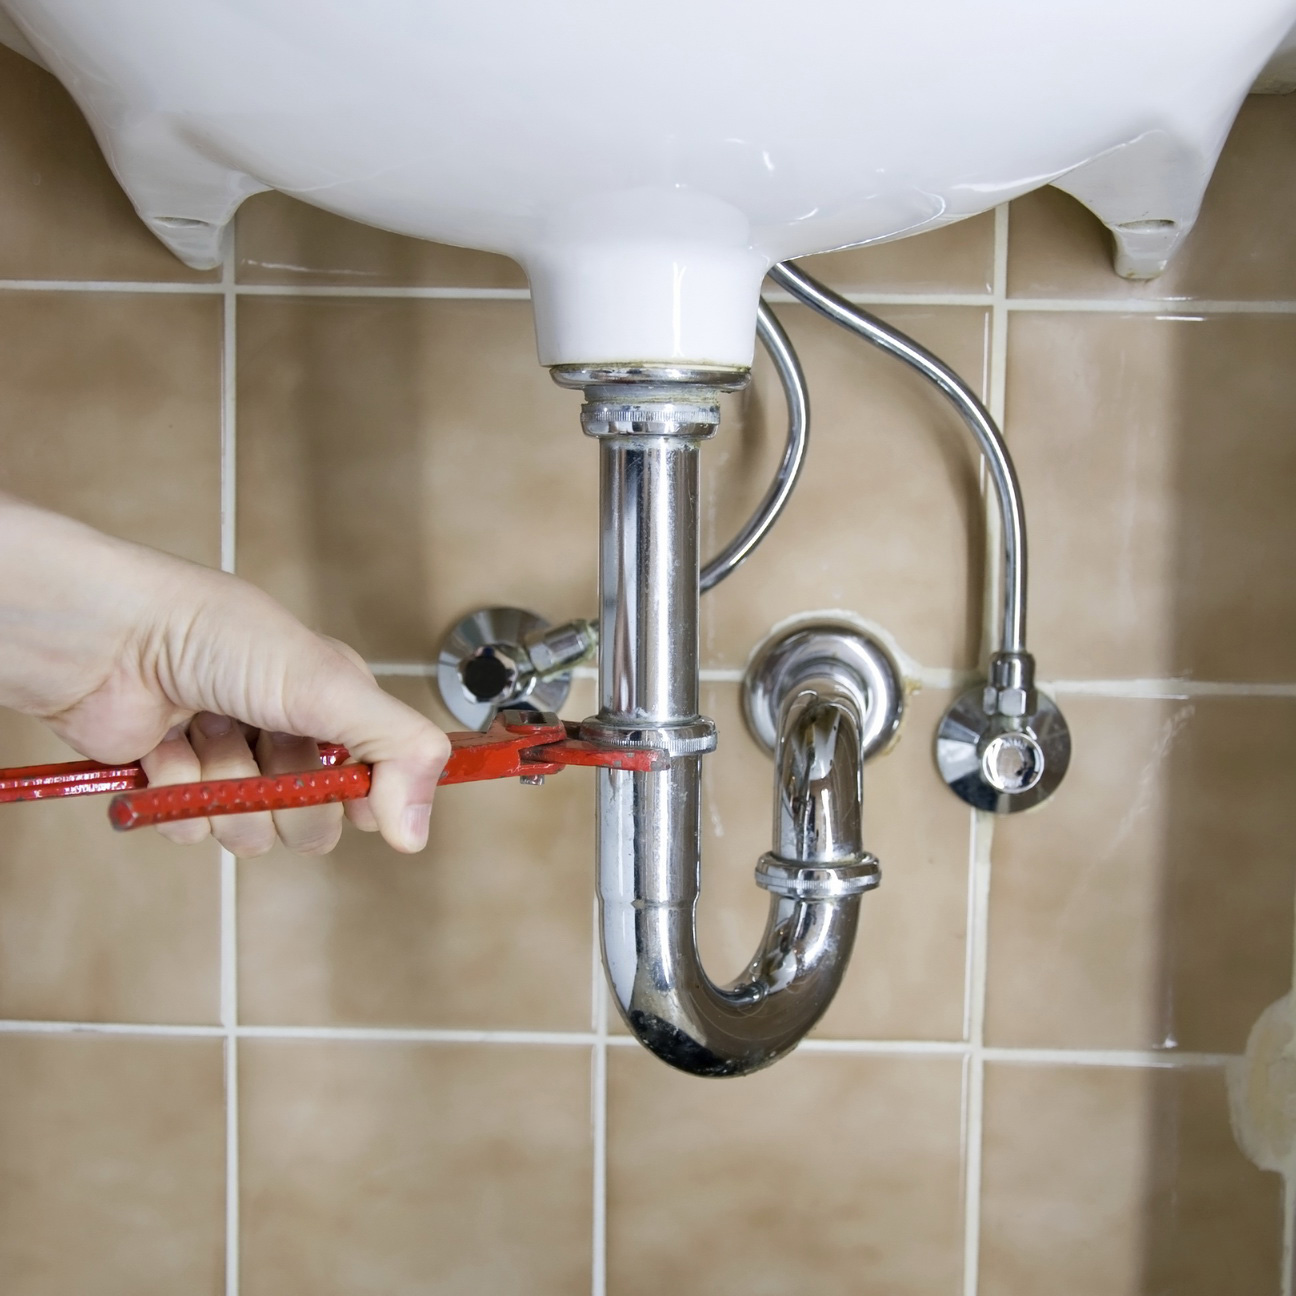
If we focus on the existing standard, it should be noted that siphons that are installed under the sink are rarely more than thirty-five millimeters in diameter. If the sink already has a hole for the faucet, then, most likely, all questions will disappear by themselves, since it should fit.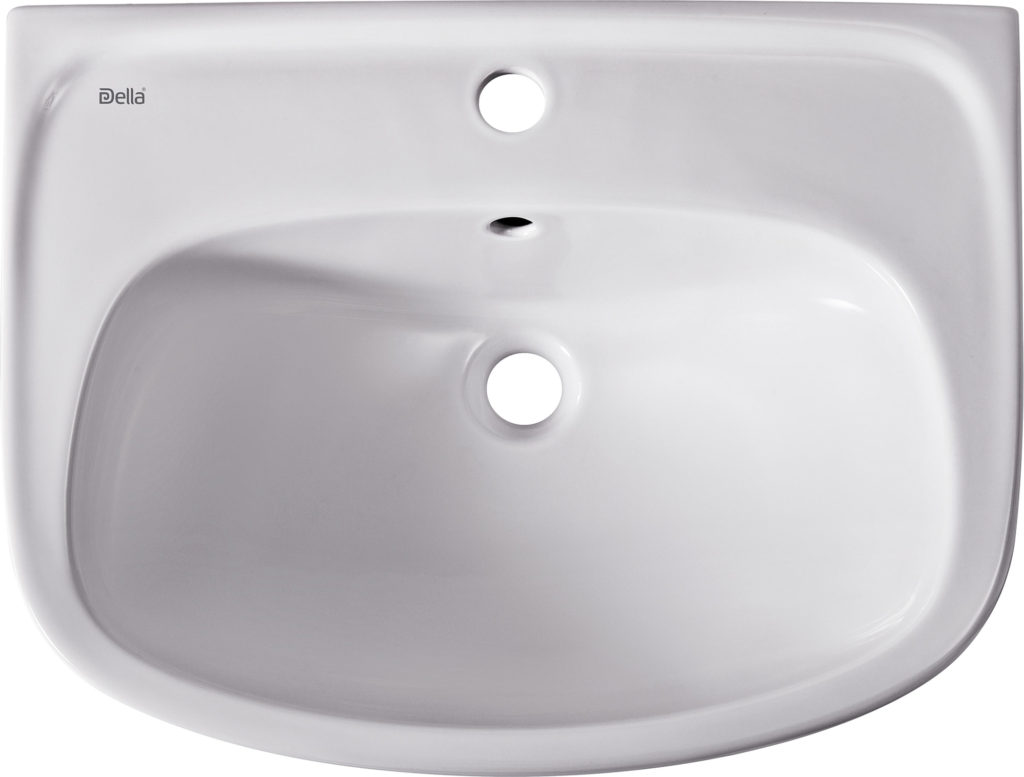
But some companies have models of sinks, usually made of ceramics, which do not have holes for the mixer at all. The fact is that there are faucets that are mounted either on the side or on the wall above the sink. This raises the question of how easier it is to drill a hole. However, if you have a drill, the necessary drill bits and minimal operating skills, this will not become an insoluble problem.
If you use a crown with a diamond core, for example, with the same thirty-five millimeter diameter, you can easily make the required hole. In this case, there is no need to somehow cool the drill or pour water. With modern equipment, none of this is needed. With such a crown it will be possible to make a perfectly even hole, without any chips.
Once the hole is ready, you will need to think about sealing. You will need to lay a gasket on the sink, and when the mixer is installed in its place, it will be useful to treat the joints with silicone sealant. This will eliminate any possible leakage.
How to make a hole for a faucet
If you are careful and careful, drilling into a ceramic sink is not that difficult. This is done as follows:
- A mark is drawn at the place where the mixer will be located. This is where you need to drill. Making a hole is a very simple task at first glance, but it raises many questions, especially for those who are faced with this for the first time. Under no circumstances should you use a drill with a pobedit tip. It does not drill, but simply chips the material and peels it. It is better to use a metal drill at low speeds, or maybe even a hand drill.
- Next, holes are made in the partitions. The impact of the drill leads to strong heating of the ceramics; this heating must be strictly controlled. To work, you need to use a thin drill and work around the entire perimeter of the future nest.
- Using a soldering iron, you need to make notches, after which you can knock out the plug with a hammer.
- You need to go along the edges of the chip with a jigsaw and a diamond file to trim the hole.
- The edges of the hole must be treated with an abrasive nozzle. If you don’t have one on your farm, you can also use a round file.
On some models of ceramic sinks, manufacturers specially make special marks. If you hit them accurately with a hammer, they can be easily knocked out. This creates a finished hole for the mixer. The main thing is to hit carefully.


