How to Install a Pedestal Bathroom Sink
My favorite type of sinks are the ones on a pedestal. They look beautiful and majestic, and most importantly: no pipes, everything is compact and hidden. But, unfortunately, they are unlikely to be suitable for an ordinary city apartment, since in most cases the apartment sewage system requires a horizontal outlet, and such sinks can only have it to the floor. However, for country houses and dachas this is an ideal option.
The content of the article
Features of a pedestal sink
First of all, she is simply beautiful. The pedestal leg copes well with decorative functions, and there are so many types of designs that you can easily choose the model that suits your interior.
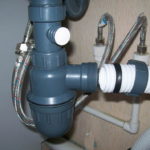
As for functionality, its main purpose is, like Atlas, to support the weight, not of the sky, but of just your shell. And of course, such a leg masks all the communications that are contained inside it - a siphon, water and sewer pipes.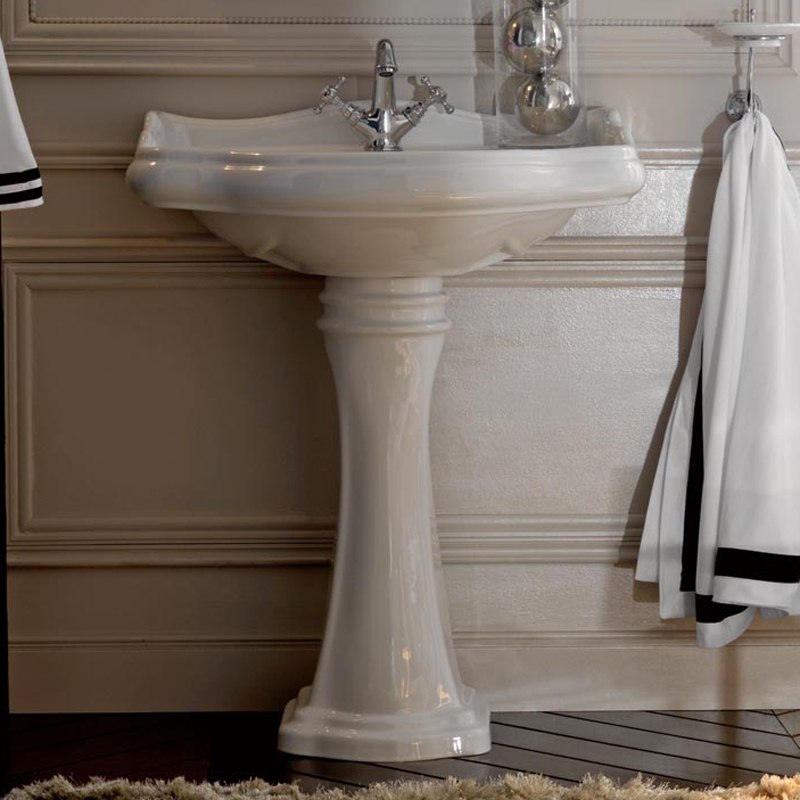
By the way, not all pedestals are one piece with the sink. Many manufacturers offer separate options and this is very convenient for those who want to select parts from different sets.
Reference! The standard material is earthenware, but there are stone, acrylic and even glass varieties.
There is also a so-called semi-pedestal. It looks like this: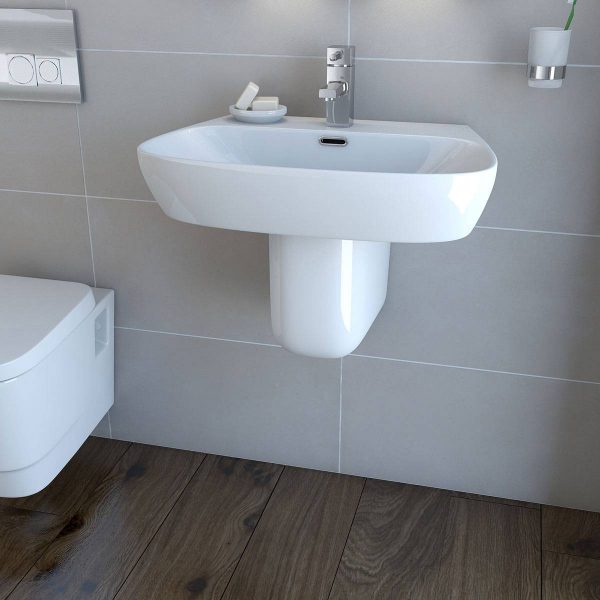
This is a standard wall-hung sink, characterized by the presence of a small leg that does not reach the floor. As in the version with a whole pedestal, all communications are hidden in it. This model simplifies cleaning and is suitable for apartments with a horizontal sewer outlet.
Calculations and dimensions for the wiring diagram
The standard width of the sink is 55–65 cm, and I do not recommend choosing smaller models (the minimum is 50 cm). As for height, here you can only rely on your height (and those who live with you). According to the standard, it is 80-82 cm: for people of average height it is quite comfortable. If you want to install it higher, you can make a raised platform under the sink.
I often come across how people neglect the recommendations on the size of the free space in front of the sink. It’s very in vain, because then they themselves can’t fit into it, they cry and suffer.
Any self-respecting manufacturer of sinks should also supply a mounting diagram for them. It should indicate on which side the water supply is located, at what height the fasteners and structural elements are located, how the sink should be positioned relative to the wall, where the overflow is located, and where is the hole for the mixer, and, of course, all the dimensions.
Study the wiring diagram well before starting work and periodically look at it during the process. It also happens: a sink has been purchased, but the sewerage system and water supply have not yet been installed. The wiring diagram will also help you with this.
How to install a pedestal sink: installation steps
So we get to the most basic thing. The first stage is to prepare all the necessary tools. We will need:
- perforator;
- screwdriver or screwdriver;
- adjustable wrench;
- sealant (tow or FUM tape);
- set of fasteners;
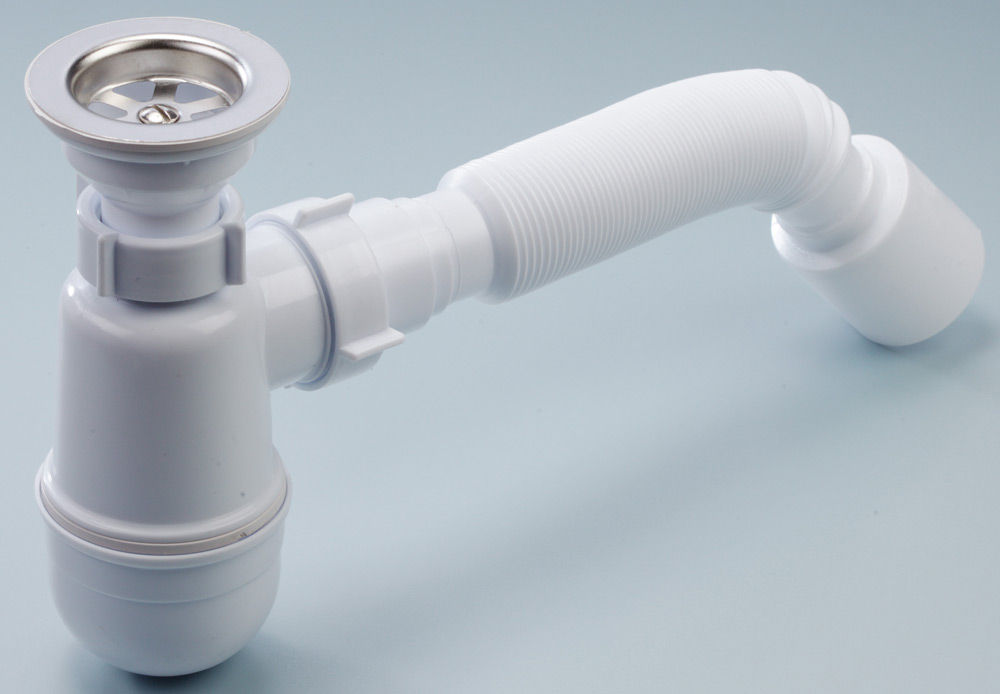
- siphon;
- mixer;
- roulette;
- level.
If you are replacing one sink with another, nothing can be done, but the first one will have to be dismantled. First turn off the water. Or you can not block it, then the dismantling process will be much more fun, but less effective.
Place a bucket or basin under the siphon and carefully unscrew it. Despite the shut-off of water, its remains stagnate in it. After this, carefully unscrew all the fasteners and remove the sink.
Attention! To install a sink on a pedestal, you need a perfectly flat floor. Check this with a building level and, if necessary, level with cement screed.
So, everything is ready in the bathroom for the arrival of a new “resident”. Use the wiring diagram to make markings on the wall. First, the height at which the sink is attached is noted, then the vertical axis of symmetry is drawn. Perpendicular to it, at the height of the sink, a horizontal line is drawn using a level. All fastenings will be located on it.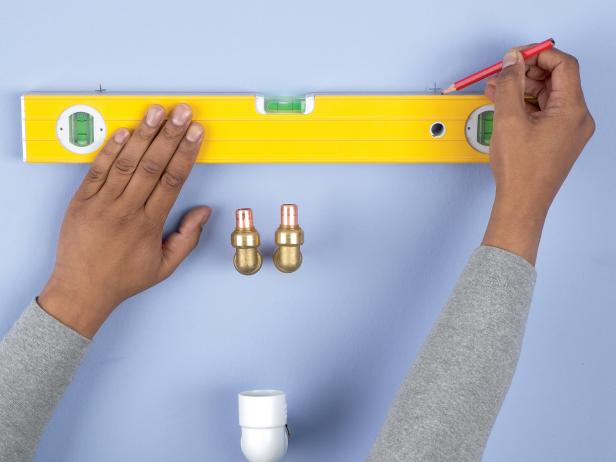
I really don’t recommend postponing the installation of the mixer until later. I assure you: it’s much easier to do this on a free-standing sink. So let's move on to this stage.
First, connect the faucet and flexible tubes with metal braid (hopefully you have checked that they are long enough). Be careful not to confuse the hot and cold water connections. For tightness, use a rubber gasket.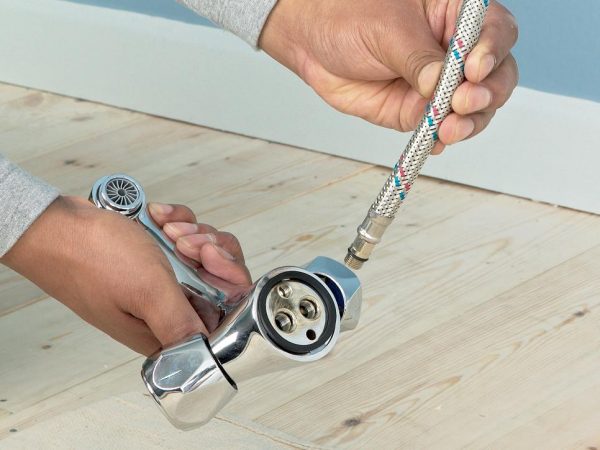
At the bottom of the faucet you will see a threaded hole. You need to screw a pin into it and put an o-ring on top. This is necessary so that the tap does not become loose over time.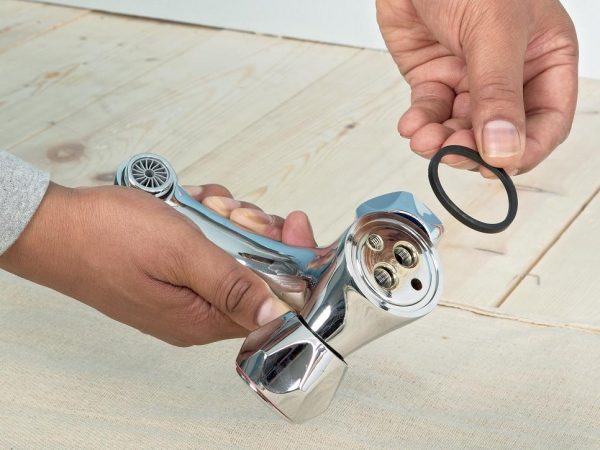
The tubes are threaded through a hole in the sink.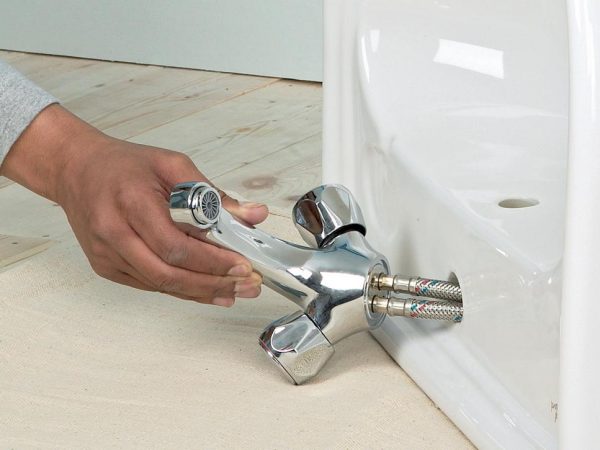
Another seal is put on the bottom, then a washer, which is secured with a nut.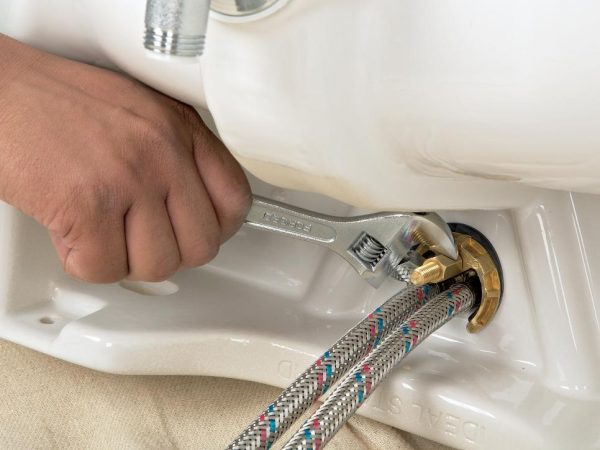
That's all.We’ll connect it later, because now we have a siphon next in line. First, place the drain hole in its place.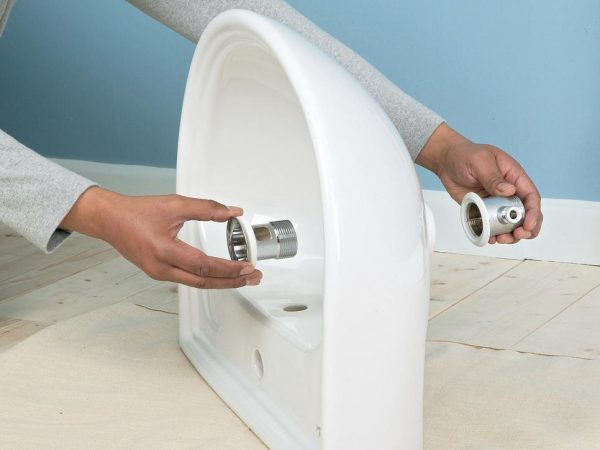
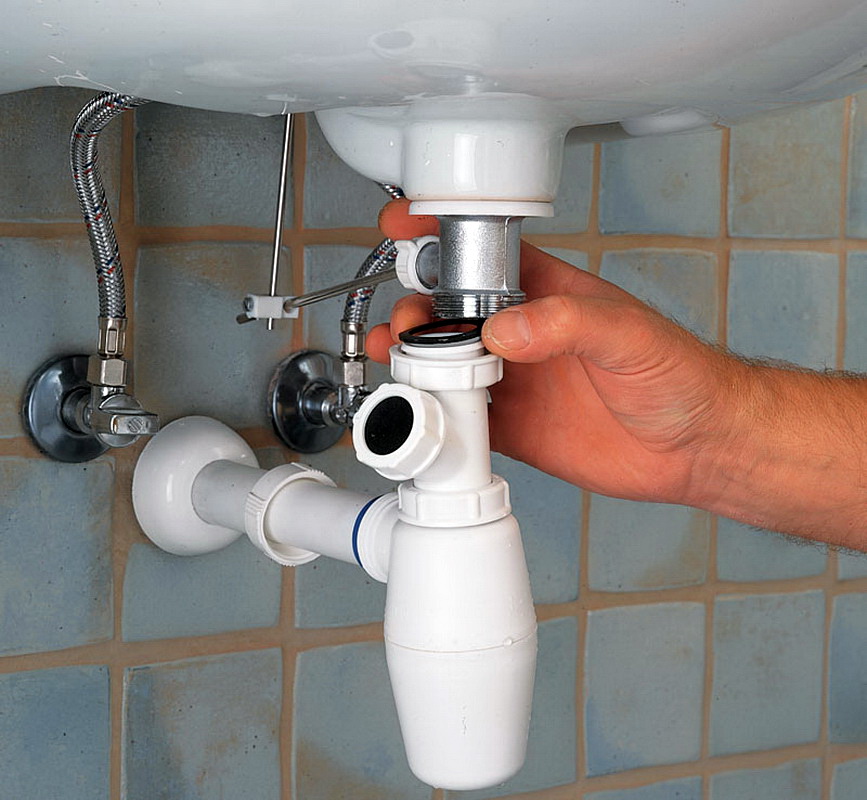
Assemble the bottle siphon and screw it to the drain using a bolt. We won’t connect it to anything else for now. First you need to hang the sink.
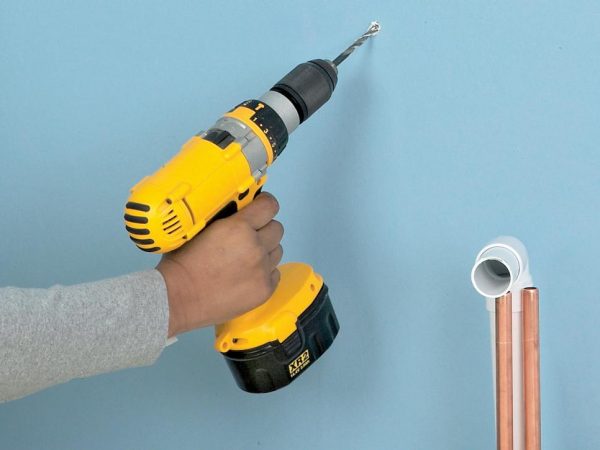
Using a hammer drill or drill, make holes in the wall at the points you marked. Insert plastic dowels into them.
Reference! To be on the safe side, you can pre-fill the holes with sealant.
After this, the plumbing fixtures are screwed in.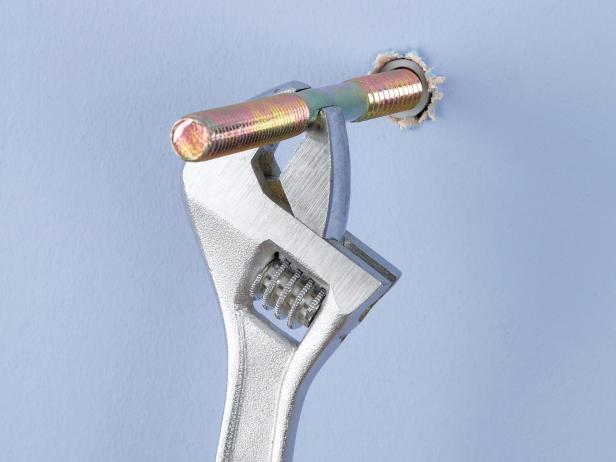
Now we place the sink against the wall and tighten the nuts. Before tightening them tightly, double check that the installation is level with a building level.
Now you can connect all the pipes! A corrugation will come from the siphon, which is connected to the sewer. Flexible hoses with hot and cold water are connected to the water supply.
The last stage is the pedestal. Usually it fits perfectly in height, so it does not require additional fastenings, but “props” the sink with itself.
Possible installation errors
Be sure to read them and never commit them. First, I’ll tell you about the most common problems that can result from incorrect installation:
- a wobbly sink or pedestal;
- the gap between them or between the sink and the wall.
All this, as a rule, is caused by insufficiently tightened fasteners. A wrench will help you! If only the pedestal wobbles, it means that the floor is not even enough. To compensate for the distortion, you can use silicone.
I hope everything works out for you without errors. The main thing is to take your time and do everything carefully, and then the pedestal sink will delight you for a long time with its majestic appearance and high-quality functionality.