How to install a sink on a bathroom countertop
Hello plumbing DIYers! Today we will talk about installing a sink on a countertop, not just a simple one, but an overhead one.
The content of the article
Features of a countertop bathroom sink
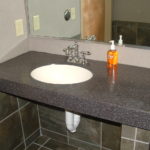
What is this anyway? In simple terms, this is an ordinary sink, which is not built into the cabinet, as we are used to, but proudly rises above it. It roughly looks like this: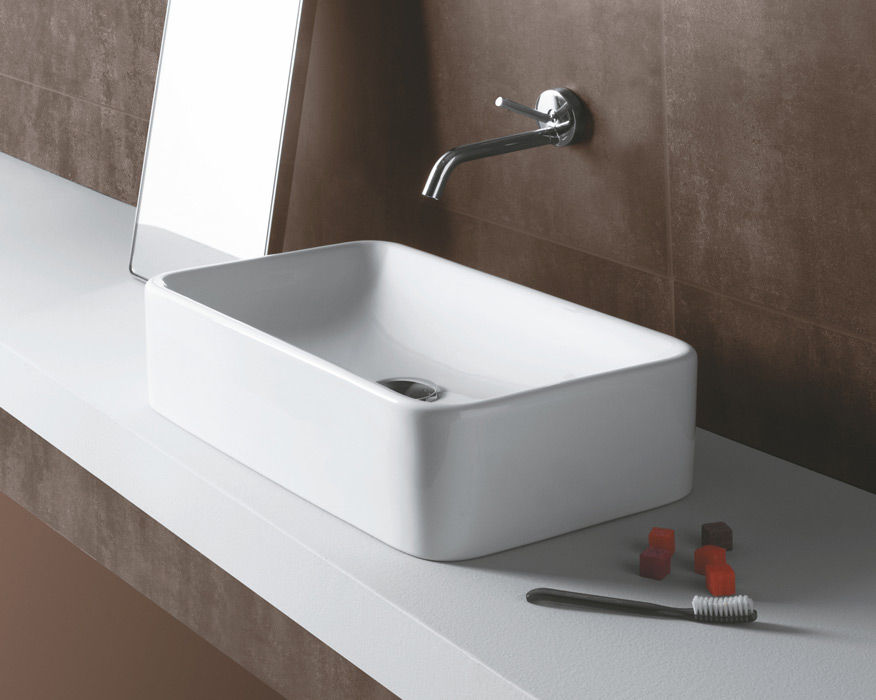
There are many forms and varieties of them, but we will talk about this a little later. The only disadvantage of such a sink is that not all bathroom spaces can afford to accommodate such an elevation. The solution may be to install it not on a cabinet, but on a wall shelf, then you can place household supplies underneath.
Reference! If the height and width of both do not lead to inconvenience, you can even place a washing machine under the overhead sink.
The same varieties that are installed on countertops are convenient because they do not depend on the strength of the wall and will not require work with it (which means you won’t have to spoil the finish if you have one). Unlike the pedestal model, which has very limited space for placing important small items, this option has more space thanks to the free surface of the cabinet. You can put toothbrushes, toothpaste, various creams on it, and there is even space for decorative elements.
What types of overhead sinks are there?
Their shapes can be seen or seen, so you will definitely find an option that suits your design. For example, classic design implies smoothness, roundness and streamlining, smooth lines and laconicism in decor. But the high-tech style is associated with strict geometry and minimalism.
Forms, as already mentioned, can be almost any. The standard ones are, of course, an oval and a rectangle with rounded edges. An interesting option that is gaining popularity is the triangle.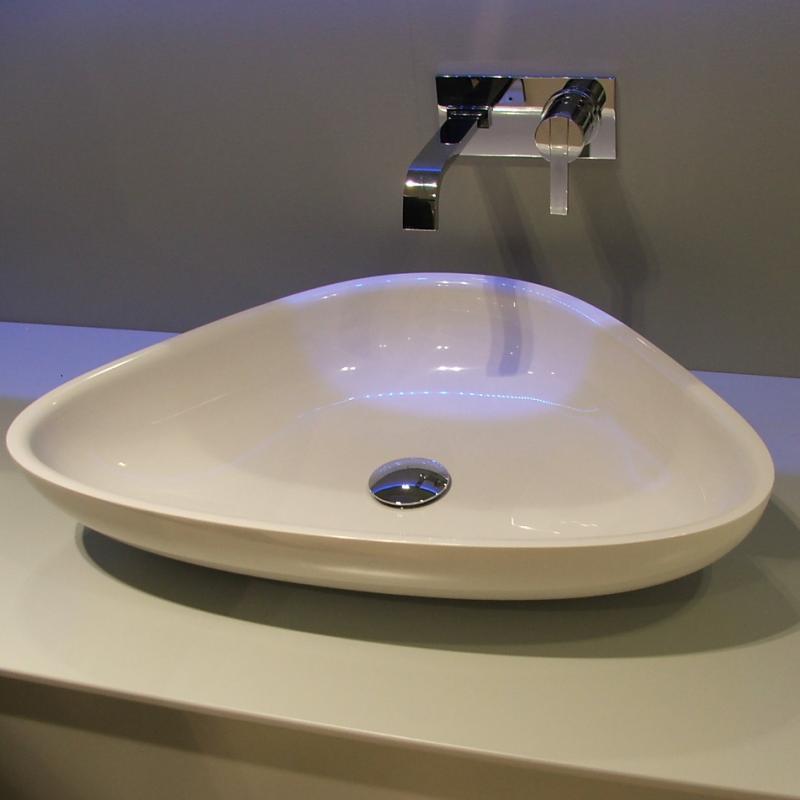
In general, there are no restrictions for imagination. If you want, there will be a shell, if you want, there will be a flower, a cloud, a blot, a drop, anything, even a guitar (yes, this also happens). All this can be found in stores, and if you want something especially extraordinary, you can always order individual production.
There can also be much more materials than we used to think. Of course, the first things that come to mind are ceramics, earthenware and porcelain. And this is no coincidence, because such sinks are easy to clean, they do not rust and look great. But they also have their drawbacks - ceramic sinks are not particularly durable and can become cracked during installation and operation.
A cheaper alternative is acrylic (a high-quality plastic). It is also lighter (for which we can thank him very much during installation) and looks nice in the interior. But it scratches easily and is also fragile.
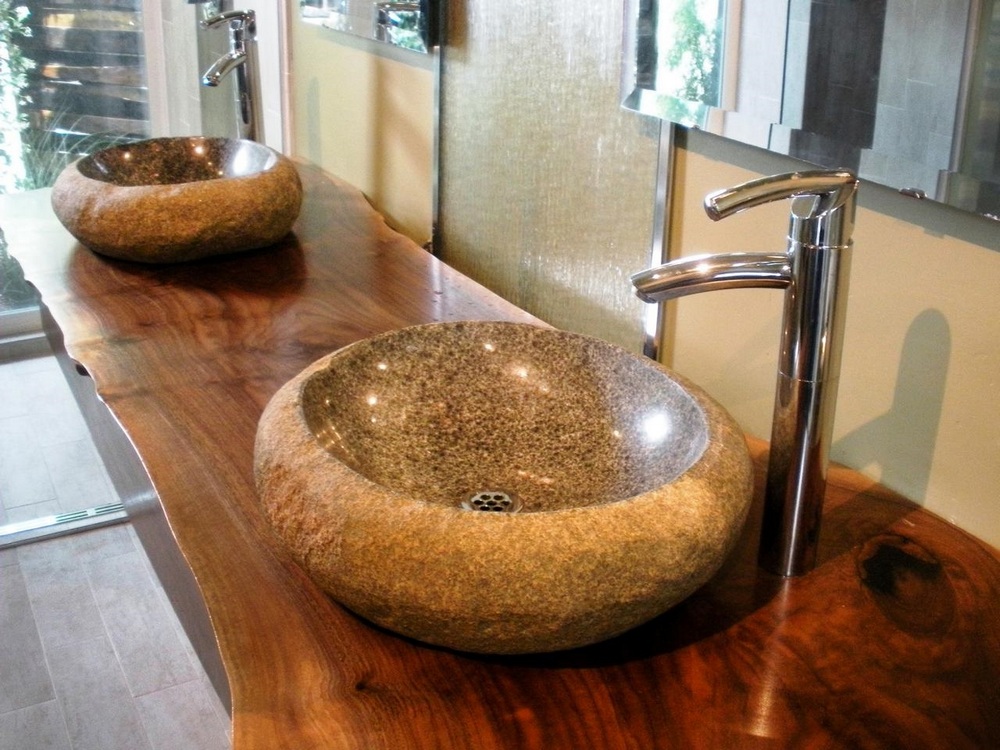
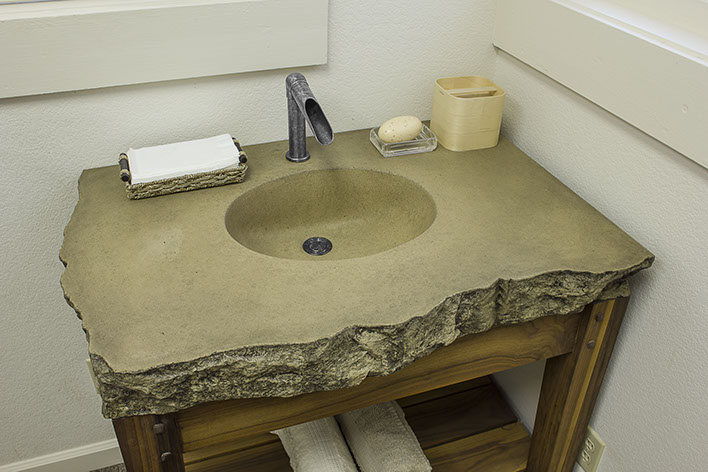
If you want reliability and durability, buy a stone sink made of marble or granite. If you don’t want to spend so much money, artificial stone is also suitable.
In terms of materials, there are also original solutions. For example, for eco-style interiors, sinks began to be made from wood. But I warn you that you will have to carefully look after them.Non-standard materials also include glass and metal.
How to install a sink on a countertop
We chose to choose, it’s not that difficult. But don’t forget that this beauty also needs to be installed.
In fact, there is nothing particularly difficult about this. If you have ever installed undermount sinks, then overhead sinks will seem like a piece of cake to you. So, as always, it all starts with preparing the tools. Everything is standard here:
- hacksaw or jigsaw;
- screwdriver or screwdriver;
- wrench;
- sealant and brush;
- pencil and ruler.
First, we make markings on the surface of the cabinet. Most sinks come with convenient stencils for this purpose. We cut out a hole for the drain and water pipes of a suitable size.
Reference! If the faucet was purchased separately and you would like to attach it to the countertop rather than to the sink, consider this as well. At the same stage, a hole is cut out for installing a tap (instead of water pipes).
We assemble the sink separately. Attach the drain pipe. If the faucet is still connected to the sink, install it in the corresponding hole. We secure it tightly using the fasteners that come with it.
Be sure to use rubber gaskets (they are usually also included in the kit) to avoid damage to the surface. For reliability, lubricate the joints with sealant. We connect flexible pipes to the tap to supply cold and hot water. We will summarize the remaining communications later.
We install the sink on the countertop. It is most convenient to use construction adhesive, which is used to lubricate the drain hole, but in this case it will be difficult to dismantle the sink if the need arises. So you can use fastenings here too.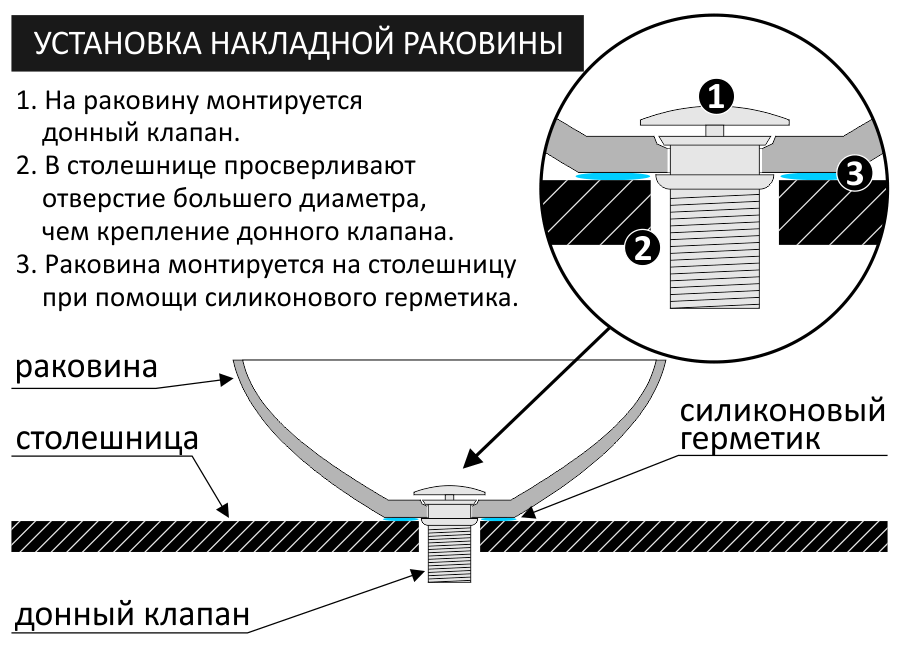
Now it's time to connect.Let's start with the drain. We screw the siphon to it and run the corrugated pipe to the sewer. Using a special cuff, we connect them to each other (not forgetting about the sealant). We connect the flexible tube coming from the mixer to the water supply.
Also, now many people like to complement overhead sinks with lighting. It is installed last. The most convenient way is to use an LED strip: it is attached under the sink (silicone glue is good for this) and connected to electricity.
Attention! To connect the tape, you may also need a separate hole in the tabletop, which can be drilled with an ordinary drill.
After installing the sink, be sure to check it for leaks. Turn on the faucet for a while and check that there are no drips on the pipes. Otherwise, additionally treat them with sealant.
As you can see, there is nothing complicated. But if there is even the slightest doubt that you can handle this matter, it is better not to risk it and call a specialist. Because in case of an error, it will be much more expensive to redo it than to assemble everything from scratch. Good luck!