How to install a kitchen sink
The overall level of comfort in a kitchen depends not only on the number of cabinets in it and the area of the countertop, but also on the type and location of the sink. In this article, we will look in detail at the features of installing different types of sinks, provide tips on where to place them, and point out the main mistakes made when installing them yourself.
The content of the article
"Shell" typology
The modern plumbing market offers potential buyers a wide range of kitchen sinks. It’s easy to get lost in the variety of models and colors, so it’s better to approach your choice based on the type of device that will satisfy your needs. Experts give the following classification of kitchen sinks:
- Mortise.
- Invoices.
- Under-table.
- Integrated.
The first two types are the most common today, so we will dwell in more detail on the features of their installation.
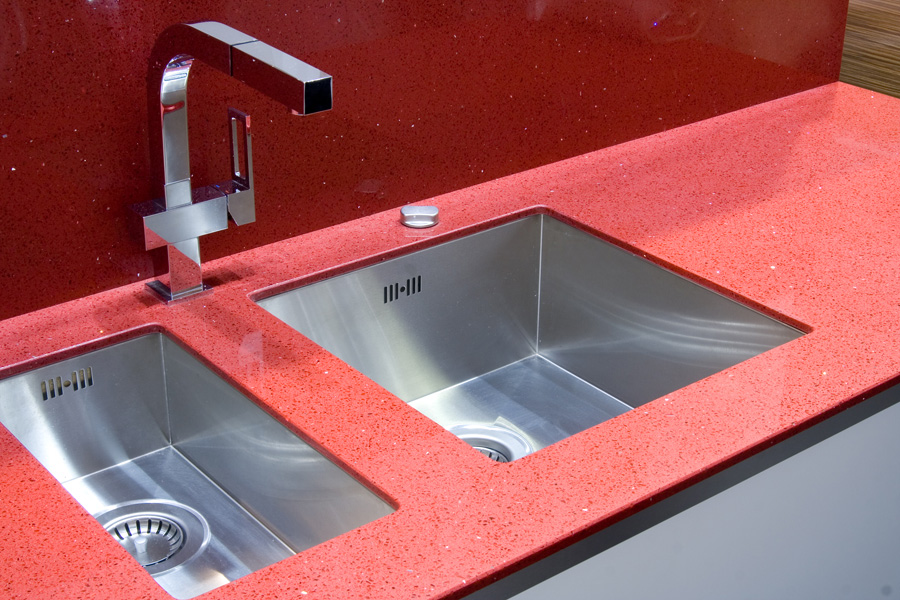
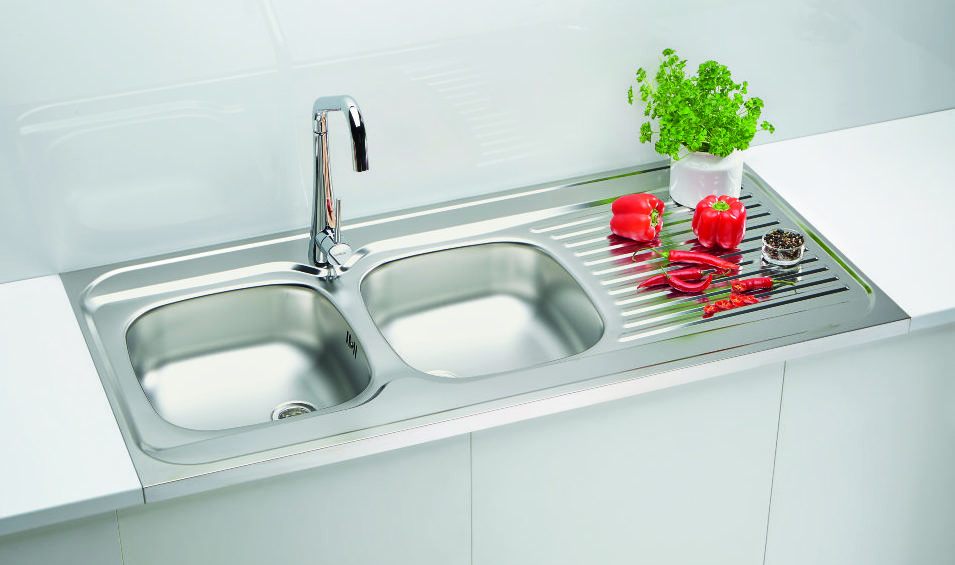
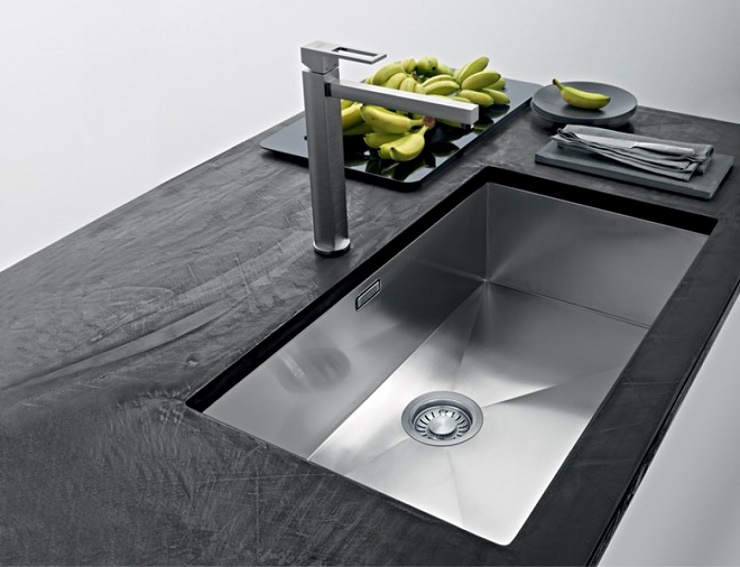
As for the material used to make the sink, it can be very different, but the simplest and most unpretentious to use are models made of stainless steel with nickel or chrome plating.
Reference! The more expensive and massive the material used to make a sink, the more difficult it is to install it yourself.For example, it will be much more difficult to install a sink made of natural stone alone than a model made of stainless steel.
Where is the best place for washing?
There are no universal rules for the location of the sink in the kitchen, but there are several basic recommendations that will help you choose the most suitable installation location:
- Do not place the stove and refrigerator at a distance closer than 40 cm from each other;
- The sink should not be located closer than 40 cm from the refrigerator or stove;
- There must be a work surface next to the sink for cutting or cleaning food;
- washing next to the hob is not the best solution;
- Using a sink, you can divide the kitchen into two conventional parts: for serving and “rough” work with food.
Reference! When choosing a place for placement, it is worth considering the presence of nearby objects and materials that are vulnerable to moisture: splashes of water can seriously damage them.
Installing a mortise sink
When installing mortise sinks in chipboard and similar materials, special attention should be paid to the tightness of the connection. If all sealing work is carried out correctly, you will not have to replace a tabletop swollen from moisture, which can result in a waste of time and money.
The algorithm of actions when preparing for installation of mortise sink models is as follows:
- Prepare the necessary tools (sealant, knife, screwdriver, gas wrench, drill with a set of drills, jigsaw and measuring tools).
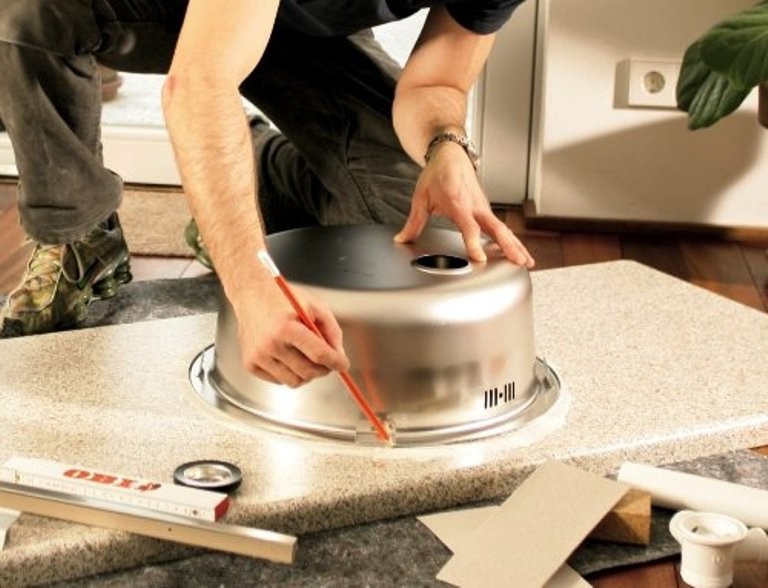
- To apply markings, turn the sink upside down, attach it to the place of future placement and trace the outer edge with a pencil.
- Measure the diameter of the inner side in several places and mark its outline (you will get an inner circle along which the cut will be made). If a template comes with the sink, you need to mark it according to it.
- Measure the distance from the side of the sink to the edges of the countertop (it should be at least 2.5 cm at the wall and 5 cm at the front edge).
- Using a drill and a thick drill bit, drill a hole on the inner contour of the marking that does not extend beyond its perimeter.
- Insert a jigsaw blade into the hole and start cutting along the inner contour.
- As you cut, you need to shallowly screw 16-mm self-tapping screws into the cut areas to prevent the cut part of the tabletop from falling.
- Upon completion of the cut, carefully, holding the cut part with your hands, remove the screws.
After the hole is cut, you need to clean its ends from sawdust with fine sandpaper, and then carry out a “test” installation of the sink. Don’t be upset if the bowl “plays” a little - this is quite acceptable, because it should fit into the cutout freely.
When you are done with the markings and cutting, you can proceed to installing the fasteners supplied with the product. The cut of the tabletop must be covered with a layer of sealant to protect it from moisture. Make sure that the entire cut surface is evenly saturated with sealant.
If you found a special sealant included with the sink, then before installation it must be glued to the edge of the sink so that after installation it does not protrude beyond the edge. If this does happen, you can very carefully trim the protruding seal with a mounting knife.After the sink is installed and pressed tightly into the “socket”, you can tighten the screws securing it to the countertop and finally fix the product.
Reference! When fastening, some of the sealant may be squeezed out over the side. It is more convenient to remove it with a mounting knife when it dries.
When the device is secured and the sealant is completely dry, you can proceed to the final stage - connecting the mixer and drainage system to the water supply and drainage pipes.
Installing the overhead model
An overhead sink is distinguished by a kind of “edge” that protrudes beyond the base of the cabinet on which it is attached. The undoubted “plus” of its installation is that there is no need to make a cutout in the tabletop. There are two types of mounting overhead sinks: with glue and with brackets. In the first case, the sink is, as it were, “superimposed” on the ends of the cabinet, previously lubricated with glue or sealant, and then pressed tightly against them for better fixation. After a couple of days, when the mount is fully formed, you can connect such a sink to the communications.
If you find special brackets in the kit, then it is better to mount the product on them, fixing the brackets on the sink, and then, after installation and “balancing” - on the cabinet.
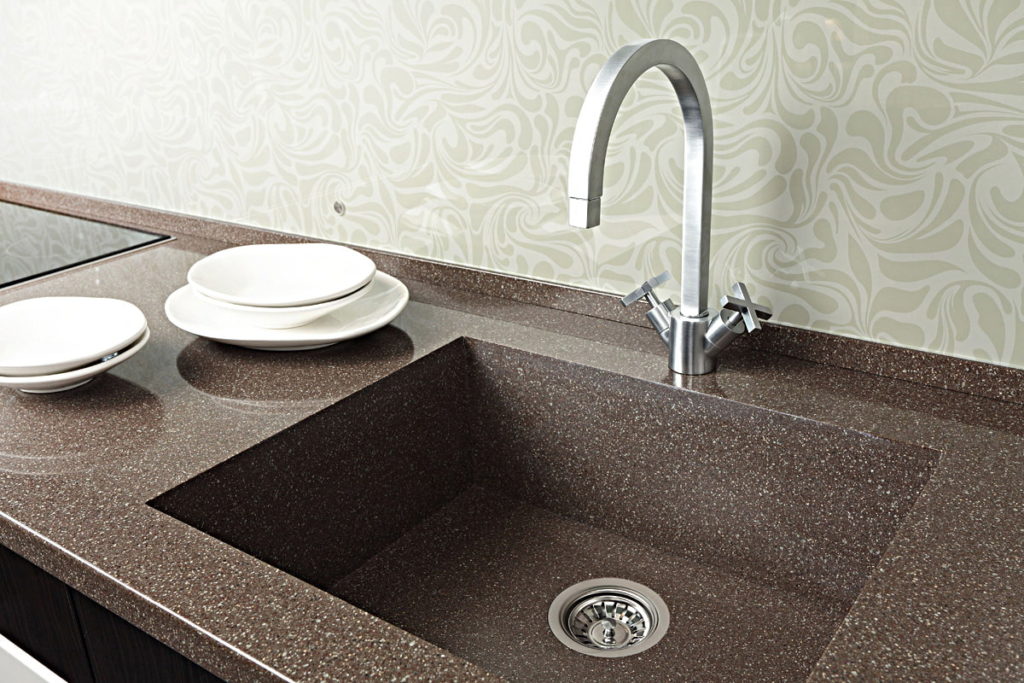
Installation of undermount and integrated sinks
Both of the above types of sinks are not very easy to install, and for proper installation it is recommended to use the help of a professional. The difficulty in installing the under-table model lies in the need to make a filigree cutout exactly to the dimensions of the model. If you miscalculate a little, you will have to change the entire tabletop.
The same can be said about integrated sinks, only when installing them, a rebate cutter is also used, which is necessary to cut a recess in the side of the sink. This type of sink goes best with countertops made of natural or artificial stone.
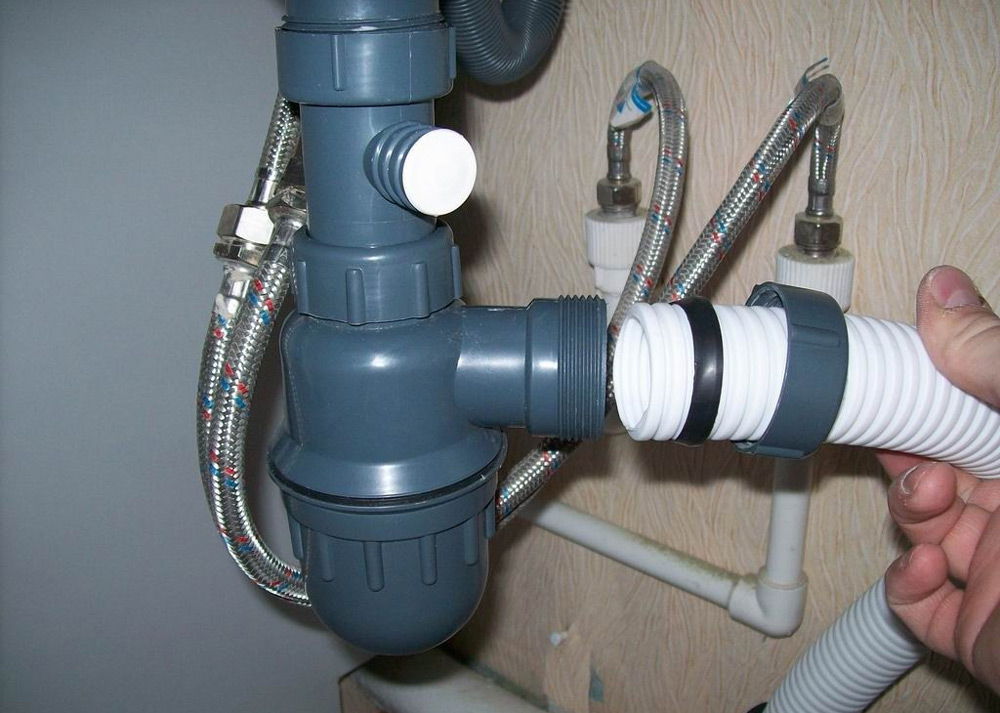
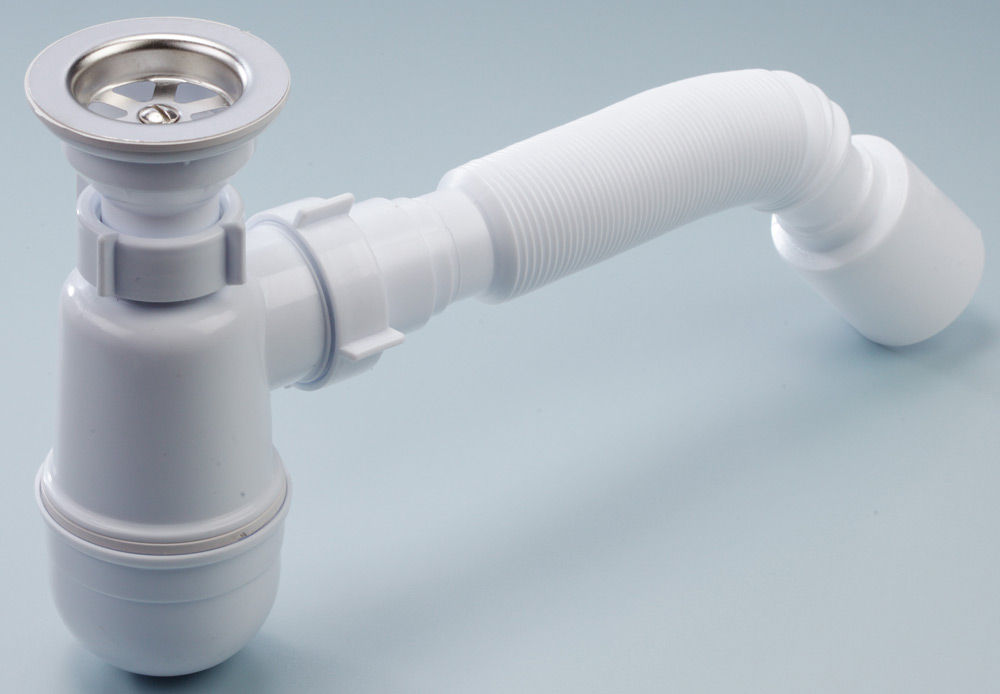
Connection to sewerage
In order to connect the siphon to virtually any sink model, its corrugation must be inserted into the drainage pipe, having previously sealed the connection with the included gasket. The supply hoses are connected to the supply pipes using special nuts.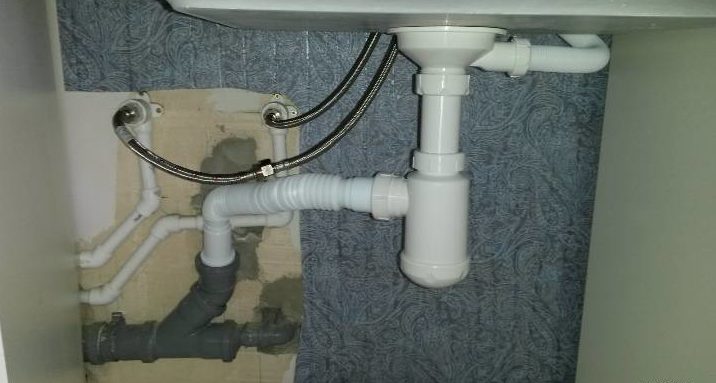
Important! Pay attention to the presence of gaskets in all connections: sometimes they simply fall out of the parts, leading to leaks in the future.
After all the elements are successfully connected, it is worth opening the taps for a couple of minutes and checking the tightness of the resulting connections. If a leak is detected, the water must be turned off and, by dismantling the leaking hose or corrugation, determine the location of the leak.
Possible installation errors
The first and most common mistake made by most “home craftsmen” during installation is ignoring the manufacturer’s instructions. It is impossible to count how many times negligence in the instructions has led to minor and serious damage to products.
When applying markings, it is necessary to position it so that the bowl that fits into the nest is in relative symmetry with the rest of the kitchen set.
For products made of MDF and chipboard, it is preferable to choose acrylic sealant. For stone and granite countertops, polyurethane-based sealant is more suitable.
Before applying sealant, it is better to degrease the surfaces by wiping them with a clean cloth soaked in an alcohol-containing substance.