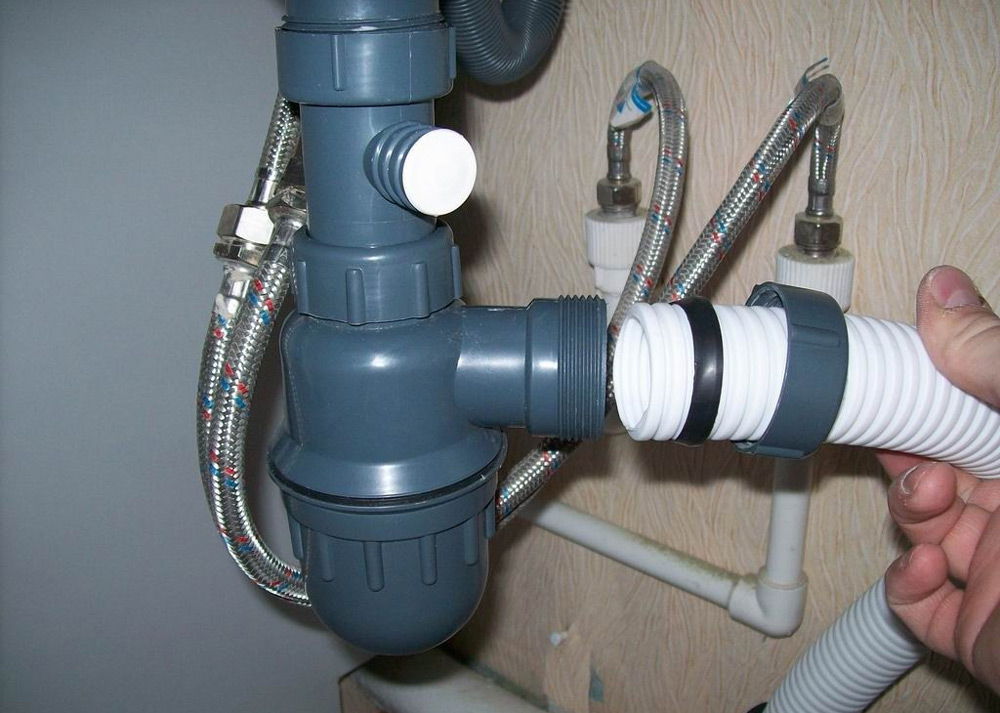
How to assemble a siphon for a bathroom sink
For some reason, even those people who boldly rush to manually install a sink in the bathroom and create it almost from scratch, bypass all the issues related to connecting it to communications. It’s in vain, because there’s nothing complicated about it. Today we will talk about what a siphon is and what to do with it.
The content of the article
Types of bath siphons: their pros and cons
They are devices not only for draining water, but also for creating a hydraulic plug that blocks unpleasant odors from the sewer. Based on their operating principle, there are three types:
- pipe;
- bottle;
- corrugated.

The first of them is found only in older models, since it is the most outdated and inconvenient version. The pipe siphon is the most difficult to install, as it requires precise calculations, and if it becomes clogged, you will have to disassemble the entire structure.
The second one is also not very common for sinks and is usually purchased as a temporary option, since it is cheap and easy to connect without the need for any special skills. It is used when a bottle siphon breaks while a replacement is being sought. The corrugated model is also used during renovation work, when the sink needs to be temporarily moved to another location.
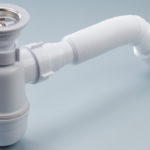
The third one is the most popular. In terms of installation complexity, it is in the middle between the two neighboring options, but its main advantage is that it prevents pipes from clogging, and in case foreign objects (for example, jewelry) get into it, it is equipped with a screw-on lid on the bottom, which will prevent them from being lost in the sewer. In addition, thanks to the same lid, it is very convenient to clean the pipes.
Siphons also differ in their materials. The most popular option is plastic, because it is inexpensive, does not rust and weighs little.
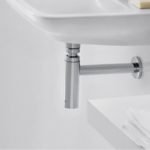
In addition, there are metal varieties. They are suitable for those sinks whose communications are not hidden and have an aesthetic appearance. Often they are additionally coated with a beautiful coating of chrome, bronze, brass or copper.
How to choose a siphon
First of all, take all the necessary measurements. As a rule, most sinks have a standard drain diameter that fits all types of siphons, but there are exceptions, so it’s better to be safe.
Before purchasing, check the build quality: the threads must be of high quality and all unscrewing elements must move easily. Also, all joints must initially be tight so that there is no need for sealant.
Be sure to inspect the siphon for cracks and chips. And be sure to check the package. Any model should be accompanied by instructions that list all the parts included in the kit: don’t be lazy to compare.
Important! All rubber gaskets must be soft and flexible; cracks on their surface, as well as dents and protrusions, are unacceptable.
How to assemble a siphon for a bathroom sink
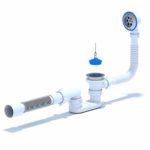
I offer an example with the most difficult option - with overflow.If you understand how it is assembled, you can easily assemble any other.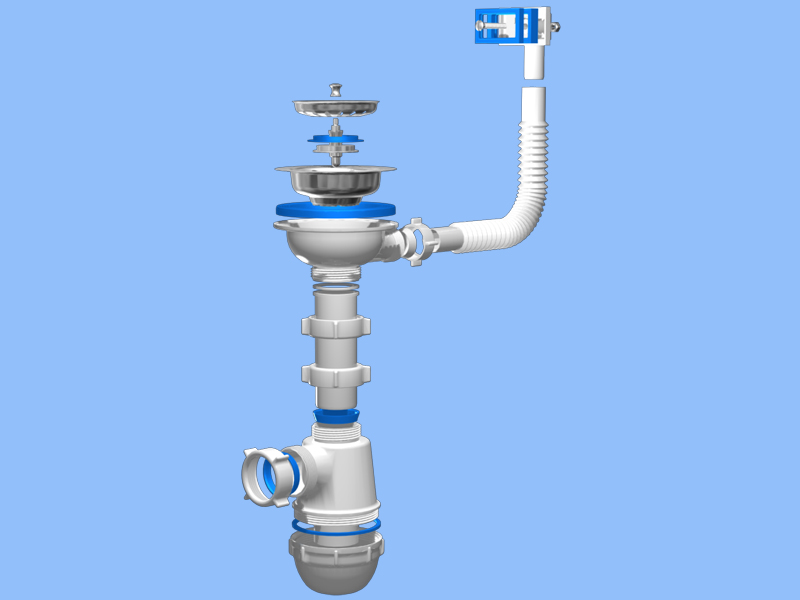
Attention! All screw-in elements are installed manually, without the use of any tools. Otherwise, the plastic may be deformed.
First of all, the bottom cap is screwed to the flask (the same one that can be unscrewed to clean the pipes). First, a gasket corresponding to the diameter is put on the thread.
Then the lid is screwed all the way and turned another third.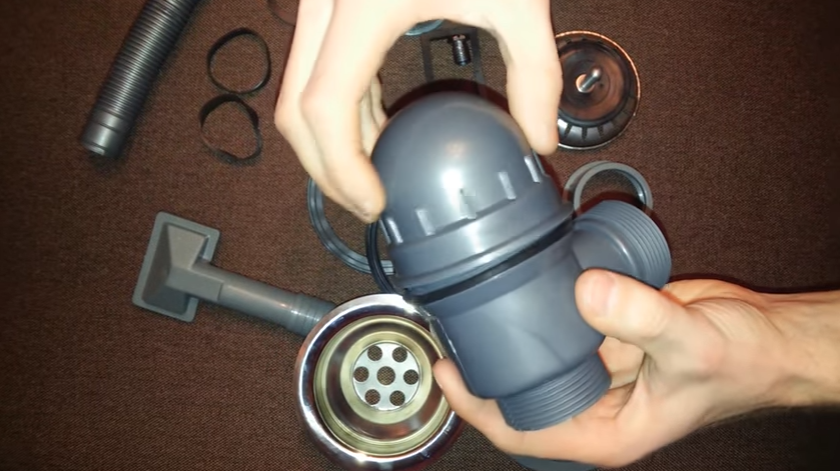
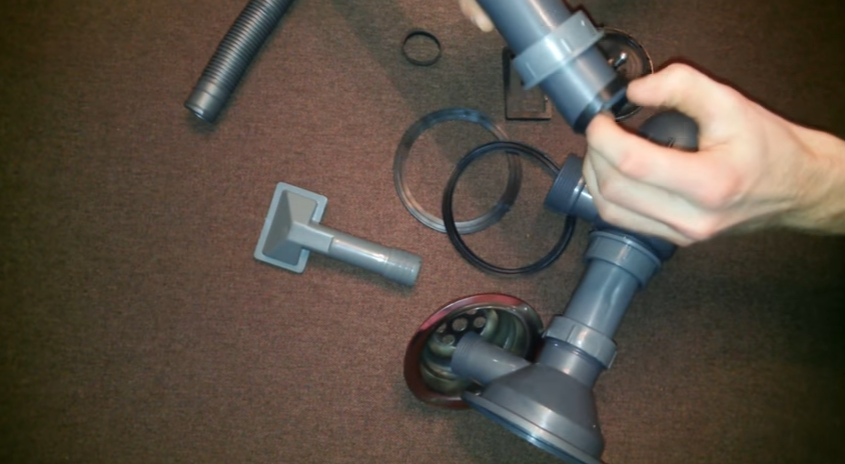
As you can see, two holes extend from the flask: one upward, the other sideways. We will work with the top one, but for now we will put the flask aside and take a cone-shaped pipe that will be inserted into it. Please note: on one side it is slightly narrower than on the other. The clamping nut is screwed onto the wide part, and the seal is screwed onto the narrow part.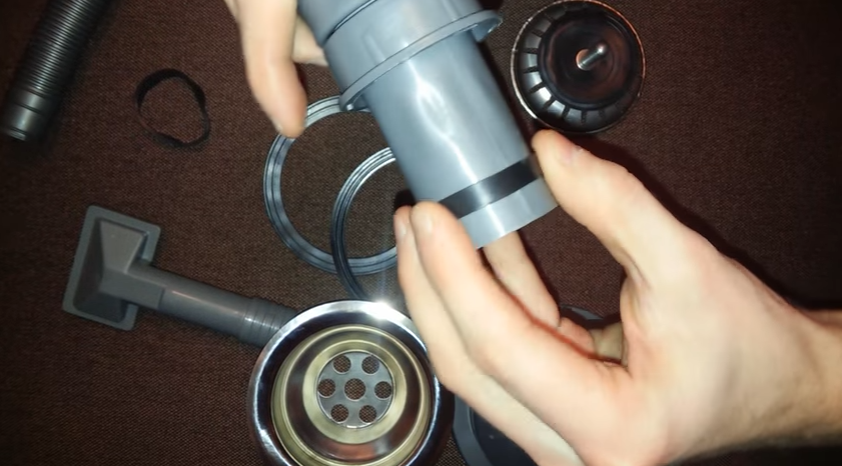
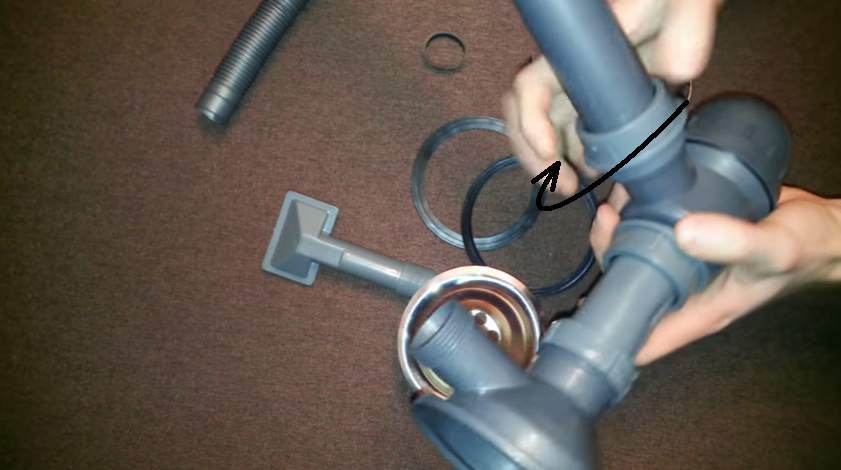
Now the pipe is ready, it can be inserted into the hole (the narrow part).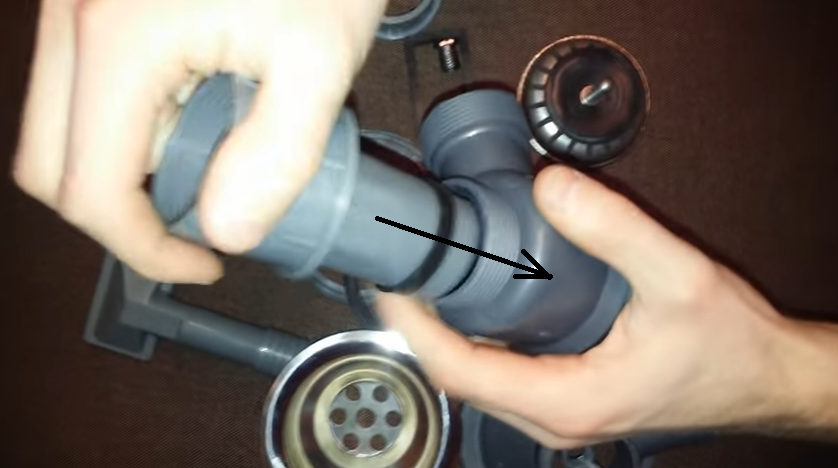
Screw the clamping nut tightly so that the connection is airtight. 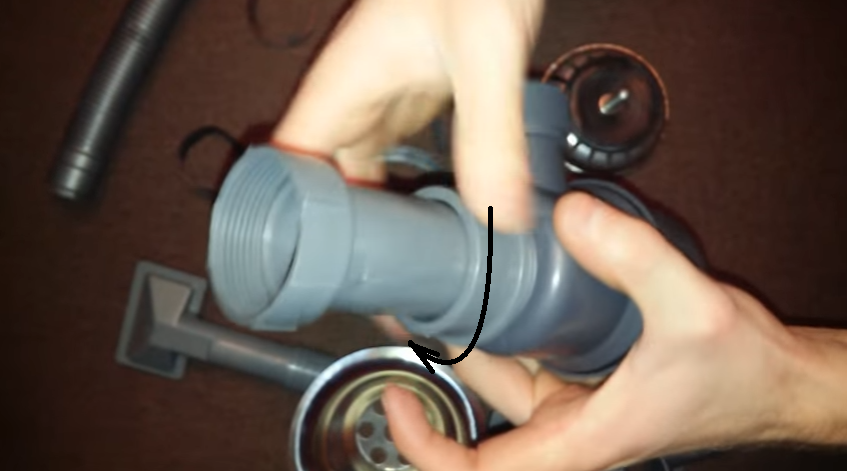
Let's move higher. Do you see that there is a thread in the hole in the pipe? This is where we install the seal.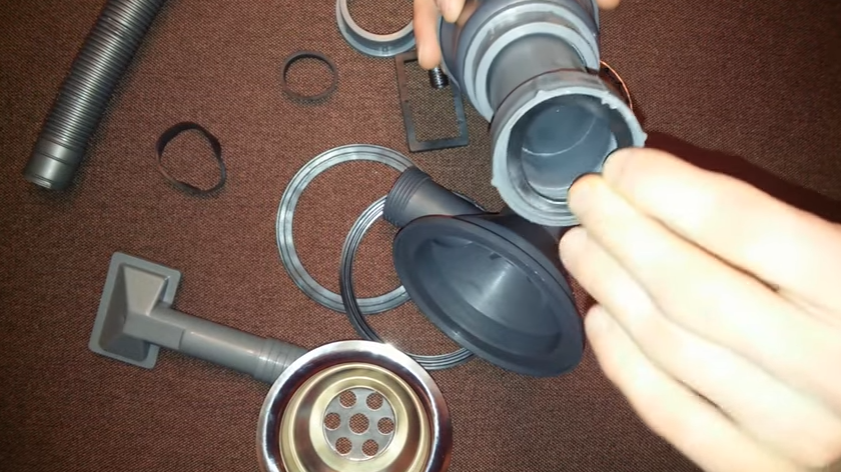
In the top photo, under the pipe there is a part that looks like a funnel. It's called a "watering can". We screw it to it.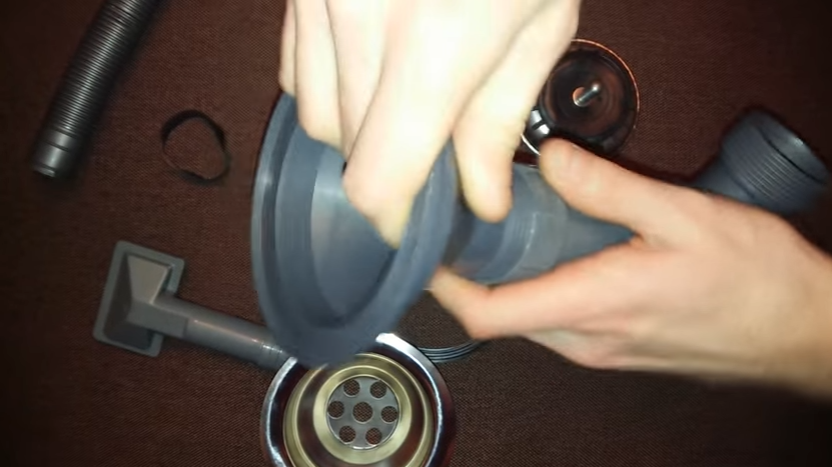
Enough tormenting the top hole of the flask, let's move on to the side hole. This is the one that will discharge water into the sewer. We connect to it the pipe that you need - it can be plastic or corrugated, and tighten the nut. In the photo it's plastic.
Attention! Don't forget about the seal.
Look, there is another hole coming off the watering can. We will connect the overflow hose to it. It can also be a corrugated or plastic pipe. In this case it is corrugation.You will not confuse it with a sewer drain because it is smaller in diameter. And again, don’t forget about the seal.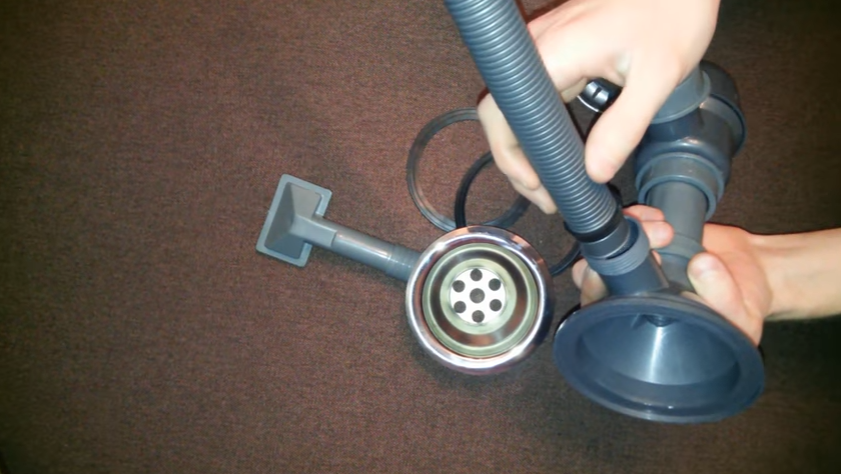
Tighten the nut. 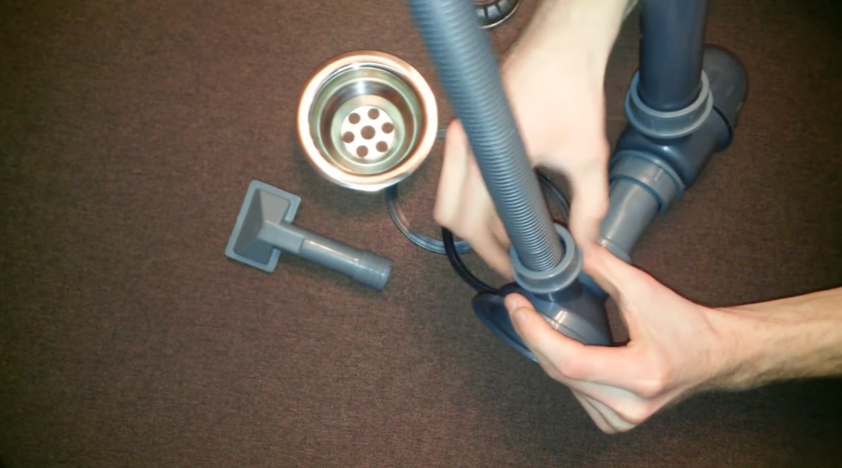
We screw a clamp to the other end of the pipe, which will later be attached to the overflow hole. It looks like a small attachment on a vacuum cleaner. 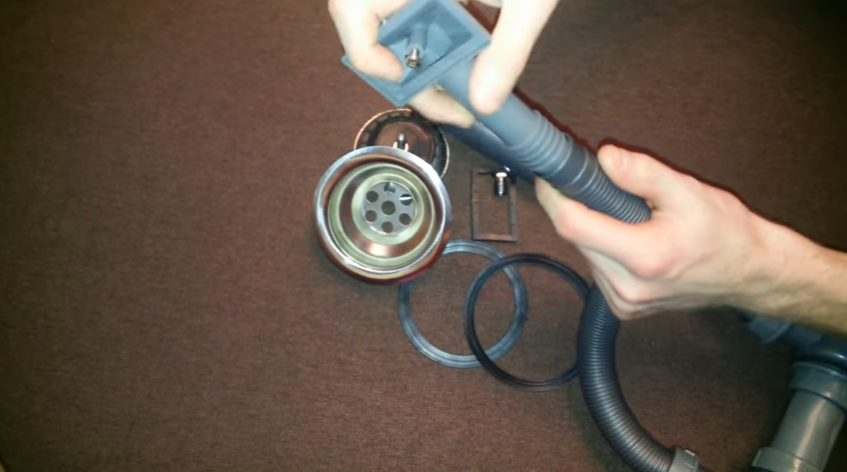
There is very little left. Let's return to our watering can. Now two seals are installed on it at once: one from below, the second from above.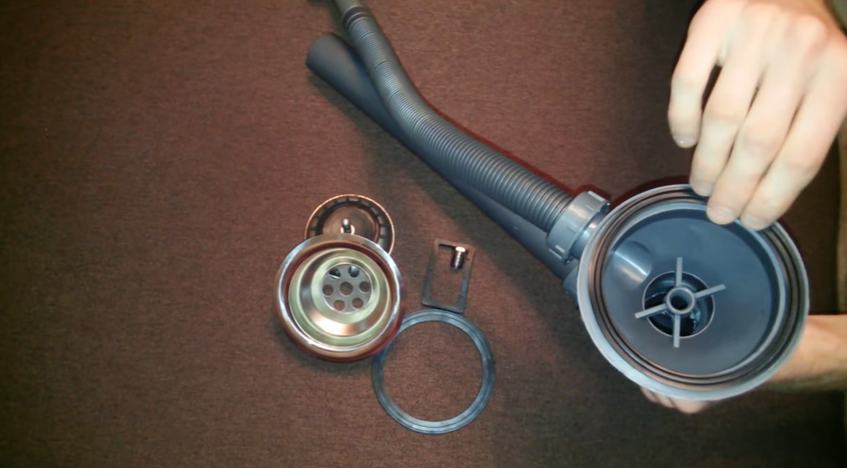
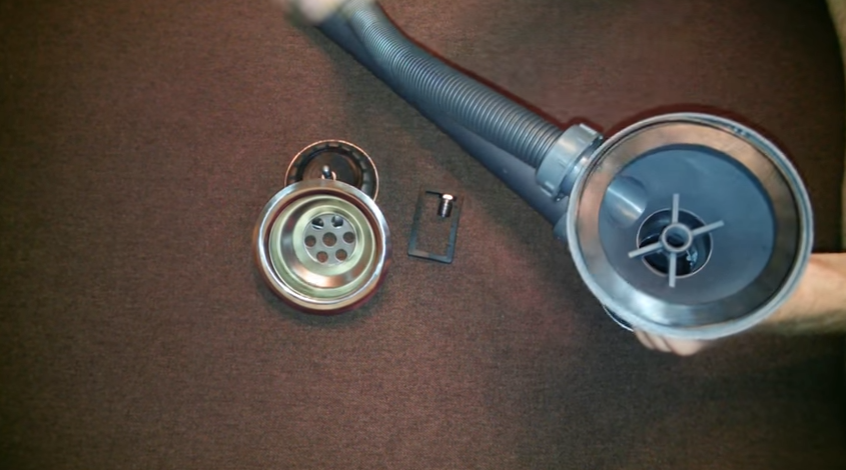
We put a grate on it, which will be tightened in the center with a bolt.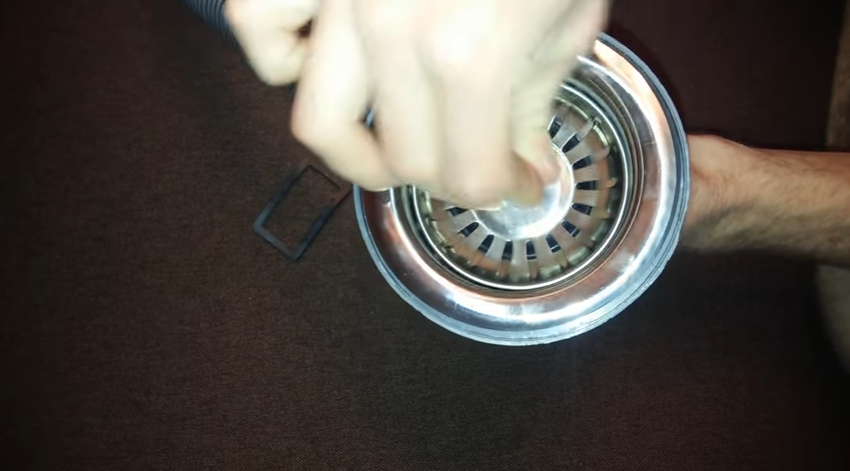
The last step: place the square seal on the overflow clamp.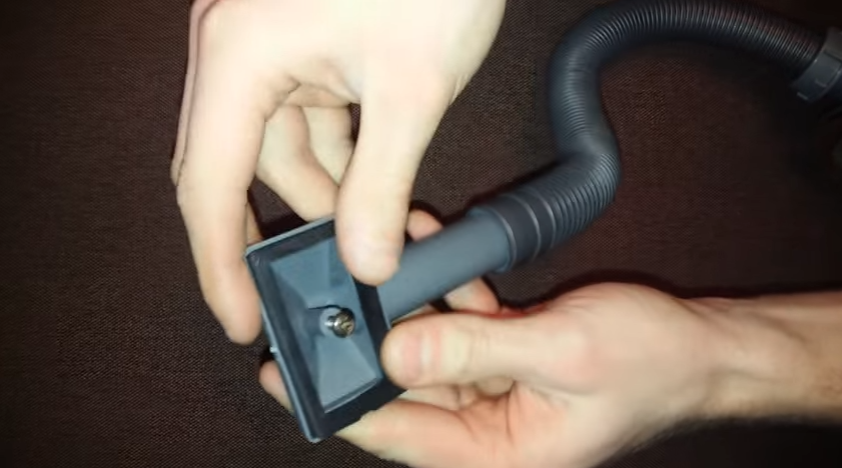
That's all! The siphon is assembled and ready for installation!
Assembly Tips
If the sink is installed low, some types of siphons may not fit into the space below it. Do not insert the pipe into the top hole all the way, this may lead to poor operation of the device! It is better to detach it from the structure and shorten it using a hacksaw or grinder.
As was said, any corrugated pipes can be replaced with plastic ones and vice versa, as is more convenient for you. Corrugations are easier to install, but plastic ones clog less.
Even if you don’t have a washing machine and don’t plan to buy one in the near future, I recommend buying a siphon with additional outlets. If you ever change your mind, you won't have to completely reinstall your device.
I hope these step-by-step instructions will help you with assembly, and the siphon will serve you faithfully for a long time!

