How to fix a siphon under a sink
Every day you come to the kitchen, enjoy the smells of food, have a good time there, and do not even suspect the existence of one small, inconspicuous item that works every day for your comfort. His name is siphon! His mission: to create a water plug under the sink so that “enemy” odors from the sewer cannot penetrate through it and spoil your appetite. But, alas, they remember it only when it fails.
The content of the article
What types of siphons are there?
There are three varieties of them. Here they are: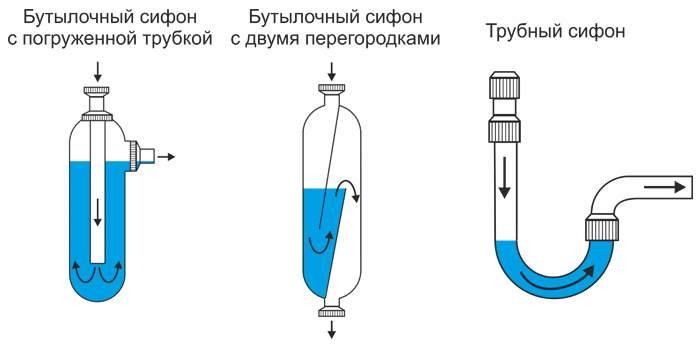
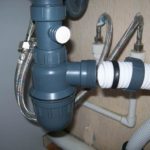
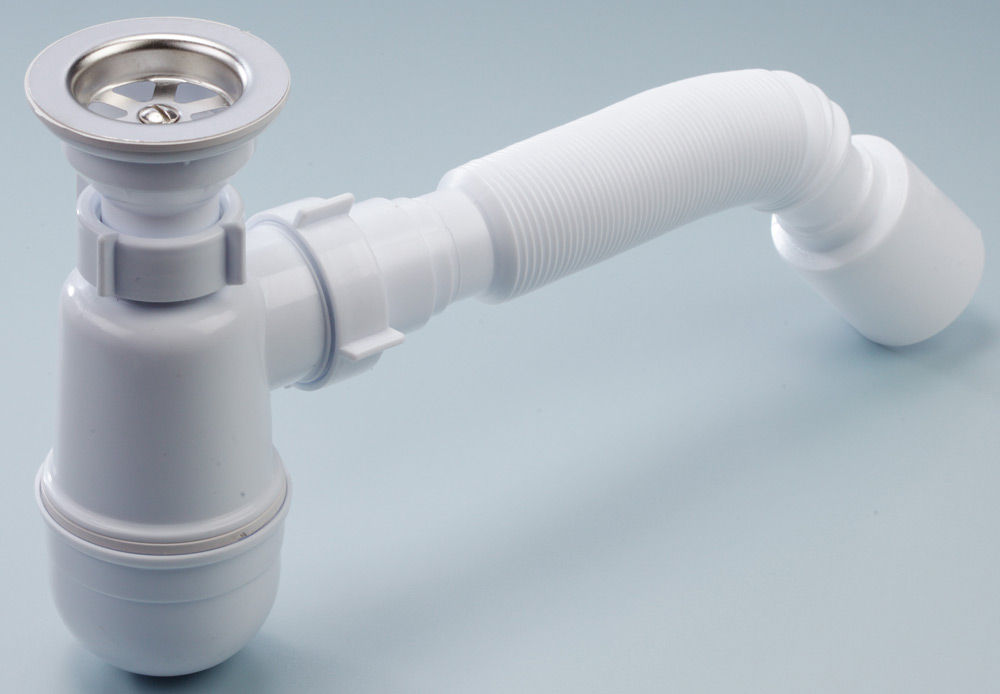
Something tells me that in your kitchen it is the first type. Ask, how do I know? It's just the most common of all. The lower part (in the picture there are two arrows going up from it) can be unscrewed, so it is very convenient to clean it, unlike the other two.
The materials can also be different, but the most common is good old plastic. Unlike steel, it does not rust, and in other respects it is not particularly different in its useful properties: it does not retain dirt, and it can also be cleaned even with aggressive chemicals, but it doesn’t matter. Of course, such a siphon is less durable, but it is not subject to special loads, so this is not so important.
Reference! If you want to “hit the metal” in your kitchen, there are brass and stainless steel models especially for your rocker soul.
Why is the siphon dripping under the sink?
There may be several reasons for this:
- Poor installation. It may include loose joints, skewed threads, loose union nuts, and unsuitable gaskets.
- Blockage.
- Hardening and compression of rubber gaskets (alas, this is inevitable over time).
- Cracks or chips.
Now let's look at how to distinguish one problem from another.
Fault diagnosis
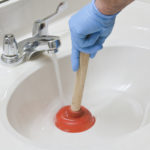
The very first thing that catches your eye is always a blockage. You turn on the tap, and the water, instead of going down the drain, comes back. If there is no blockage, just inspect the siphon from all sides (yes, this is poetry). This way you can see cracks or chips. If nothing of the kind is found, all that remains is to disassemble the siphon.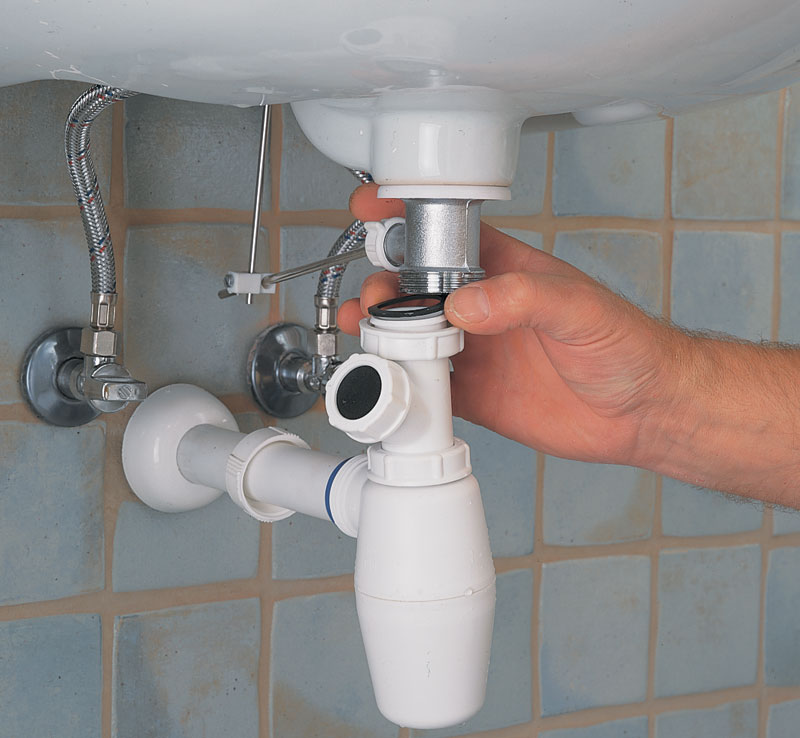
During the analysis, you will notice all the installation flaws, if any. If everything is in order here, the last thing left is to check the gasket. It should fit correctly, be soft and flexible, and not have cracks.
They did all this and everything is ok? Put it back together and the leak is still there? Let a professional plumber help you!
How to repair a siphon
If a problem is found, and you yourself have a mustache, and you don’t need any plumbers, then I’ll get down to business. More precisely, of course, you will take it, and I will help with advice and good parting words.
Do you know that in 90% of computer problems the following advice helps: “Try turning it off and on again”? Same scheme here. Siphon leaking? Try taking it apart and putting it back together again. Honestly, it almost always helps! Except for cases when the collector is so “handy” that the end result is even worse than it was, but you’re not him, right? The more carefully and diligently you collect, the better for you.
If there is a blockage, you don’t even have to disassemble it (unless, of course, you are the owner of a bottle siphon with a submerged tube, in other cases you will have to), just unscrew the bottom part and clean the sewer with a cable or wire. "Tiret" and "Mole" also help a lot.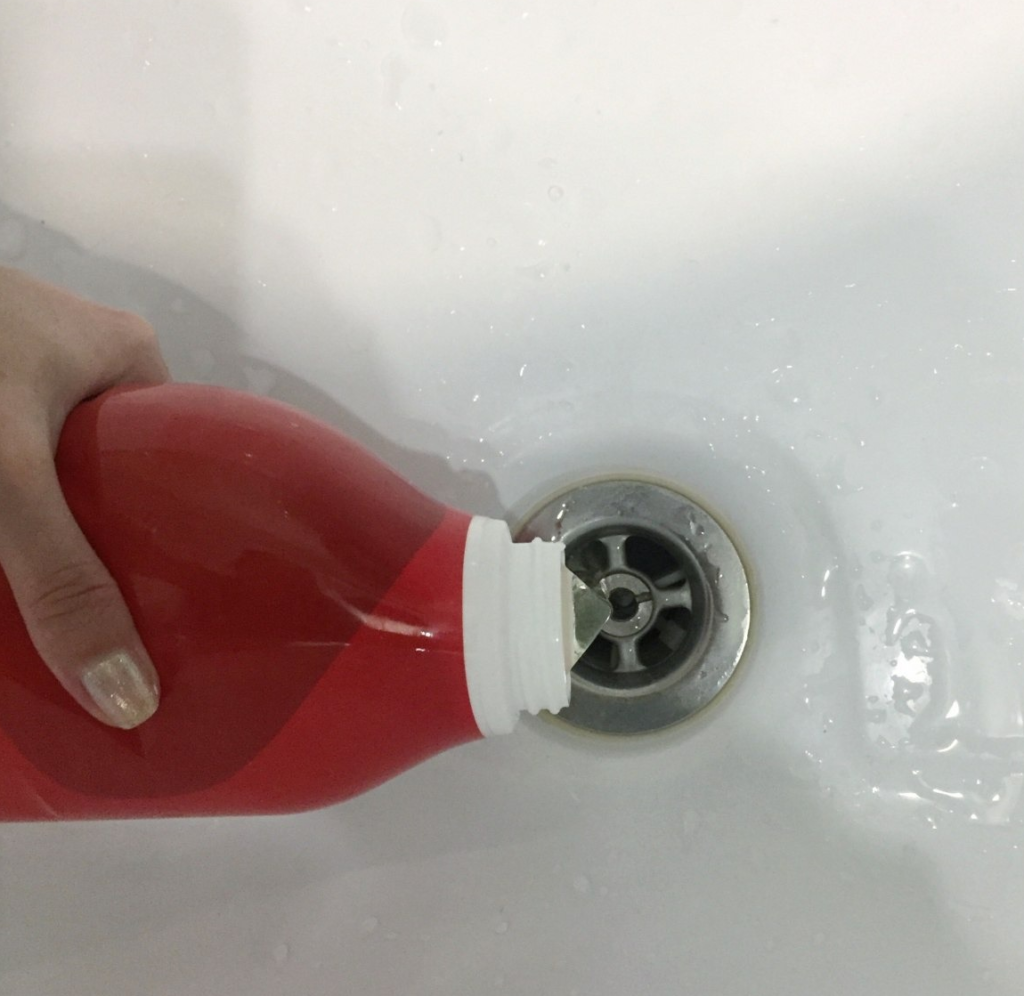
The old gasket can be coated with a thick layer of sealant or silicone gel and returned to its place. So it will last a couple more years. But I still recommend replacing it with a new one, it will be more reliable and durable. When replacing, you can seal only the joints with sealant, and just apply Vaseline or liquid soap to the gasket itself.
It's the same story with cracks and chips. It is better to replace the entire siphon. But the cases are different, and it is not always possible to do it right away, but you still want to wash the dishes (How can you not want to? Of course you do!). Then you can give the siphon first aid, and for this you will need epoxy glue and a bandage or fiberglass. The crippled part is dried and treated with sandpaper and solvent. After this, glue is diluted, applied to the damage and wrapped in a bandage or cloth. This siphon will last for some time while you look for a replacement.
Measures to prevent leaks
Let's look at how to avoid each of these problems.
Everything is clear with the assembly: if you have straight hands, then everything will be fine.
To prevent blockages, you can periodically flush the pipes with plenty of hot water. And just to be sure, you can first pour baking soda into the hole or pour in detergent.
Cracks and chips are formed from external influences. Don't hit your siphon, it doesn't deserve it! And to keep it away from the games of children and animals, an ordinary bedside table will help you.
But, alas, nothing will help against gasket wear.So sooner or later you will have to face the need to replace it.
Take care of your siphon as it takes care of your noses! Then you won't have to take it apart to fix it.