What to do if there is no hole for the faucet in the sink
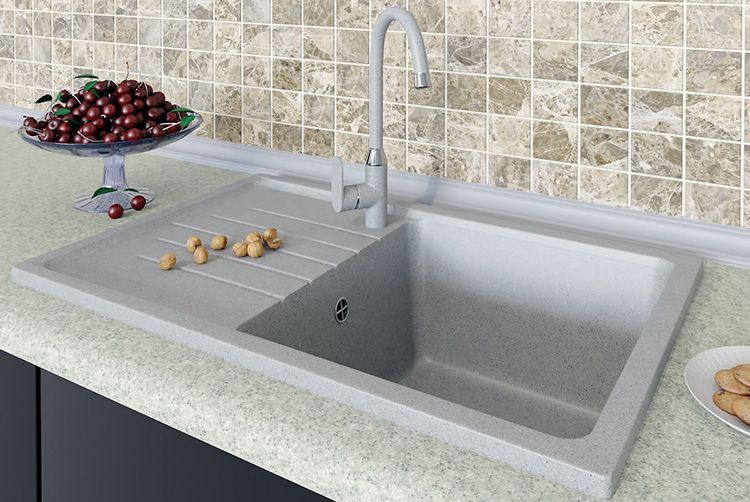
Many consumers are surprised - why are sinks sold without holes for faucets? For fans of the “Skillful Hands” circle? Actually, no (more precisely, not only for them). Now I’ll tell you more.
The content of the article
How to install a faucet on a sink if there is no hole
First of all, such models can be useful for those who, in principle, do not plan to connect the faucet to the sink. "How?" - you ask. There are at least two options for this development of events.
The first is when the mixer is installed on the wall above the sink and is held on the liner.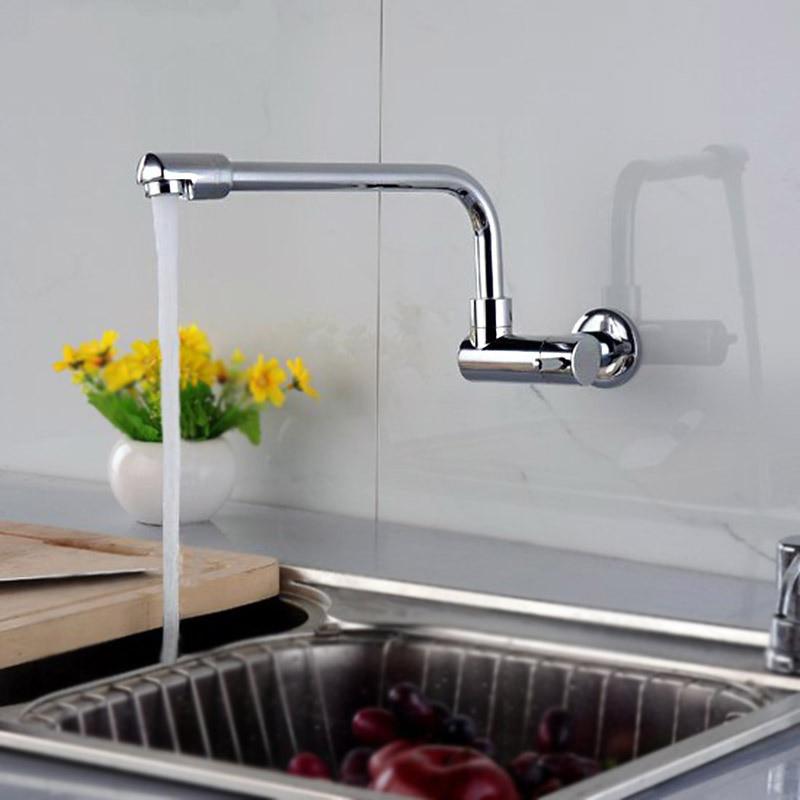
Important! Such installation should be carried out on a tiled wall or covered with the same hard material. But not on brick and plaster.
It’s rare that you can match the thread size of the faucet to the tees on the wall, so most likely you will need to use special eccentrics.
The second option is installation on a countertop. But there are a couple of pitfalls here.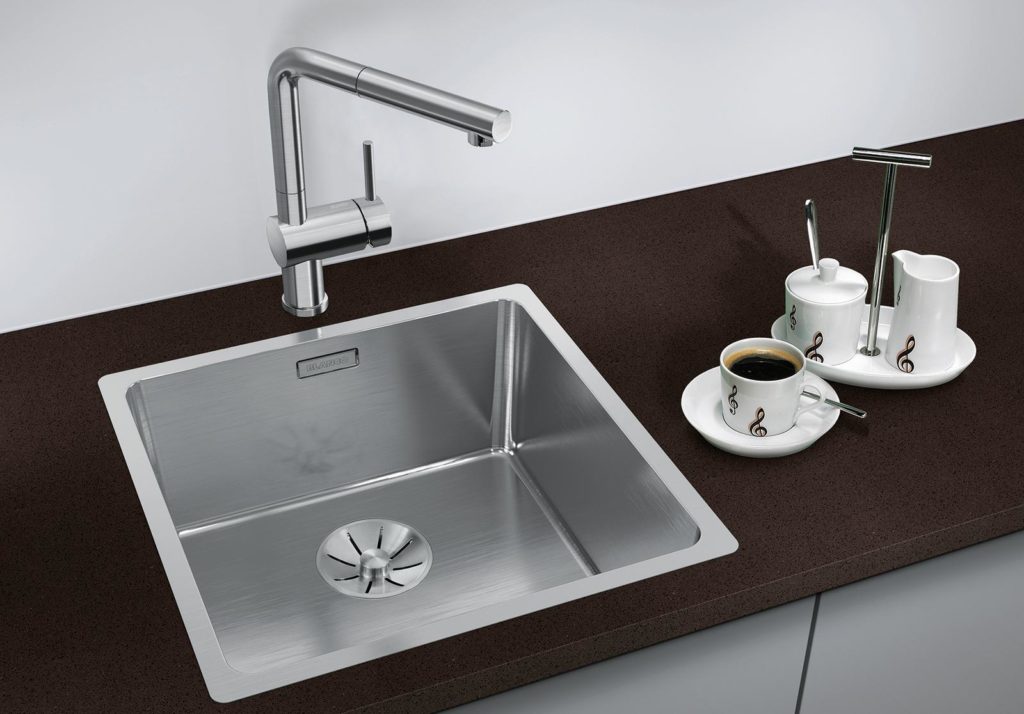
Reference. Any gasket will wear out over time. When this happens with a faucet attached to a sink, the leaking water goes down the drain. If it is installed on a countertop, the wood may get wet and become deformed.
It is also worth paying attention to the fact that there should not be a shelf on the back of the sink, which is specifically intended for installing a faucet on it.If it is located behind it, then the stream of water will not be directed to the center, but closer to the far wall, which is inconvenient when using.
And finally, one more thing. Since the nuts of the flexible hoses are located deep in the hole in the countertop, to replace them you will have to completely remove the faucet.
Neither option is suitable? All that remains is to drill the hole yourself. Of course, each material will have its own approach.
To drill into a ceramic sink, you will need a drill or hammer drill, an appropriate drill bit (feather) and a tungsten carbide core bit.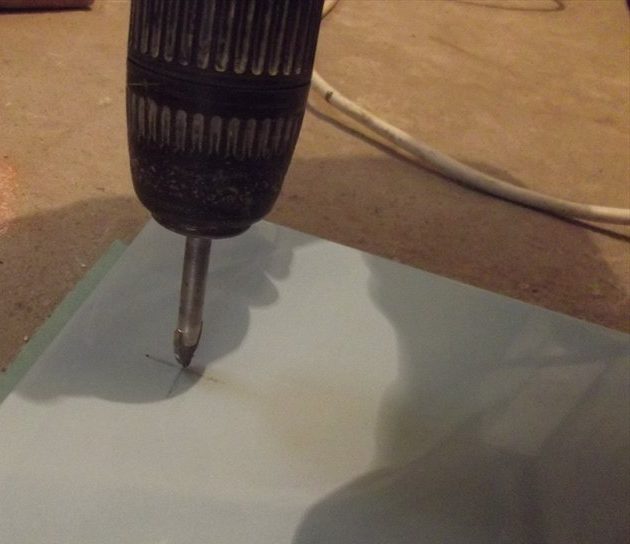
Advice. Now and further: in any similar work (regardless of the material), in order to prevent the drill from slipping, I recommend first sealing the surface with masking tape.
Take all measurements carefully and mark the results with a pencil. Insert a drill into the drill and set it to low speed. Drill as carefully as possible, as ceramic sinks are very fragile. Gradually change the drill diameter to a wider one.
Attention! Ceramic heats up quickly, so cool the hole with cold water, otherwise cracks may appear in the sink.
After the drills, move on to a crown matched to the diameter of the mixer.
The next material is porcelain stoneware. It is one of the most durable and therefore difficult to work with. So if you are not confident in your abilities, it is better to contact a specialist. If you still decide to try it, you will need special crowns for porcelain tiles.
As with ceramics, the hole must be constantly cooled (the drill can also get wet). Before work, the sink needs to be firmly fixed, for example, on a chipboard slab.
It is easier to work with agglomerate, it is softer. All recommendations regarding porcelain tiles apply to it. As for the tool, a diamond-coated crown is best.
Reference. Most often this problem does not arise because agglomerate sinks in most cases come with holes. There are “almost drilled” options; they need to be knocked out with a core or drilled with a milling cutter to work with artificial stone.
For an acrylic sink, standard drill bits for working with metal or wood surfaces are suitable. Drilling is carried out at medium or low speed.
To make a hole in a sink made of regular or stainless steel, you will need cobalt drills or the more expensive tungsten ones. You will also need a cutter (aka a punch).
Turn the sink upside down. On a measured, marked and sealed area with masking tape, first drill a small hole and enlarge it using different bits to about 10 mm. Then install the cutter so that the smaller part is on the mixer side. Tighten the bolt until a hole of the required diameter is cut.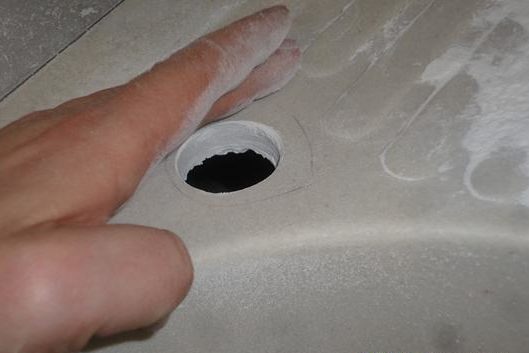
Sink installation
There are three ways to do this.
The first is suspended, using anchor screws. It is suitable for porcelain (and other artificial stone), earthenware and porcelain products with a thick back wall.
Holes are measured and marked on the wall. The standard height from the floor to the sink is 85 mm (it’s not a big deal if it’s 75 mm, for example, in a house with small children). Holes are made with a drill on tiles and glass, at low speeds (do not forget about cooling with water!).
Attention! Their diameter should be a couple of millimeters larger than that of plastic dowels.
Then the holes are punched with a hammer drill with a drill of the same diameter as the dowels. After that, they are driven into the wall and anchor screws are screwed into them. The sink is put on them and screwed with nuts.
Attention! Don't forget to seal the seam between the sink and the wall.
The second way is using brackets. The most convenient option is when they are included with the sink. All you have to do is attach them to the wall, “put” the sink on them (it usually already has the holes necessary for this) and secure the result with nuts.
The third method is installation on a cabinet. In the case of heavy stone, cast iron and ceramic sinks, you don’t even need special fastenings: just coat the edges with sealant on the back side and install it in the hole on the countertop.
To install lighter stainless steel sinks, you will need to additionally secure them with plastic or metal corners.
If you want the sink to be flush with the cabinet, you will need a flush-mount model, which is secured with screw clamps.
As you can see, installing sinks without faucet holes is no different from installing other models. But now you know that these holes are not always so necessary.

