DIY makeup artist's mirror
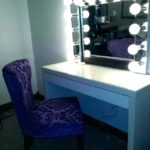
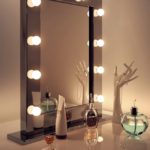
A mirror for applying makeup is every woman's dream. It is usually framed with lamps to make facial features better visible. Today we will look at how to make such a product with your own hands. A dressing room mirror will come in handy at home or in a beauty salon.
The content of the article
Preparing materials and tools for creating a makeup artist's mirror
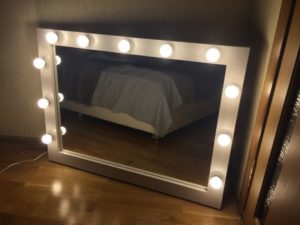 Before starting work, assembling a makeup artist’s mirror with your own hands, you need to prepare all the materials. Let's make a white mirror. We will need to take several steps:
- We choose a mirror: it should be large, have no defects, and not distort the image. You can purchase and cut it at a hardware store. You can cut it at home with a diamond.
- Then we select the material from which the frame will be made. I recommend choosing a wooden furniture panel - it is easy to cut and process. If you take white chipboard (or another color), then it needs to be edged, and this is an additional cost.
- White stain or paint to cover the frame. Impregnation for white wood is also suitable.
- Metal plates - for fastening parts.
- Corners.
- Wood crown or drill - 38 mm - for making holes. If you take a 40 mm drill, you will have to cover the hole. It doesn't look very aesthetically pleasing. It’s better, as in the joke, “to modify it with a file,” that is, to enlarge the socket manually.
- Cartridges for E27 base - their number depends on the dimensions of the product. Another option: buy E14 cartridges. Ask the store for advice on which ones are best suited for lighting your makeup table.
- Matte lamps - according to the number of cartridges.
- Self-tapping screws and screwdriver.
- Wire, electric plug.
TIP: the internal size of the frame should be 1–2 centimeters larger than the mirror. The size of the planks varies from 7 to 10 centimeters.
Step-by-step assembly instructions
 Let's move directly to the assembly.
Step one: we apply markings to the furniture board, and cut out the bars for framing along it. Angles can be made 45 or 90 degrees. We fasten them with plates and corners. Cover the frame with paint. Let's give it time to dry.
TIP: if you choose a stain, you need to apply it in several rows. You can choose the natural colors of the trees.
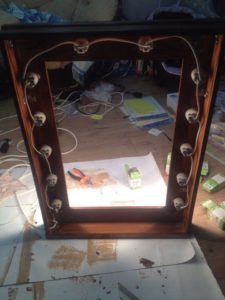
Step two: make markings for light bulbs around the perimeter. The distance between cartridges must be at least 12 centimeters. We make holes.
Step three: insert the cartridges. Let's say we have 13 light bulbs.
TIP: Professional makeup artists often mention that very bright light dazzles the eyes, so you can make wiring that will light all the lamps at the same time or only part of them.
In our example, we are doing double-circuit wiring with two switches. The lamps will turn on in three modes: 7, 6 and 13 lamps. We get two wiring lines. Here the cartridges are connected through one (parallel connection). You can insulate open contacts using fiberglass putty.
Quadruple step: after completing the electrical installation, you need to secure the mirror. If it is heavy, secure it at the bottom with a block. We install “ears” for wall mounting.
Good advice
- When working, you should not rush; all errors can be corrected.
- If you want to make a bed for mounting a mirror, you will have to cut it either on a machine or spend a long time struggling with a chisel. In our example, there is no stock, and the glass is secured using mounting adhesive and plates.
- Use LED lamps. Regular incandescent light bulbs become hot and can cause injury.
- Secure the mirror higher away from children.
- Check that the wires do not touch each other. They can be hidden under wide electrical tape.
- If you do not make a parallel connection, then you need to set a diameter that will regulate the brightness.
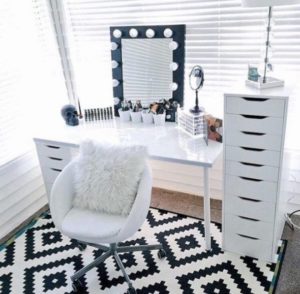
- The product can be mounted on the wall or mounted on a table or low chest of drawers.

