How to remove scratches from a mirror
 A mirror is a multifunctional item that, in addition to its direct purpose, allowing a person to see his favorite reflection, is often part of the interior, helping to emphasize style, improve perception, and transform the room. Therefore, it is important that it is perfectly clean and free of scratches and other defects.
The content of the article
Features of mirrors
Thanks to their reflective properties, mirrors can visually expand the space, add light to the room, and hide its imperfections. Enclosed in beautiful frames with built-in lighting, clock mechanisms, ornaments, drawings or inscriptions, they perform a decorative function and can also be part of the decoration.

The expected effect is reduced to zero if flaws appear on the mirror surface. This often happens due to improper care, because despite its apparent strength, the mirror is a rather fragile material. Of course, it will not be possible to completely eliminate the defects, but you can try to mask the scratches on the surface yourself.
ATTENTION! To extend the life of the mirror, it is necessary to provide it with high-quality care. Do not use sharp objects, hard sponges or abrasive cleaners for cleaning and washing.For bathrooms, it is better to purchase special mirrors designed for rooms with high humidity, where the coating is protected from destruction by moisture.
How to remove scratches from a mirror
The essence of correcting such defects is to fill them with various substances and further polish the mirror surface. To do this, you can use improvised materials or professional tools.
Home methods
To disguise small, barely noticeable scratches, the most affordable home remedies are used:
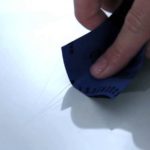
- toothpaste, apply a small amount of it to the scratch and rub in gently, and after drying, remove the excess with a napkin and polish with a soft flannel;
- mustard powder plus table vinegar, mix them in equal parts, apply and polish with a soft cloth;
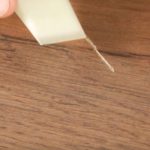
- colorless nail polish, which can also be used to fill deeper scratches, remove excess liquid with a flat stick and allow to dry, after which it is brought to a shine;
- foil, which is used to tightly seal the defect on the amalgam on the back of the mirror using tape (for which it is carefully removed); the foil should be perfectly smooth, without wrinkles.
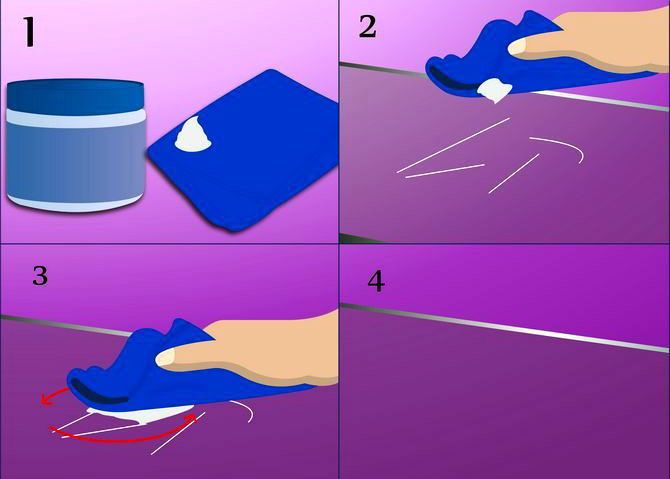
IMPORTANT! Be careful using different sticks and knives to avoid creating new scratches and do not press too hard on the mirror while polishing, otherwise it may break.
If these methods do not produce results, you can use professional materials.
Professional products
The following materials may be more effective:
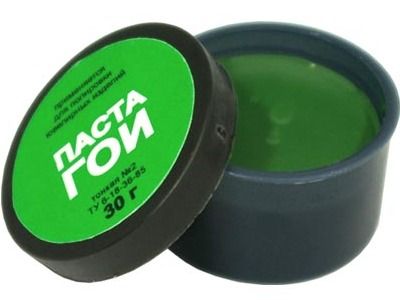
- GOI universal polishing paste, which is used for any surfaces, from metal and plastic to ceramics and glass. You can buy it at a building materials store.The product needs to be crushed into dust, scooped up with a cotton swab and filled into the scratch. This is followed by polishing with a new stick for 10–15 minutes.
- Epoxy adhesive that has leveling properties. The damaged area must first be treated with glass cleaner, dried and covered with glue, preventing the formation of air bubbles, and the residue must be cleaned with a flat tool. The glue dries in a few days, after which the surface to be treated can be polished with GOI paste.
- Silicone adhesive sealant. They fill the defect with a stick or toothpick, after drying, remove the remains and polish with paste in several stages.
- A cerium oxide preparation that can smooth out all minor scratches and bring the product to shine. It is diluted to a paste, applied to the surface to be treated and polished with a soft damp cloth until the scratches disappear. The canvas is periodically wiped with a clean cloth, and the surface is moistened so that the preparation does not harden.
After finishing work, you need to wipe the surface with glass detergent and wipe dry. If you cannot put the mirror in order on your own, it is better to take it to a master who will restore the surface using a special grinding machine.

