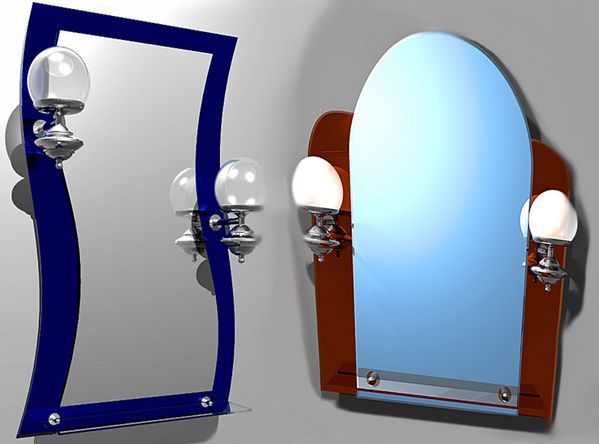
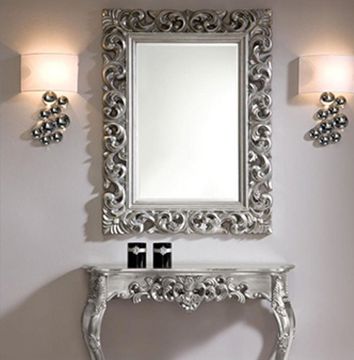
How to drill a mirror
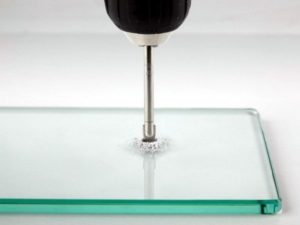 When you decide to hang a new mirror in your room, you probably wondered how to drill it so that it remains intact? It turns out that this problem can be easily solved if you know some secrets.
The content of the article
Methods for drilling holes in glass and mirrors
A mirror is a fragile material. Therefore, standard processing methods used for metal or concrete products are not suitable here. When using a standard drill, the material may crack or even break apart. Special drills will help:
- Feather. Made from high strength metal alloy. Suitable when you need to drill a slot with a diameter of 8–12 mm. Drilling is carried out at low speeds with the supply of coolant. When working with it, you first need to make a recess in the product at low speeds, and then continue working.
- Tubular (crown) with diamond insert. It will quickly cope with ceramic tiles, mirrors, glass and other fragile materials. Cylindrical drills are used by professionals. This is a budget and highly effective option, characterized by a high resource. The width of the hole can be adjusted by selecting the appropriate drill diameter.
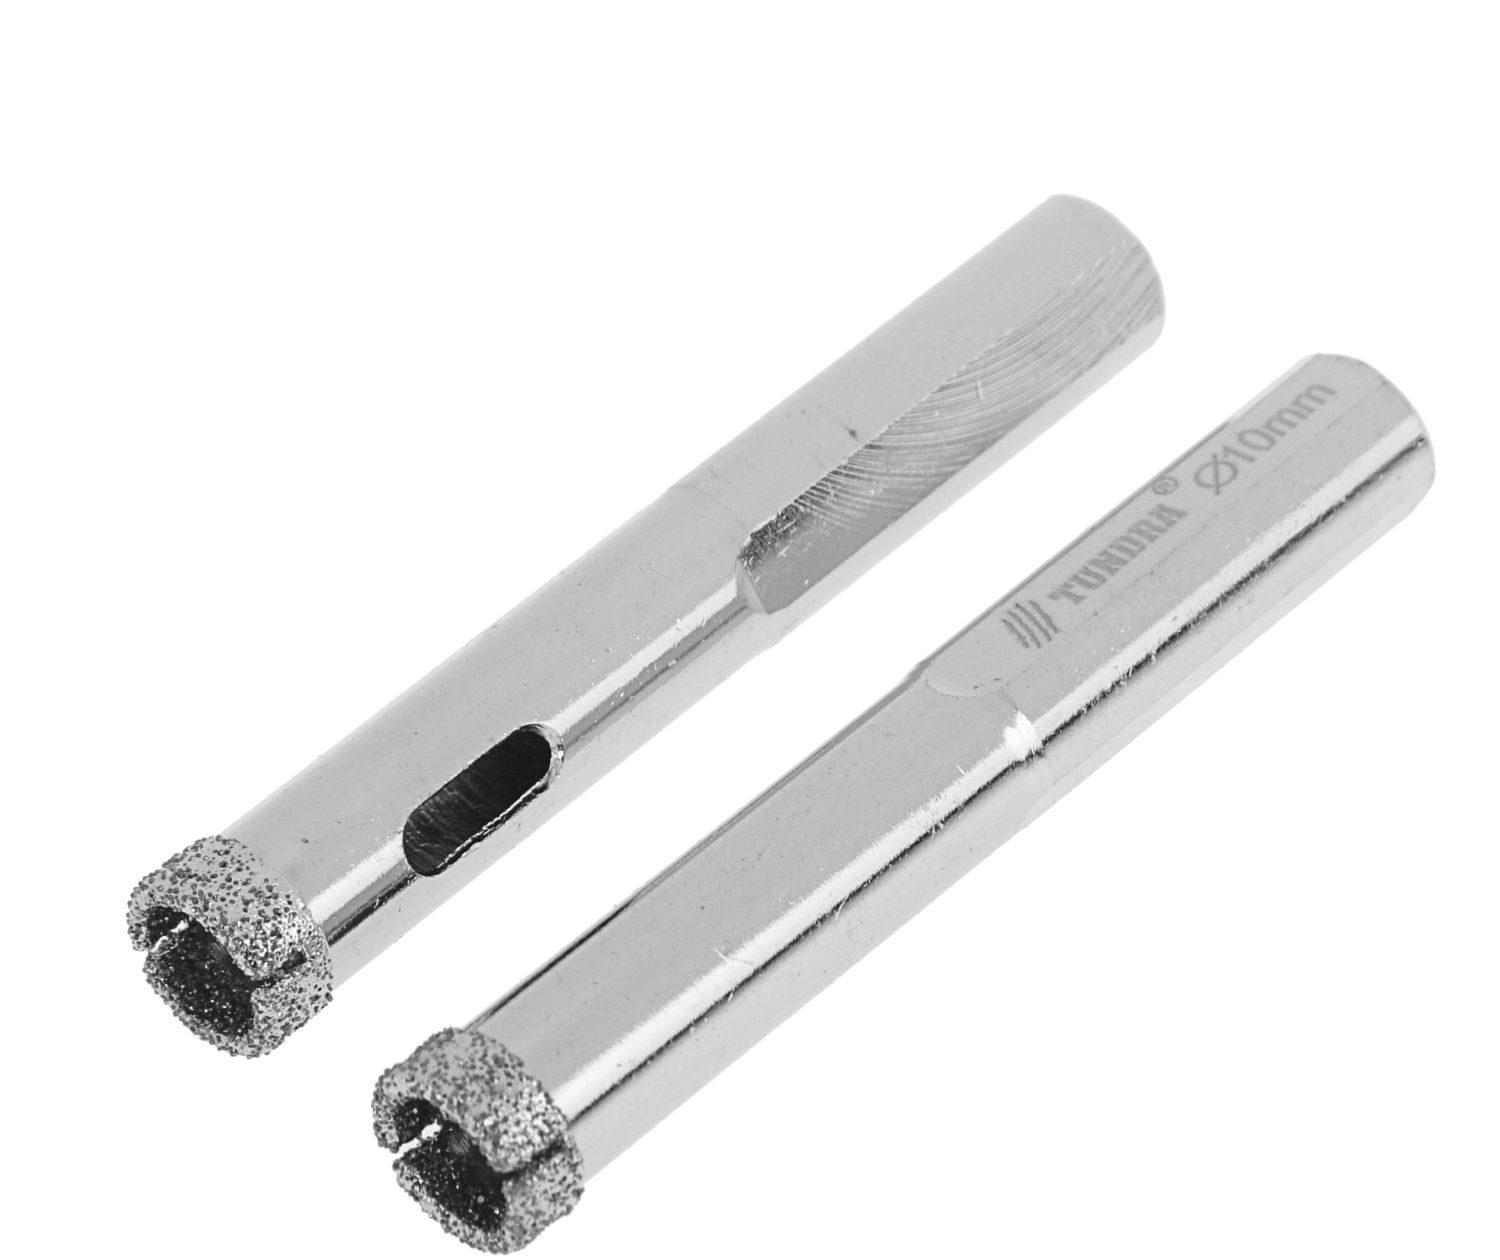
ATTENTION! Tubular drills are often counterfeited.The diamond coating on a low-quality product comes off after just one use. When purchasing, pay attention to the material from which the nozzle is made and its thickness. If it is not thick and made of brass, then immediately after insertion into the cartridge it will bend and become unusable.
There are other ways to make holes:
- Using aluminum alum dissolved in vinegar. The resulting composition is used to treat the mirror and drill it. This method is used for hard glass.
- A thin metal tube or copper wire. A mixture of turpentine, grinding powder and camphor is laid out at the place where drilling is planned. Then a wire of suitable thickness is attached to the drill and drilled.
- Glass cutter. More precisely, a diamond ball inserted into it. It is pulled out of the tool and fixed on a metal rod. The resulting drill is attached to a screwdriver and drilled. Using this tool, the hole will turn out to be unique. Sharp edges are sanded with a file.
- Using sand and molten metals. The surface is degreased with a solvent. The place where the slot is planned is covered with wet sand and a funnel is made in the center. Pre-molten tin or lead is poured into it. After hardening, the metal is removed along with the sand. This makes a nice, even hole.
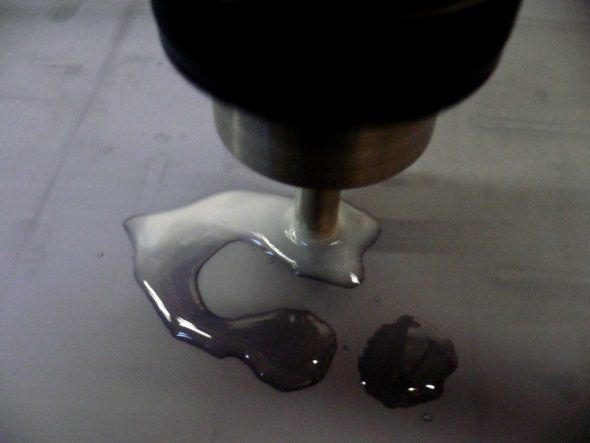
IMPORTANT! Use a drill with a speed controller. Drilling glass is unacceptable at high speeds, this will immediately lead to damage to the product. If a drill with speed control is not available, a screwdriver can be used.
Required materials and tools
Before drilling, prepare everything you need. This:
- degreasing solvent;
- drill or screwdriver;
- water, turpentine for cooling;
- plastic glasses and gloves for protection;
- drill.
How to drill a mirror at home correctly
Before work, practice on an old piece of glass. As soon as you get the hang of it, you can start working directly with the mirror.
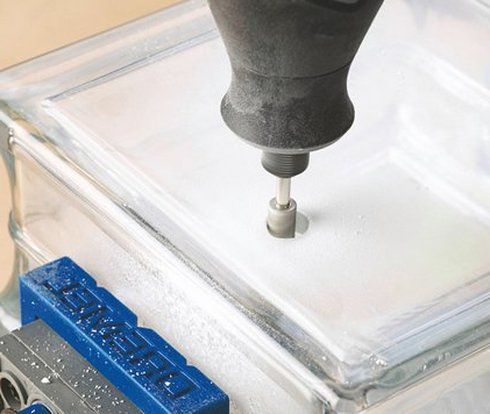
REFERENCE! The mirror and diamond drill are afraid of overheating. Therefore, during operation they need to be periodically cooled with water.
Step-by-step instruction:
- Protect your hands and eyes.
- Place the product on the table. It should lie tightly - not move, not slip.
- Prepare the surface of the mirror. Treat it with a degreaser. Let dry completely.
- Make a mark and pour in some turpentine. This will protect against cracks. If you don’t have turpentine on hand, you can cover the hole with plasticine and pour water into the resulting depression. The distance between the edge of the product and the slot should be at least two centimeters.
- Start drilling. Adjust the tool to the lowest speed, otherwise you will immediately damage the brittle product. Do not press or force the drill. Work very carefully, taking breaks every 10 seconds to avoid overheating. At such times, be sure to cool the work area.
- Hold the drill at right angles to the mirror. To prevent the drill from sliding on the glass, make a hole in a wooden or plastic block and secure it to the product with tape.
- Do not drill a hole through. When there is very little left to the end, turn the product over and finish drilling. This will help avoid chipping on the outside.
- Sand rough edges to prevent chips and cuts.
At the very end of the work, make the speed even lower and minimize the pressure on the drill.


