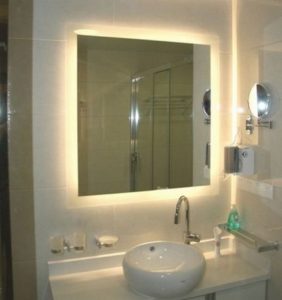
How to connect an illuminated mirror in the bathroom
 A person spends a lot of time in the bathroom. And it’s not just women putting on their makeup here. Men also often take care of their appearance. You need to tidy up your beard and mustache, or maybe, on the contrary, remove excess hair. However, if the face is poorly lit, then all efforts are nullified. It is at such moments that you realize that a mirror in the bathroom, and even with lighting, is not just a luxury. This is most likely a necessity.
The content of the article
Types of illuminated bathroom mirrors
Illuminated bath mirrors differ according to some criteria.
Lamp type
The first one is the type of lamp used. Lamps can be of the following types.
Luminescent
The undeniable advantages of this type of lighting devices include their lighting. It does not blind our eyes because it dissipates. At the same time, the light is quite pleasant and close to daylight.
These lamps have a long service life - up to twenty thousand hours.
But there are also disadvantages. One of them can safely be called flicker.You should not look at the lamp for a long time, as this will make your eyes hurt. The second disadvantage is the duration with which they heat up. And the content of mercury vapor inside is not the most pleasant factor.
Halogen
Halogen devices have high light output. They last longer than incandescent lamps. One of the disadvantages is their fragility. They are very sensitive to shaking and are not recommended to be installed with bare hands.
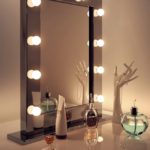
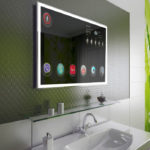
LED lights
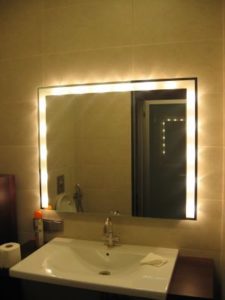
This backlight is a frame. These mirrors look very stylish. LEDs consume little electricity, but their operating life reaches fifty thousand hours. These bulbs light up instantly and do not have any unpleasant flickering.
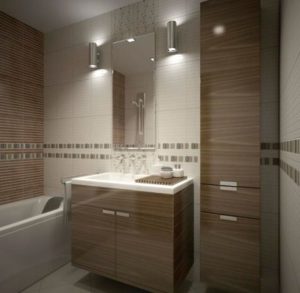
By shape and design
In addition to the types of lighting elements, models may differ in shape. At the moment, you can choose any type, to suit any, even the most sophisticated taste. They also differ in design.
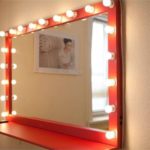
With shelf and lighting
The convenience of this model is that the shelf does not need to be mounted separately. I bought it, hung it up, and that’s it. The room immediately acquired a beautiful mirror and a convenient shelf for all kinds of cosmetics.
Mirror cabinet with lighting
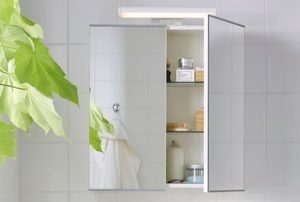
A very convenient and practical model. You can not only contemplate your reflection, but also remove various bath accessories and hygiene products from sight.
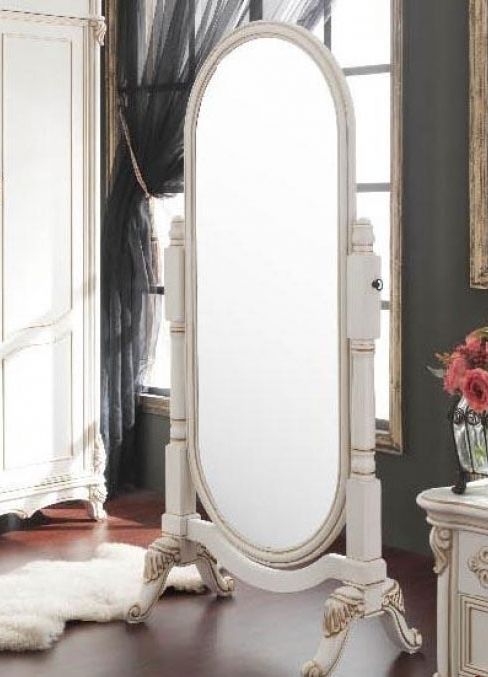
Round mirror with light
Round and oval shapes have the most elegant appearance. They are most suitable for classic bathrooms.
Connecting an illuminated mirror
If you have already decided on the type of mirror, we will tell you how to install it and connect the lighting.
Materials and tools for work
The choice of installation tools usually comes down to the type of mirror you purchased. Most often, everything you need comes included.
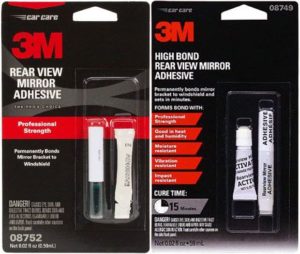
The simplest option for a model that does not have shelves and cabinets is to attach it with special glue. It is produced in cans, and for use you will need a special gun.
This method is characterized by simplicity and high speed. But the possibility of changing the place of the mirror if it requires it is lost.
When using this technique, you need to carefully consider the choice of adhesive composition.
Important! Pay attention to the special mark on the packaging - mirror. It means that the adhesive is suitable for mirror surfaces.
Other compounds can have a negative effect on the mirror.
Often, not glue is used for fastening, but screws and special plastic dowels. The caps are recessed in special recesses or disguised with plugs.
For a successful installation we will also need such tools.
- Drill with impact mechanism.
- Drill for working with brick or concrete.
- Screwdriver.
- Building level.
- Roulette.
Mirror installation

Installing the mirror is very simple.
- It is necessary to press the structure to the desired location and make markings.
- Make holes for the dowels and install them.
- Reattach the mirror, aligning the holes for fasteners with the places for dowels. Then tighten the screws.
At this point the installation can be considered complete. All that remains is to connect the mirror to the power supply.
Connecting the backlight
LED Strip Light
If this backlight is already installed in the model you purchased, then you can be calm about moisture. All contacts that are available are already protected from it by the manufacturer.
But if you install it yourself, then you need to think about this from the beginning. The best option is to use self-adhesive tapes to prevent them from peeling off from the surface when exposed to moisture.
Important! Connecting the tape to the electrical network requires the use of an adapter unit that converts the voltage.
Battery-powered LED lights
This is the simplest type of lamp to connect. Everything is already provided by the factory. You only need to insert the batteries into their compartment.
There are several rules when working with this type of device.
- Do not use batteries of different capacities at the same time.
- Do not try to extend battery life by applying heat or shock.
- Use batteries of the type recommended by the manufacturer.
Fluorescent lamps
The only difference between these lamps and incandescent lamps is the presence of a starter in the electrical circuit. The service life depends on this device.
Connecting this type of device is described in the instructions that come with the lamp itself or together with the mirror.
Useful tips
- Pay attention to the width of the reflective sheet. It should be forty centimeters. The top edge of the mirror should be below 17 centimeters from the ceiling. The height from the floor should be thirty centimeters.
- Only devices that are protected from moisture are allowed to be installed in the bathroom.
- The light bulbs themselves can be used in completely different ways, from conventional incandescent lamps to halogen ones.