DIY mirror decor
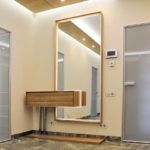
 A lone mirror on the wall looks inconspicuous. To ensure that it not only fits into the interior, but also becomes a bright accent, you can try to create a composition from several reflective surfaces. Or start decorating. It is quite possible to decorate a mirror with your own hands. Moreover, you can choose any decor and design, and there are many options.
The content of the article
Mirror decoration
Basic methods of decoration:
- matting;
- hand coloring;
- sandblasting;
- application of stickers and films;
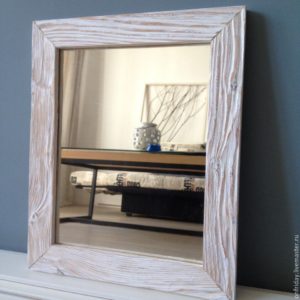
- creating a frame;
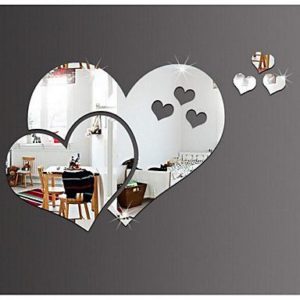
- figure cutting;
- diamond engraving.
At home, we implement any design from the listed options with the exception of diamond engraving. You can even do matting and cut out an unusual shape from the mirror cloth.
How to decorate a mirror
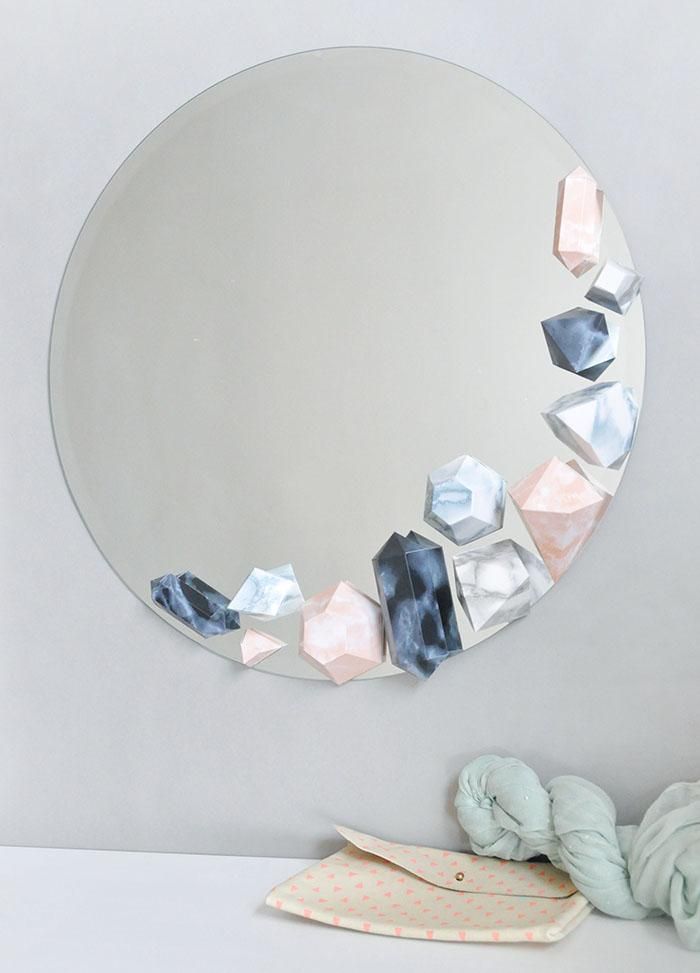
The easiest way is to paste something over the edges of the mirror, that is, to create a border. This will come in handy:
- rhinestones;
- beads;
- beads;
- glitters;
- a scattering of sparkles;
- sequins;
- colored stones;
- shells.
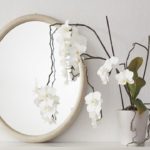
 It makes sense to take a different path and take as a basis not decorative elements, but the most ordinary things at hand and start decorating. So, it’s definitely worth making a composition from colored laces, laying out a floral pattern from them, based on the photos you found or your own imagination.Flowers from egg cups also look interesting, but here you will have to work with scissors first.
Well, a rope laid around an oval mirror in 2-3 rows will give the accessory a nautical mood. A loop from the same rope will enhance the effect. It will be possible to hang the finished accessory from it.
Note! You can upholster the mirror frame and furniture in the room with the same textile material. With this approach, the mirror surface will definitely fit well into the interior.
Decoration with glowing stickers
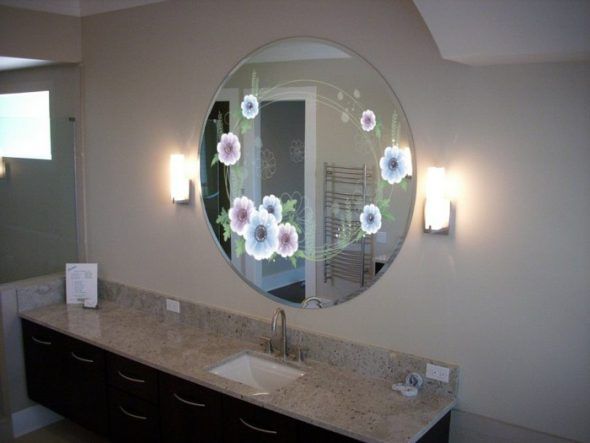
Among the interior stickers, mirror ones are also produced. Some of them are designed to create a plot pattern, others imitate a frame, and others are an angular or rounded pattern. There are also those that are completely glued to the entire reflective surface. They often crush the mirror according to the mosaic principle. After using them, the result is a picture that glows in the dark, the glow radius of which is increased due to the reflective surface.
 Recommendations and notes on work:
- In order for the sticker to fit well, before gluing it, you should clean the mirror from dust and dirt, and also degrease it;
- Alcohol and ammonia degrease glasses well (need to be diluted before use, and after use, thoroughly ventilate the premises);
- if the sticker comes on a mounting film, then the latter is removed after gluing and ironing the sticker with your fingers;
- adhesion to the surface directly depends on how you press and iron the sticker in the first few days after applying it.
Also, some people have a problem with the glow. Everything is simple here: luminous decorative elements require light “recharging”.The cheaper the paint the sticker is coated with, the shorter the period of its operation after “recharging”. The simplest and most budget options will emit light for 20-30 minutes.
Important! In a room where the lights are rarely turned on for a long time and there are no windows, luminous stickers will look like ordinary ones. There will be no radiation from them.
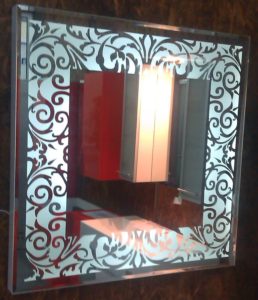
Matte pattern
Nowadays frosted glass and reflective surfaces are at the peak of popularity. A workshop will charge several thousand for such a transformation; the costs of doing it yourself will be much more modest. You will have to spend money on the following materials and tools:
- stencil design on adhesive tape (look for it in hardware stores);
- mounting film (must be the same size as the mirror);
- matting paint (ordinary paint will not work);
- brush, sponge or sponge for applying matting mixture.
 The procedure itself is carried out as follows:
- pry with a fingernail and remove all inserts from the stencil;
- the protective layer of the mounting film is removed;
- the mounting film is placed on top of the stencil (and thus they are glued to each other);
- the protective layer is removed from the stencil;
- the stencil itself is applied to the mirror with the adhesive side;
- the sticker is carefully ironed with a roller;
- after it fits tightly to the mirror, you can remove the mounting film;
- matting paint is applied using a sponge;
- wait the time specified according to the instructions (usually it takes 20 minutes);
- the paint is completely removed with a sponge;
- its remains are washed off;
- the stencil film is removed from the mirror.
Important! To ensure that the film adheres well and evenly to the stencil, and then lies on the reflective surface without bumps, work together. First glue 1 edge, then the middle, then the second.Finally, go over with a roller.
Frame
Option 1: ceiling moldings of a square or rectangular mirror
Required materials and tools:
- plywood or cardboard for the base;
- ceiling baguettes (will become edging);
- glue (preferably silicone);
- putty;
- paints (black and silver);
- silver lace (or regular, but painted in a steel shade);
- brushes (2 pieces, hard and soft);
- knife (2 pcs, kitchen and stationery).
 Algorithm of actions:
- cut 4 bars from baguettes (the size should fit the mirror);
- make a square or rectangle from the bars;
- give the edges of the bars a beveled shape (due to this, the parts will begin to fit each other better);
- glue the bars from baguettes (you will get a blank for the frame);
- after drying on the wrong side, putty the joints;
- putty the joints from the outside;
- treat the inner edge of the frame with putty;
- after drying, paint the workpiece black (pay special attention to the inside, it also needs to be painted evenly);
- after drying, apply a layer of silver mixture on top (at this stage it is better to use a sponge);
- coat with acrylic varnish;
- cut out a base from plywood (the size should be slightly larger than the frame);
- make holes in the substrate from which the mirror will be hung;
- glue the mirror in the center;
- Place and fasten silver cord along the edges of the mirror;
- fix the frame with glue;
- After the glue has dried, the substrate is puttied and then painted black on all sides.
Method 2: from rings for a round mirror
You will need paint, a mirror base, fine sandpaper, a glue gun, plastic pipes and a tool for cutting them.
Step-by-step instructions for decorating:
- cut rings of the same size from the pipes;
- walk with sandpaper over the rings from the outside;
- lay out a drawing from the rings and base under the mirror;
- fasten the structure according to the pattern;
- glue the mirror.
Some go further and, after gluing the base and rings, paint the resulting structure.
Vintage style
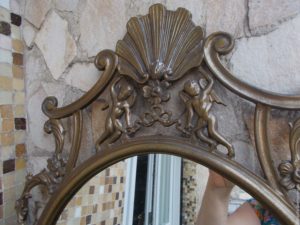 The easiest way to visually age a painted wooden frame. To do this, just walk along the contour with sandpaper. After such manipulation, abrasions will appear, which from the outside can be taken as signs of the “age” of the accessory.
Important! The scraped areas should not be left as is. Be sure to impregnate them with a water-repellent compound.
An unpainted frame is treated differently. First, they brush and fire, then sand the surface and prepare it for painting. However, the paint itself should not be allowed to dry. After applying it, immediately walk along the frame with a damp cloth. After this, a natural wood pattern will appear in places.
Decorating tips
In this work you need to use silicone adhesives. It is sold through hardware stores, in tubes and pistols. The latter form of release is more suitable: it is easier to handle, it provides targeted application of the composition. However, the cost of such products is higher.
The price is also affected by the type of silicone sealant. It can be neutral or acidic. The latter is best used outdoors due to its strong and persistent odor and applied to unpainted surfaces. If the decorative element is varnished or painted, then you should buy neutral silicone. It costs more than its analogue, but after it you don’t have to ventilate the room for a long time.
Time also plays a role in the speed of setting.Instant gluing is not required when decorating at home - there is always a chance that something will have to be corrected, transferred and supplemented. However, you shouldn’t buy compounds that set for a long time, since this property will delay the decorating process.
 Other useful notes:
- before work, you should check whether the paint changes shade when applied to a mirror surface and whether it is translucent;
- paint, matting, and stickers can only be applied to a clean, grease-free surface;
- It’s better to work with latex medical gloves, so you don’t leave fingerprints on the mirror;
- adhesive or polymer gilding of the frame is characterized by low moisture resistance, so the product will have to be additionally treated with a finishing gel polish;
- When decorating with large volumetric objects, you need to be prepared for the fact that the mirror will eventually get lost against the background of the decorations;
- the reflective surface is often washed, so you need to worry about giving the structure moisture-proof properties;
- asymmetrical and shaped mirrors rarely look beautiful within traditional forms;
- the drawing is made with stained glass paints or liquid gold leaf;
- aerosol paints are suitable for impregnating jewelry, but not for working with the reflective surface itself;
- The substrate is attached to mirrors without amalgam using liquid nails.
If you are going to solve the issue of moisture resistance of jewelry, start from the type of material. In the case of paper, paraffin or beeswax will help. The wood will become waterproof after treatment with tung oil.