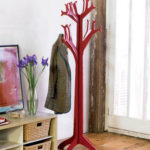
DIY wooden hanger
 In ordinary apartments, the corridors are small and when decorating a room, every inch of space counts. Therefore, many people prefer not to overload the space with wardrobes, but install a regular hanger made of wood or other material with their own hands. If you use your imagination, you can come up with your own original model, or find something unusual on the Internet.
The content of the article
Why is it better to use wood for hangers?
 Wood is used in all areas of construction - it is one of the most popular materials, which has many advantages:
- environmental friendliness is the most fundamental plus for many people who care about their health;
- the presence of essential oils with an antiseptic effect, which are released into the atmosphere of the apartment;
- regulation of temperature and humidity in the room;
- aesthetic appearance even without the use of decorative coatings;
- low cost and general availability.
Wood is an ideal material for home-made hangers, which is why home craftsmen choose wood of various species.
What material is needed and what is required?
At the moment, construction stores have a large assortment of tools that can be purchased to make a hanger for the hallway, you will need:
- hacksaw or jigsaw;
- hammer and screwdriver;
- hammer drill or impact drill;
- sandpaper;
- measuring tool and pencil;
- brush or roller - for decoration.
From materials:
- board, block;
- fasteners;
- hooks;
- paint or varnish;
- primer and antiseptic impregnations.
The material should be purchased with a reserve so that during the manufacturing process you do not have to run to the store.
What is a wall hanger?
These are elements that have almost the same design and are mounted on the wall in the hallway. Usually this is a wooden plank with several hooks for clothing.
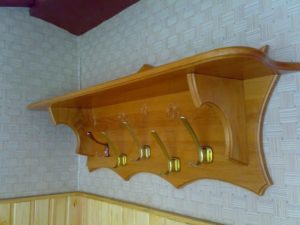
Wall hangers can be vertical or horizontal. The first option takes up less space and visually increases the height of the corridor. The second option allows you to install a wooden bedside table or shoe rack below - these are quite compact models.
Wall hangers can be equipped with shelves for various items, such as hats and gloves. The design of the wall hanger is quite simple and any layman can install it in a few hours using photo drawings.
What is a floor hanger?
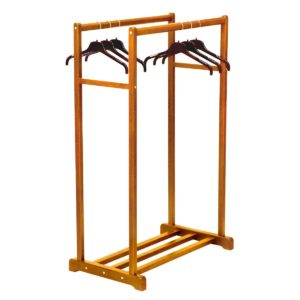
Floor hangers are racks or tripods, structures that do not need to be screwed to the wall, which greatly simplifies the installation of the structure.
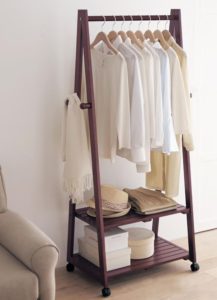 There are several types of such products:
- closed - with a cover for clothes;
- open;
- mobile;
- stationary;
- transformers.
The most popular are open mobile devices that do not take up much space and, if necessary, can be easily moved to another place along with clothes, especially if the design is equipped with wheels. They are often used in large dressing rooms to save space.
REFERENCE! Transformable floor hangers are purchased by those who periodically have guests in their home - they are equipped with additional compartments for clothes and shoes.
Step-by-step instructions on how to make a hanger with your own hands
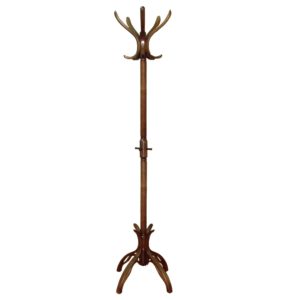
You can make any practical hanger for the hallway with your own hands. Let's look at how to mount a floor tripod that won't take up much space in a small hallway space. This model will require the following materials:
- a wooden block with a cross-section of 15x10 cm, about 70 cm long, but more is fashionable. If there is no block, then you can use any metal support, for example, from a large Christmas tree. It is important that it is strong and stable and does not fall under the weight of clothing;
- wood post. You can purchase a shaped product on the construction market or make it yourself from a block or a dry trunk of a small tree. The bark is removed from it and sanded until perfectly smooth;
- several metal hooks;
- several pieces of rubber, which should be glued to the crosspiece in places where it comes into contact with the floor to prevent scratching the surface;
- five-piece board, which will be screwed to the crosspiece to strengthen the structure.
Installation of the product begins with the arrangement of the cross, for this:
- cut the bars into the required lengths, sand them with sandpaper to remove any irregularities;
- connect the elements at right angles exactly in the middle and trace both bars with a pencil;
- Use a chisel to select half of each block, at the marks along the entire width;
- connect the segments, it is desirable that there is no backlash;
- prepare four pieces of board that will be attached to the stand and each leg of the cross to increase the rigidity and stability of the hanger.
Now you can start making the trunk on which the clothes will hang.
- Prepare the timber by sanding it in advance.
- Screw it to the crosspiece with long self-tapping screws from below.
- Attach support jibs to each leg and to the trunk.
- If you plan to place a lot of clothes on the hanger, you should strengthen the top. To do this, a small piece of timber is fixed on each side with a distance of 5-8 cm from the top.
- Now it’s time to start decorating the product: cover it with stain and clear varnish.
- As soon as the tripod hanger is dry, rubber pieces are glued to the crosspiece at the bottom using mounting adhesive, and the required number of hooks are secured at the top.
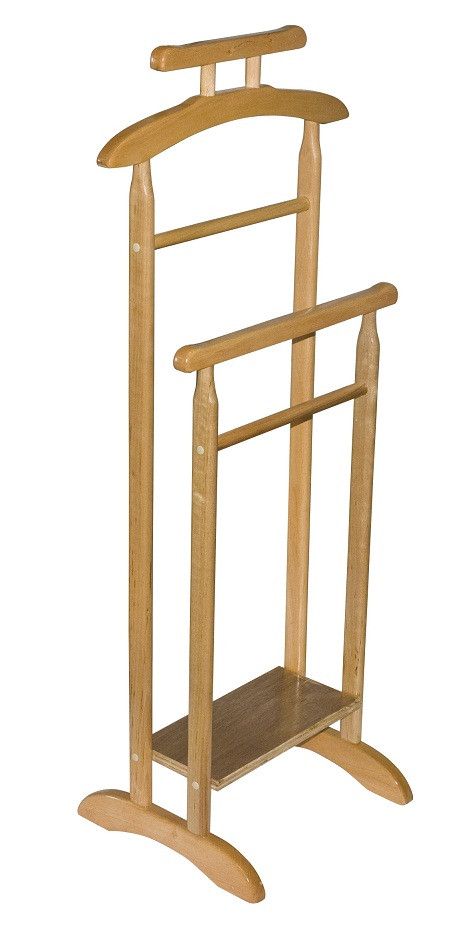 A simple structure for storing clothes is ready.
Experts give several useful recommendations that will greatly facilitate the assembly process:
- Before screwing the self-tapping screw into the wood, make a small recess with a drill. This will allow the fasteners to be screwed in flush, without microcracks appearing on the wood, which may expand during use;
- the diameter of the drill is selected in accordance with the cross-section of the screw head;
- to strengthen the fastening element, the recess is filled with wood glue before screwing in;
- After the rubber bands are glued to the bottom, make sure the structure is stable.
If there is not enough space for a tripod in the hallway, build a simple wall hanger from an edged board, for this:
- Prepare the piece of wood by sanding it smooth.
- Mark with a pencil the places where the hooks are attached - in a line or in a checkerboard pattern.
- Using a drill with a drill of the required diameter, make holes in the places where the marks were placed.
- Decorate the product to your liking. This can be decoupage, painting or staining, it all depends on the interior of the corridor.
- Secure the hooks to the board using bolts and nuts.
- The last step is to attach the finished horizontal wall hanger to the surface - this process is carried out using a hammer drill and dowel nails.
There is another option for making a clothing storage product made from pallets:
The pallet must be disassembled into separate elements, which are cleaned of dust and dirt and treated with sandpaper to a perfectly smooth surface.
REFERENCE! There are certain options for attaching individual elements to each other, but we will consider the simplest and most affordable one.
- Take two pallets that will serve as a fastening base. Mark them. To do this, lay the lamellas perpendicular to the elements and outline them with a simple pencil.
- On the top of each element, arrange holes for hooks and secure them to pallets.
- Using wood screws of optimal length, screw separate planks onto the 2 main elements, at the same distance from each other.
- Decorate the surface of the hanger with stain or paint.
- Attach the finished product to the wall - the pallet hanger is ready.
Finally
Making a wooden hanger with your own hands is quite simple; in some cases, you don’t even need to buy material for making it, since almost every owner has a couple of wooden elements in their arsenal that lie idle.


