DIY bathroom vanity cabinet
Arranging a bathroom is not an easy process, especially if it is not too large in size. A separate issue is always the sink, problems with choosing its type and location. A fairly popular way to install a washbasin in a bathroom is to install it on a special cabinet, in which bathroom accessories or household chemicals are usually stored. This article will talk about how to build a vanity cabinet in the bathroom yourself.
The content of the article
Classifications of cabinets
There are two main types of classification of vanity units: by installation method and by type of sink. According to the installation method, the products are ranked as follows:
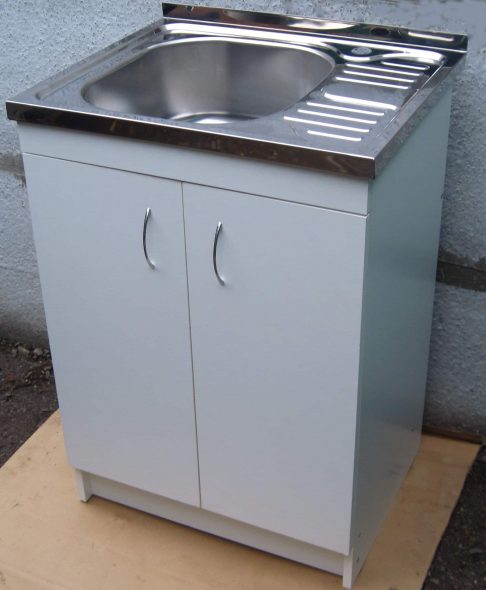
- Floor-standing.
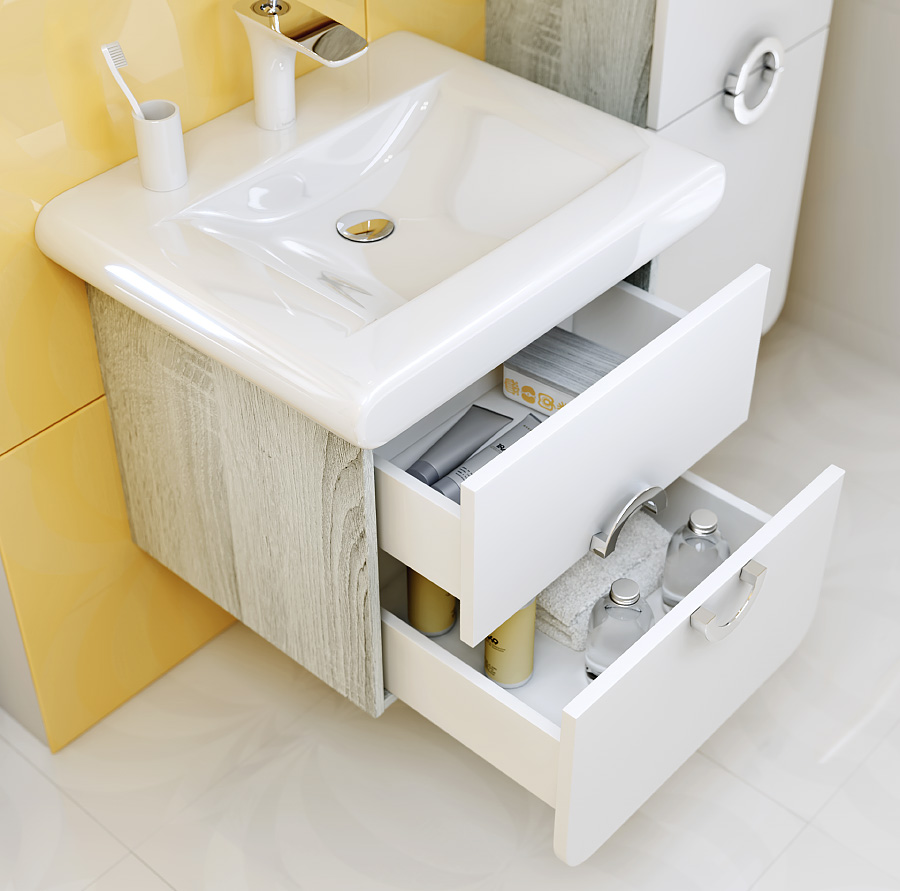
- Hanging.
- Corner floor/suspended.
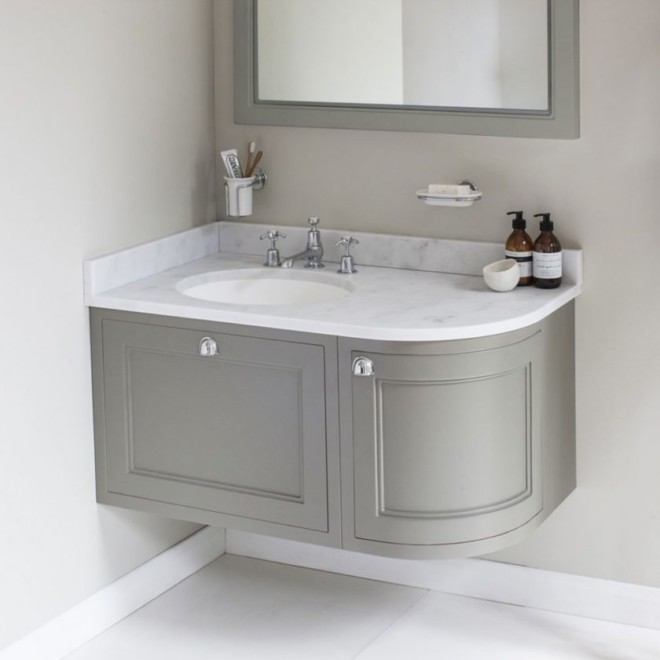
The first type of products is quite multifunctional and widespread, and wall-hung ones have a fairly stylish design, save “precious” centimeters of bathroom space and fit harmoniously into modern design designs. Corner cabinets are perfect for small spaces and unused areas of the room that are not included in its “working” area.
As for the classification according to the type of shells, according to it the products are distinguished:
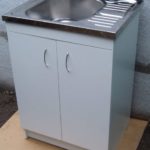
- Under-mount type of sink.
- Under-mounted type of sink.
The first type of cabinets are made with a solid tabletop, after which a hole corresponding to the size of the bowl is cut out in the upper part of the cabinet.As for overhead sinks, they (what a surprise!) are “overlaid” on the supports of a cabinet without a countertop, and then secured with brackets or waterproof glue.
Reference! If you cannot be called a jack of all trades, but you really want to build a bedside table, then the option with an overmount sink is just for you, since cutting a hole for a sink in the countertop requires not only patience and perseverance, but also certain carpentry skills.
What to make a bathroom cabinet from
In this regard, modern home craftsmen have at their disposal not only “traditional” MDF, but also waterproof plasterboard, plastic or even glass. Each type of material has its drawbacks: drywall does not “hold” the weight load well enough, plastic quickly scratches and loses its original appearance, and glass, although it looks luxurious, is quite difficult to handle and install.
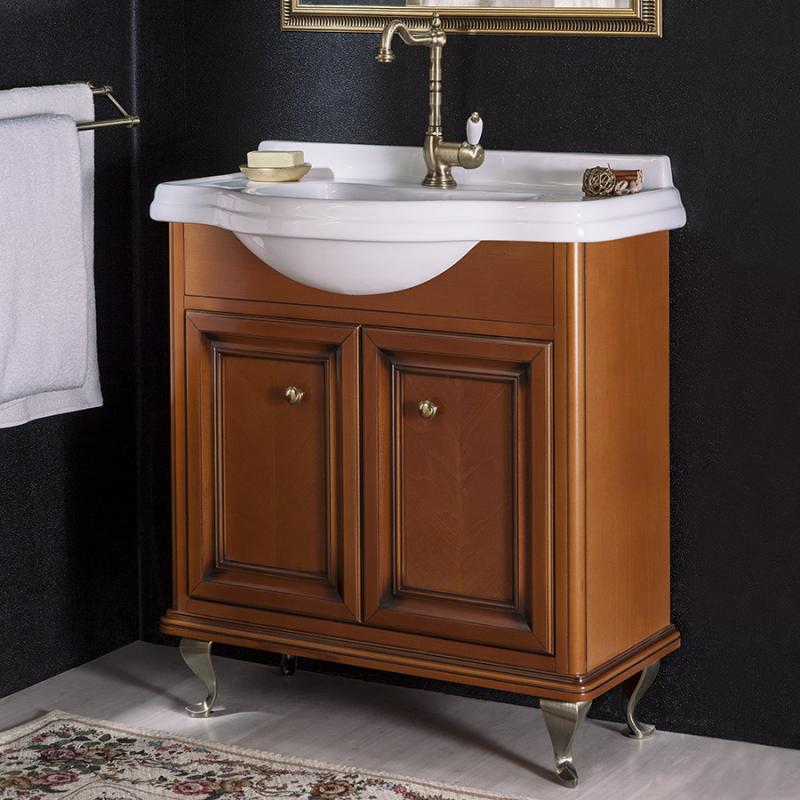
Reference! There are also “hybrids” assembled from different materials. For example, products with an MDF body and glass doors look quite stylish.
Once the material is chosen, it is worth thinking about its cladding. Glass, for example, can be decorated with a special mosaic, and wood with figured painting. Do not forget that the cladding should be in harmony with the overall style of the room.
How to make a sink cabinet with your own hands
Before you start carpentry, you need to prepare the room and the tools needed for assembly and installation. Make all the basic measurements: the installation height of the bowl, the space around the washbasin, the distance to the water supply and drainage pipes, the diameter of all pipes, etc.Don’t be shy about drawings and sketches: the better the future structure is visualized, the more mistakes will be avoided during its assembly.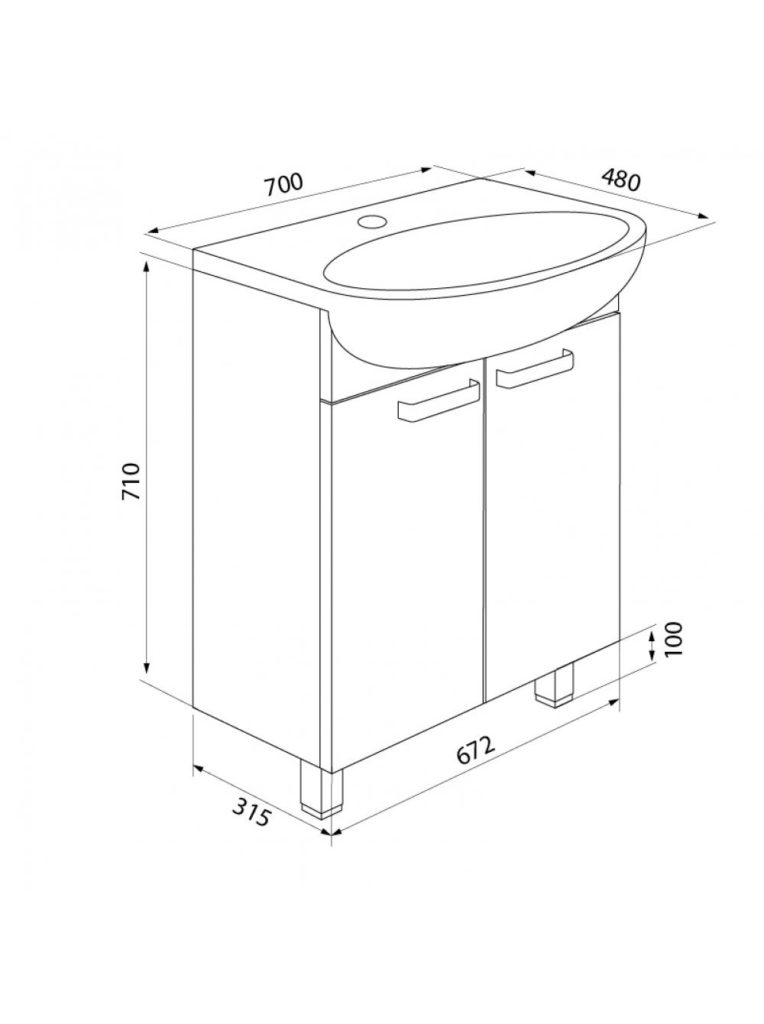
After the measurements are taken and the sketches are completed, it is necessary to draw up a detailed diagram of the product with the dimensions of each part marked. When the diagram is ready, you can go get the tool. You will need:
- hammer, screwdriver, pliers;
- electric drill, jigsaw, screwdriver;
- saw, chisel;
- sandpaper;
- tape measure, pencil, square;
- building level.
Using a jigsaw, hacksaw and drill, all the parts indicated in the diagram are cut out. If we are talking about a product made of MDF, then first of all, the parts of the frame of the cabinet are cut out of sheets of material, and then all the other parts (doors, drawers, etc.). All cuts are processed with sandpaper or a grinder.
Attention! Despite the fact that waterproof material is used in the manufacture of bathroom products, all of its side sections must be primed using water-repellent agents, sealant or glue.
To give the structure greater strength, it is necessary to fasten its side panels to the base using pre-made wooden corners. The frame of the “pedestal” for the overhead sink is adjusted in size based on the dimensions of the “washbasin” itself. Once the frame is assembled, you can move on to the doors, shelves, drawers and handles. If the cabinet is supposed to be made on legs, then its bottom should be fixed at a distance of no less than 10 cm from the floor covering.
Attention! Before installing a countertop sink on the finished bedside table, it is worth attaching a siphon and mixer to the latter: this will make the installation process easier and save a little time.
If we are talking about a built-in sink, then before starting the installation, you need to apply markings to the countertop. To do this, you can make a template from cardboard according to the dimensions of the bowl, or you can simply turn the sink upside down, attach it to the countertop and outline the outline of the bowl on it, then measure its side in several places and apply a second, inner outline in the outlined circle. Once the markings are done, you can start cutting.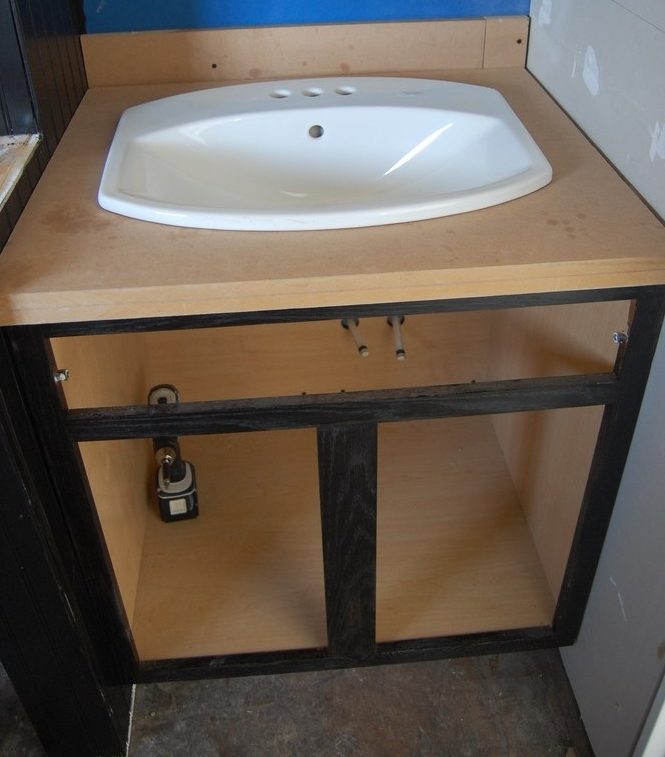
First of all, you should make a hole in the future tabletop for the jigsaw blade. To do this, use a drill: drill a wide diameter hole on the surface of the internal contour (without going beyond the contour). After this, insert the jigsaw blade into the hole and begin to cut out the “nest” for the future sink, carefully following exactly along the intended line.
To ensure that the cut part of the tabletop does not fall off prematurely, small screws can be periodically screwed in around the perimeter of the cut. When the cut is completed, they can be turned out and the cut out part of the product can be carefully removed.
The cut must be cleaned with sandpaper and treated with sealant. After all the manipulations have been carried out and the sink has been installed to the wall, you can proceed to connecting communications and facing work.