DIY sink cabinet
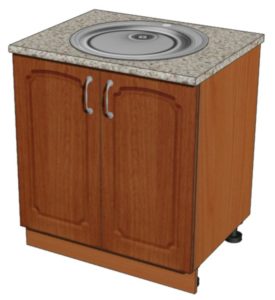
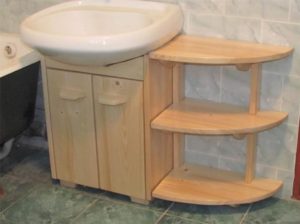
 One of the important characteristics of any interior is the organization of storage. Any housewife will confirm that this issue is especially acute in the kitchen or bathroom. In order to use every centimeter of space, cabinets are installed under sinks and sinks, which create additional storage space for various household products, and also allow you to close communications, making the interior more harmonious and cozy.
The content of the article
Preparatory stage
In order for the work to go smoothly, it is necessary to prepare all the tools in advance, decide on the materials, and take measurements. These efforts can provide half the success if you do not ignore the preparation stage.
Choosing material
The optimal material for such a product is different for everyone. Let's look at the features of the most popular ones:
- Wood is a classic, durable and very “cozy” material, quite heavy and massive, which is worth considering when making hanging models. Must have a moisture-resistant coating. Quite an expensive option.
- Drywall is a common and inexpensive material that is easy to work with, and waterproof sheets are available for sale. However, it is quite fragile and frame reinforcement will be required for mortise sinks.
- MDF - its advantages are moisture resistance and strength, which is reflected in the cost - not the cheapest option.
- Plastic is an excellent option for the bathroom; it is not afraid of water, however, it requires reinforcement of the structure, because it bends easily.
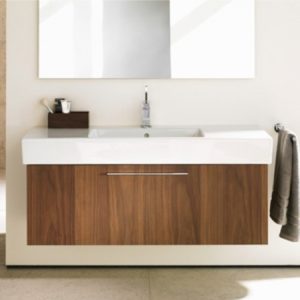
- Glass is a rather difficult material, it is worth choosing if you are confident that you can handle it. Alternatively, individual structural elements (internal shelves or doors) can be made from glass, which will look great, for example, in combination with natural wood.
IMPORTANT!
If a cabinet is one of your first projects, we advise you to choose a simpler and cheaper material option: plasterboard or MDF.
We take measurements
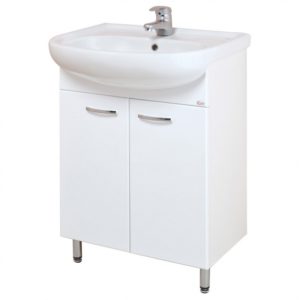
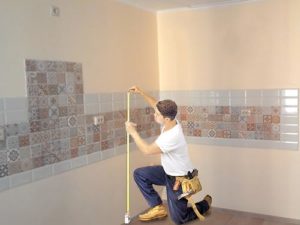 The dimensions of the cabinet directly depend on the size of the sink being installed, as well as on the availability of free space in this area of the room. The countertop can be exactly the size of the sink, or it can be much larger, depending on the available space around the sink.
Height usually varies between 70–100 cm.
Required materials and tools
The list of necessary tools will largely depend on the material chosen, but you you will definitely need:
- screws;
- screwdriver;
- drill;
- screwdriver;
- hacksaw or jigsaw;
- hammer;
- pliers.
In addition to parts made from the main material, you will also need fittings - hinges, handles, as well as brushes, varnish and paint, if you need to further improve the aesthetic properties of the cabinet.
Auxiliary elements such as pencil, tape measure.
DIY kitchen sink cabinet: step-by-step guide
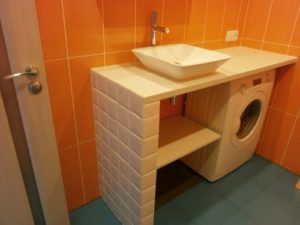
Ready-made furniture does not always fit in size due to the characteristics of the room; making custom-made furniture takes a lot of time and is not cheap at all, but there is a way out - to make a cabinet yourself.
 Creating a sink cabinet with your own hands is not so difficult if you have minimal skills in working with tools and the selected material.
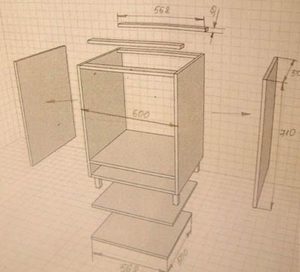
Step 1. We cut out blanks from the selected material according to individual sizes. You will need the following parts:
- side walls (2 pcs.);
- bottom;
- doors (1 or 2 depending on design);
- bottom plinth.
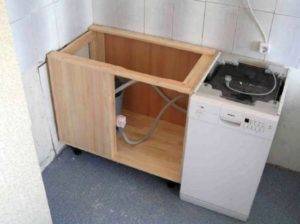
Step 2. We attach the bottom and side walls to each other using screws. The bottom should be located above the top border of the baseboard.
Step 3. We fasten the lower plinth.
Step 4. We install two spacer strips - one on the top of the front part, flush with the side walls, the other on the back part 20 cm below the top.
Step 5. We prepare holes for attaching the hinges on which the doors will be hung, and screw the hinges.
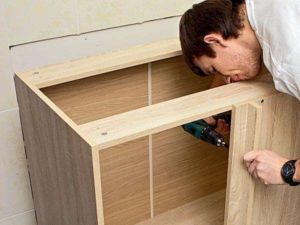
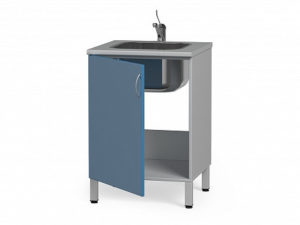
Step 6. We hang the doors on their hinges and insert the sink into the assembled cabinet body. Ready!
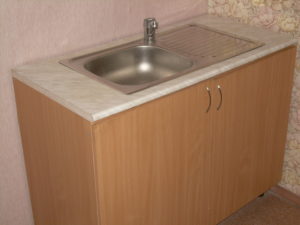
Now you can safely place various items under the sink, because there is now enough space there.