Do-it-yourself bedside table restoration
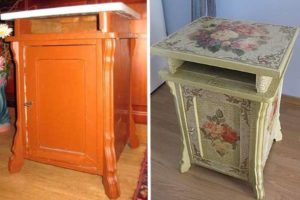 Nowadays people don't hold on to things. They easily take them and throw them away, replacing them with new ones. Maybe this is for the best. But sometimes, a thing contains a whole story, its quality, as they say, lasts for centuries, and it’s a shame to throw it away, or you simply don’t have enough money to buy something new. This mainly applies to furniture. In our article we will tell you how to restore a cabinet, if it is subject to restoration, what materials and tools are needed for this.
The content of the article
How can you restore an old bedside table?
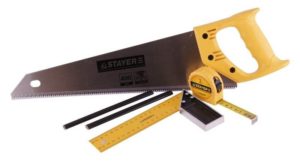 In order to carry out the transformation you will not need a lot of time and money. To do this, you only need basic tools that are available in every home:
- Hammer with nails.
- Wrench.
- Sets of screws, nuts, bolts. Moreover, it is not necessary to find the same ones. You can, for example, make stylish art using screws of different sizes. It will look bright and defiant.
- Pencil.
- Some nice boards.
- Hacksaw.
- Sandpaper.
- Additional materials for decoration and decoration: paint, colored mosaics, decorated wood.
IMPORTANT! Before you begin, clear the field for your future activities. Carefully inspect all defects and the degree of deterioration of the wood. Organize your nightstand.Pull out all the shelves and clean them, and do the same with the inside surface. If there are rotten or cracked boards, they should be removed and subsequently replaced with new ones.
What techniques are suitable for restoring a bedside table with your own hands?
 The matter of restoration has been of interest to people for a long time. This applies not only to home furnishings, but also to large buildings and works of art. Thanks to long development, new techniques have emerged for restoring and giving a new look to things worn out over the years. The choice depends on how much time you have left, the depth of the damage, material costs and, most importantly, on your own desire.
There are several basic techniques:
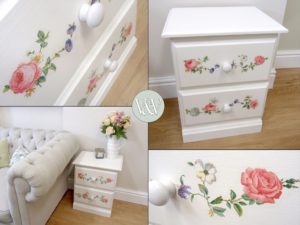
- Cosmetic repairs: this type includes those cabinets whose main parts are well preserved and stand confidently on their feet. Can be painted, varnished and impregnated. Decorate doors and walls using decoupage and craquelure.
- Complete or deep restoration: bedside tables that have not passed the test for the strength and safety of their main body parts. It is necessary to replace these parts and supplement the structure with reinforcing elements.
- Adding special decorated boards to change the appearance and improve the nightstand model.
How to restore an old nightstand with your own hands: a step-by-step guide
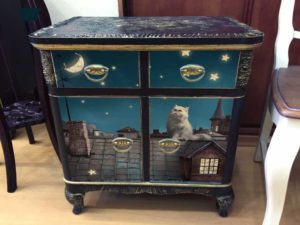 In order to fully cover this topic, I would like to dwell on the technique of complete restoration with elements of decorating the component parts. Here you will be able to consider the restoration of the bedside table at all stages and ways to decorate it.
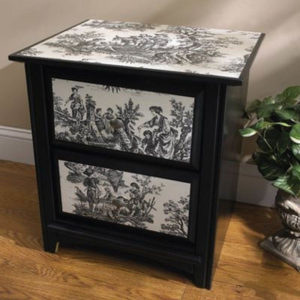
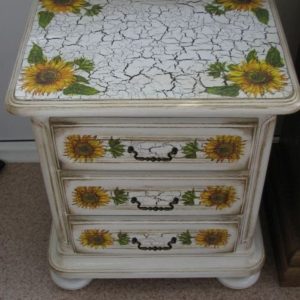
Let's get started with the work plan:
- Inspection of the exterior and interior structures to identify any deficiencies.
- Cleaning the surface from dust and unnecessary things for convenience.
- Strengthen the support structure. To do this, replace the old legs with new ones, specially prepared for this purpose.
- If there are damaged boards, they also need to be replaced.
- Now that we have restored the strength of the bedside table again, we can take on its beauty. Degrease the surface and remove all nicks using sandpaper. The entire surface must be perfectly smooth.
- Once again, wipe the surface from dust and shavings.
- Cover with a layer of paint and varnish. Leave to dry for 12 hours. Then we go through another layer of paint. Do all work with gloves and in a well-ventilated area to avoid dizziness and headaches.
- Now the old bedside table has regained its newness. You can decorate it.
- A wonderful addition would be your own wood painting. You can stick a special photo print or film. And also make decorated elements using figured wood carving.
ATTENTION! To maintain painting boundaries and avoid painting parts that you do not want to paint, you can stick tape, thereby protecting the painting area. Paint only in the direction of the wood grain for better adhesion of the paint to the surface.
The result will be pleasantly surprising. Even an old thing can appear before us in a new light and delight the eye again.


