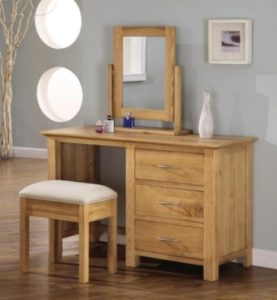
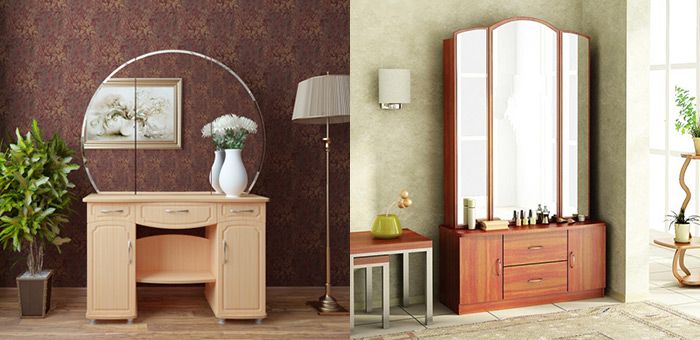
DIY dressing table
 For many people, a dressing table is a necessary item in the home, but it is not always possible to purchase a finished product. Sometimes it’s a matter of lack of funds, and sometimes the reason is that suitable options are simply not on sale, and custom-made ones are much more expensive. You can get out of this situation by creating a homemade dressing table.
To do this you will need: instructions, understanding of the process, a little preparation and appropriate materials. With proper study of the theory, it will become clear that this work can be done by any adult, even if he does not have extensive experience in assembling furniture with his own hands.
The content of the article
Materials and tools to make a dressing table with your own hands
- Chipboard (chipboard) for the body. At least one side of it must be beautiful and smooth, otherwise the appearance of the dressing table will have to be modified separately.
- MDF board for the outside of drawers and doors.
- Fiberboard materials for internal walls.
- Fastening elements: confirmations for parts made of chipboard, self-tapping screws for connecting parts made of chipboard and fiberboard, as well as fastening hinges, roller guides for pulling out drawers, furniture corners, handles.
The tools that will be used are:
- screwdriver,
- jigsaw,
- drill,
- cutter,
- construction corner,
- furniture clamps,
- fine abrasive sandpaper,
- yardstick,
- a simple pencil for marking,
- construction knife.
Dressing table manufacturing process
 Before you start, you need to prepare drawings: a general view and each detail separately. You can make them yourself, or you can find them ready-made. It is important that the drawings contain all the necessary marks: sequence, footage, mounting locations. Drawings can also be printed in actual size to make it easier to relate the details to the plan.
Then the elements need to be cut out in accordance with the drawings. Particularly dense materials are difficult to cut at home, so you will have to turn to specialists with special equipment.
The next step is step-by-step assembly. Each part is assembled separately; serial numbers and matching attachment points are taken into account. Then you need to assemble all the parts into a single whole according to the general drawing. You need to start with the body and end with doors and drawers (remember that when installing them you need to leave room for the guides). Handles are usually attached last, when the dressing table is already completely ready and requires only cosmetic completion of the work.
If it is planned that the dressing table will have legs, then they are purchased or made separately and installed under the body at the end of the work, but before installing drawers and doors, otherwise the task will be more difficult to cope with.
To make the process of creating a dressing table with your own hands clearer, you should watch a video where experts clearly show each step, simultaneously explaining their actions. This will reduce the risk of errors in work, which means that the product will turn out on the first try and will look high-quality, as if made by professionals.


