DIY computer chair
 Very often people work at a computer. Therefore, the sitting should be as comfortable as possible, because if you sit on an uncomfortable chair, productivity and quality of work will decrease. You can buy a ready-made design in a store. Or you can do it yourself, saving money and creating the design of your dreams.
The content of the article
How to make a computer chair yourself
To create a design you need:
- Find an idea. Imagine what we want.
- Take measurements.
- Prepare material and tools.
- Get started.

What are the advantages of a DIY design?
A chair created independently has a number of advantages:
- Saving. The finished structure is more expensive, because it includes materials and payment for the work of the craftsman. And so we will only spend money on materials.
- Interesting design. The chair will look the way we want.
- It is possible to create a design to suit our height and weight.
- We will create a chair based on how much time we spend at the computer, making it comfortable.
- The durability and reliability of the chair depends on us.
What tools are needed
To create a chair you need the following tools:
- Welding machine.
- Jigsaw.
- Drill and drill bits.
- Bulgarian.
- Screwdrivers and wrenches.
- Bolts and screws.
- Stapler.
- Scotch.
- Wheels.

Choosing materials for a chair
There are 3 types of materials from which a chair is made:
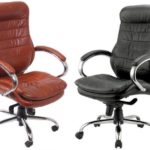
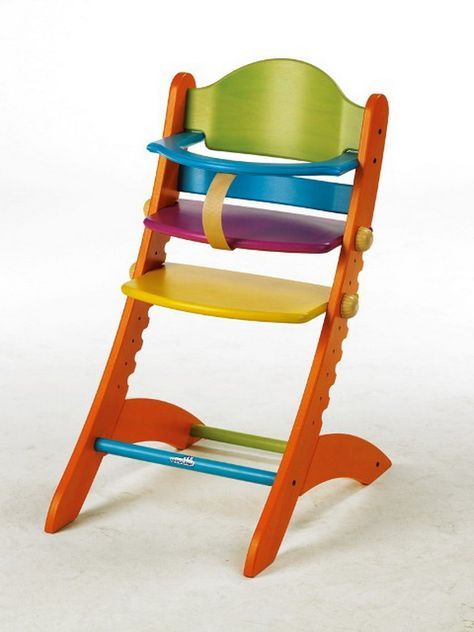
- Tree. The material is environmentally friendly and affordable. But such designs are gradually fading into the background as more and more chairs on wheels appear in modern markets. It is very difficult to make them from wood. Standard option – 4 legs.
- Plastic. At the moment, the most common designs are made of plastic. The chair will be comfortable and durable, and the material is cheap and available.
- Metal. The design is stronger than the previous ones, but plastic is still used more because it is cheaper.
Ideally, a combination of plastic and metal is used to create the structure. The first is suitable for creating a backrest, seat and armrests. The latter will make a good base and cross. Wheels (which can be metal or plastic) are also purchased separately. Here it is better to give preference to iron, since plastic will quickly wear out. Among other things, we will need fabric and foam rubber to cover the chair.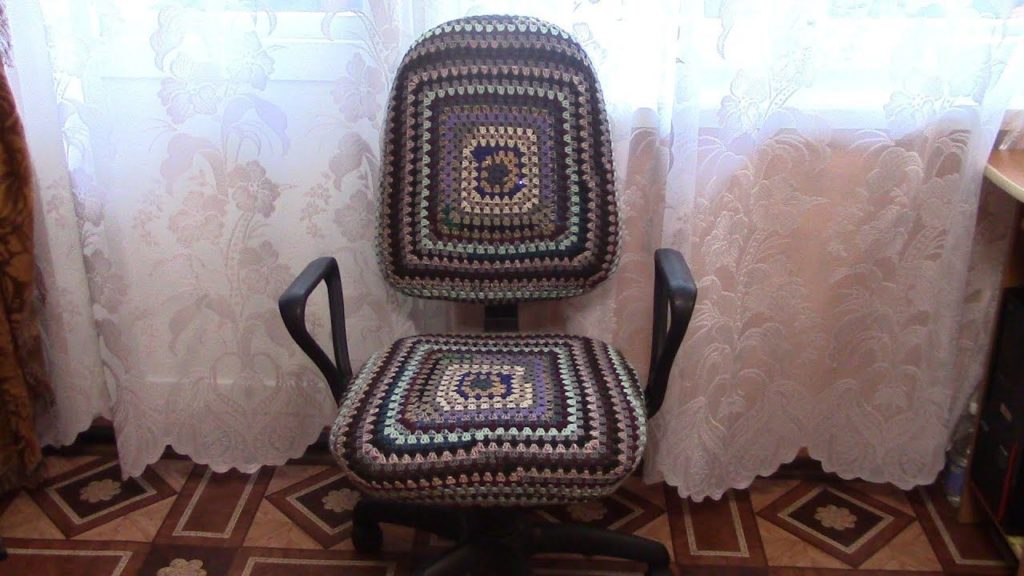
How to make measurements and drawings?
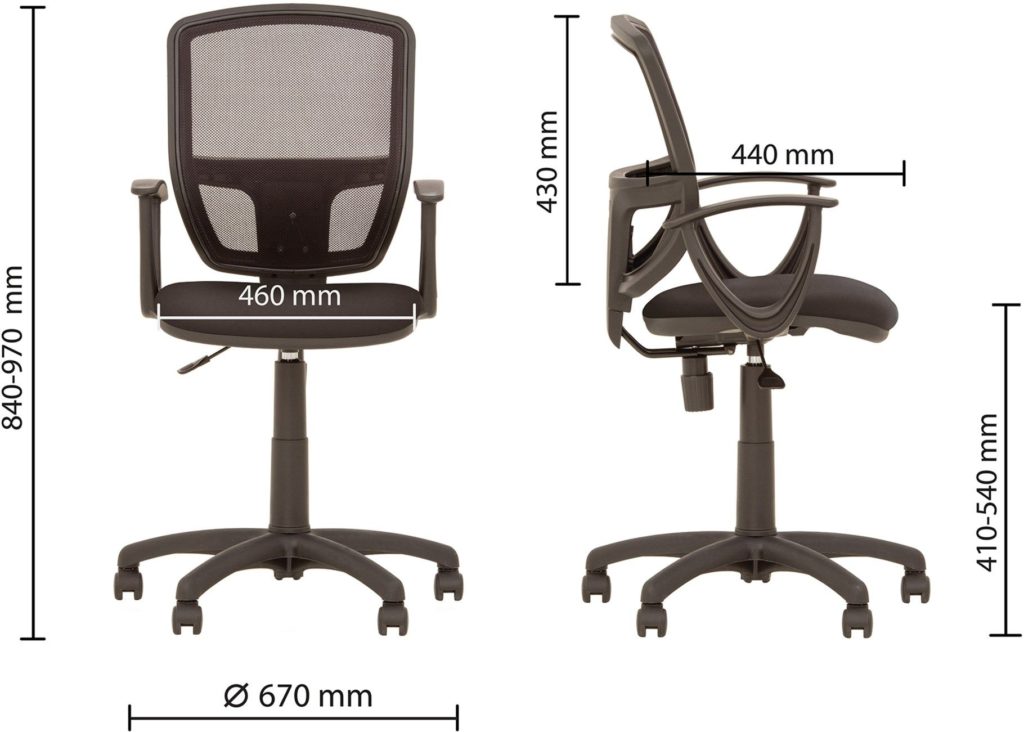
The dimensions of the chair depend on the wishes of the owner. We will take into account average values that can be changed. For a chair for an adult, the markings will be as follows:
- Height is about 1 meter.
- The width of the seating area is about 50 centimeters.
- Back 58x50 mm.
- The size of the cross is about 70 centimeters.
- The distance from the pillow to the seat is no more than 30 centimeters. This value depends on what the person is leaning on his back or neck.
- If armrests are attached to the chair, the distance between them and the floor is approximately 80 centimeters.
Attention! Based on all this data, a design sketch is prepared, according to which the required amount of material is purchased and the work is performed.
DIY computer chair: step by step
We start working with the back and seat. We need:
- Take plywood. Draw the outlines of the main parts of the structure. You can make a design that resembles standard chairs that are sold in the store. Or you can make a chair different from the others. It all depends on your imagination.
- Take the forehead and cut it out according to the contours. The edges should be sanded with sandpaper.
- Now let's make the base. It can be of two types - 4 legs or only one with the installation of a cross and wheels. The choice of base determines what parts will be needed. If a single-leg design was chosen, you need to find a strong pipe. You also need wheels, an angle and a channel. If a design with 4 legs was chosen, we simply make 4 legs and secure them with bolts (can be nailed if the material is wood).
- To create the backrest we need a rectangular profile. It is connected to the main part using a welding machine or bolts.
- The armrests must be made in the shape of the letter “p” and attached to the main part.
- The framework has been created. It needs to be sanded with sandpaper. After this, it should be coated with a primer and painted.
- After the paint has dried, you can begin attaching the wheels.
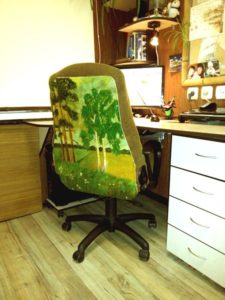
- The next step is wrapping. The chair will be too hard and uncomfortable to sit on. Foam rubber or cotton wool will help us. Using tape, they need to be attached to parts that it is desirable to make softer. Foam rubber with tape is covered with fabric, which is secured with a stapler.
- Once all the parts are ready, you can assemble the chair. We take the base and attach the cross to it. It can be made of three types of material - wood, plastic and metal. The latter is the strongest and will not break due to heavy weight.Using a welding machine, we attach the seat, backrest and armrests to the frame.
Making a computer chair with your own hands is quite simple. Particular attention should be paid to marking and planning.