DIY wooden chair
While most people purchase equipment from manufacturers and spend a lot of money on it, you can become your own manufacturer. This does not require a lot of money and time, you just need to be fired up with desire and use your imagination. In this article we will try to do everything possible to make the design process as simple and understandable as possible.
The content of the article
Types of chairs
In the modern world, it is common for society to distinguish between several models of construction. Let's look at each of them below.
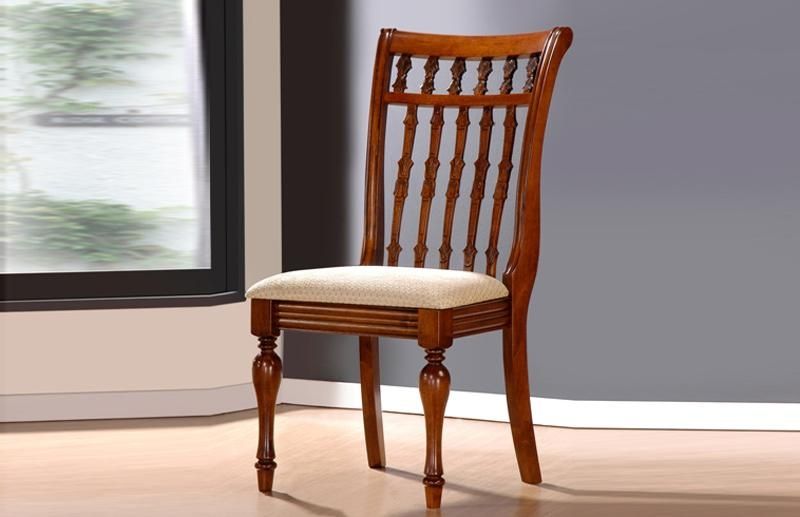
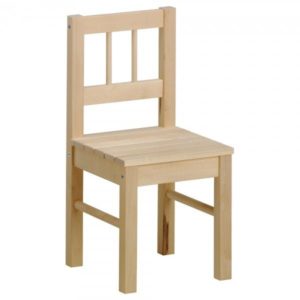
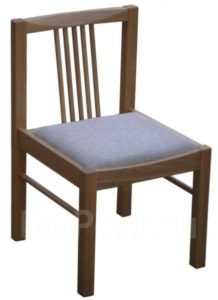
Array
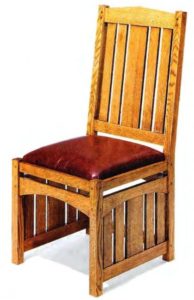 It is considered the most common among other similar samples because it is quite simple to construct. And if you are going to start your journey in building various devices, then it is better to start with this option. In addition to ease of manufacture, significant reliability and durability should be noted. This unit will serve you for quite a long time. Also, such chairs are perfect for a wide variety of interiors, which means they have versatility. As for the assembly itself, it is a careful selection of materials for the frame. Solid wood is best. For the seat - plywood, and it can be upholstered in any way.But in every design you can find shortcomings. In this case it is massiveness. However, this minus can be at least partially smoothed out. This will require a small density of the starting material.
Cot
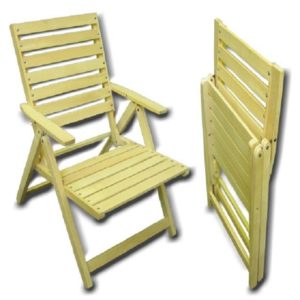 If you are considered a lover of outdoor trips or the owner of a summer cottage, then the presented option is perfect. Using it, there will be no possible difficulties in carrying the device. In addition, it is quite convenient to use it if you are in a small room. It can not take up much space, since it can easily be folded and placed near a wall or on the side of similar furniture. If necessary, it will not be difficult to unfold it into working position and use it as needed. Speaking about the obvious advantages of the design, it is worth mentioning maximum mobility, as well as its inherent small dimensions. As for the structure itself, it is the use of plywood in a large number of layers. This gives additional comfort to each user. When planning to spend a lot of time in one place, for example, fishing or on a picnic, you should think about making a structure from canvas. A tarpaulin would be great to use.
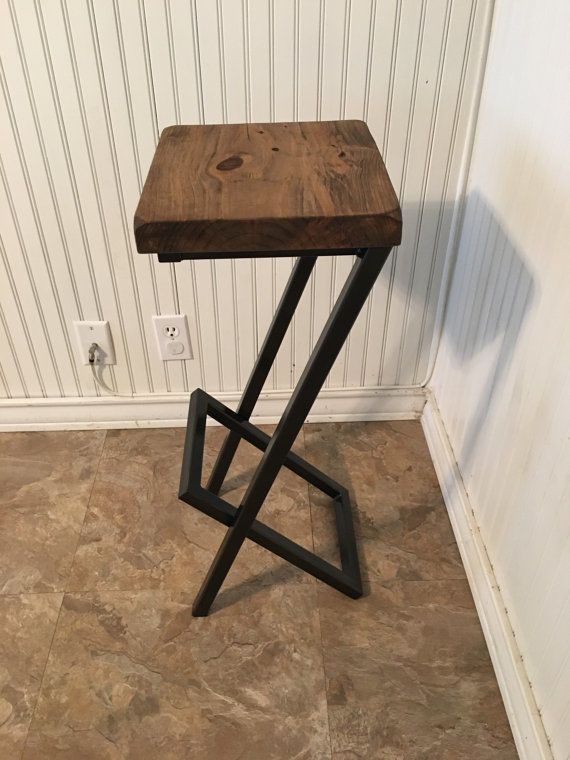
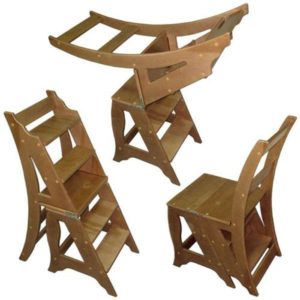
Transformer
This design would be an excellent choice for always being at hand. This is explained by the fact that the chair can be easily unfolded at the right time. Like the previous option, the one presented is also suitable for use in a country garden or in any outdoor space. In addition, you should not neglect the device during repairs or cleaning, since in any case the seat will be useful.
Selection of materials
When approaching the independent manufacture of a structure, you should carefully pay attention to the range of suitable materials. Thus, not every wood is suitable for use. It must meet certain requirements, which we will consider below. To begin with, it is worth understanding that the decision will depend on the operating features. If you think about it, you will notice that, unlike a cabinet or other similar furniture, a chair is constantly exposed to movement. Therefore, it is not a matter of the texture of the source material or even the strength. Therefore, using a straight-layer structure is highly discouraged.
REFERENCE! As an example, we can mention conifers. This is because in a horizontal position, impending loads can lead to the formation of cracks. Which threatens permanent repairs or even replacement of the entire unit.
The most suitable choice would be the following fittings:
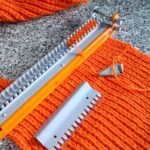
- Plywood is perfect for building a clamshell.
ATTENTION! It is not recommended to choose from the FSF category, since when heated there is the possibility of releasing substances harmful to humans.
- Deciduous, and durable species for other models (oak, elm, rowan and others). The main thing is to remember that if defects are detected with the naked eye, you should not purchase the material.
How to prepare a tree
There are several features that are worth knowing in the process. For example, a significant action is to impregnate parts with a biocide. These can be various special oils for wood or an emulsion. The main thing is that the composition contains wax. As for the humidity of the workpieces, this figure does not exceed 12 percent. The preparation process itself begins with the manufacture of individual structural elements: two rear and two front legs, two strips for armrests, five longitudinal and two transverse strips, jumpers for the seat.
DIY wooden chair
To perform all actions with maximum accuracy, you should first prepare for the process. To do this you will need tools such as:
- Electric jigsaw.
- Saw.
- Stapler.
- Chisel.
- Mallet.
- Plane.
- Roulette.
- Screwdriver.
- Construction adhesive.
Drawings and photos
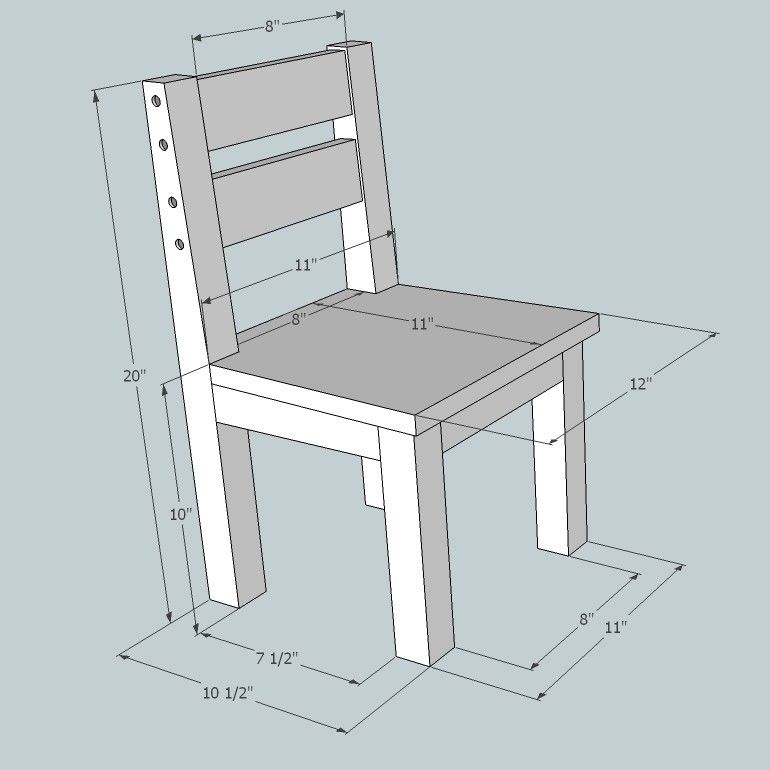
Once all the necessary items are ready, you can begin constructing the structure. To do this, it's worth doing a sketch. It will be necessary in order to navigate the work process and assemble a good wooden chair. Below is a proven example of chair construction. From it you can find out and take note of the sizes used. It is important to understand that if you want to change one of the indicators of any part, you will need to change all other parameters accordingly. This is necessary for the structure to be stable and reliable in operation. Even an inexperienced master can handle this preparation, as you can see that this device is quite simple. If necessary, you can also make repairs yourself.

Step-by-step instruction
Actions must be performed in the given sequence in order to complete the work as productively as possible.
- First you need to prepare two wooden blocks. One of them is 80 centimeters long and is useful for making a chair, and the other is for the front legs (44 cm). For the base, two holes should be made at the same height.It is worth processing the sections of the legs, thereby leveling them, after first laying them on top of each other. After which you can begin to mark the place where other recesses will be located in the future. The result should be a rectangle that stands on legs.
 After the manipulations have been done, it is worth making holes on the marks using a chisel. After which you can shake off the resulting sawdust.
- You should take 4 bars with future spikes, whose size is from 10 to 12 millimeters. The spikes must be cut carefully so that they fit into the recesses without gaps.
- Then you can start making the back. Holes are made on the inside of the board in accordance with the specified dimensions. The seat is fixed to them using a special fastening. Make sure the structure is as strong as possible.
- Next you need to give the back and legs a rounded shape. This is done through processing. After that, do not forget to sand the resulting surface.
- As for the base, it is the use of varnish for processing purposes. Allow time for the layer to dry.
- To prepare a chair with a soft base, you need to arm yourself with foam rubber. It is attached to the seat using a stapler.
- During the assembly process, it is worth attaching the spikes, having previously treated them with glue using a mallet. Remember that all actions must be carried out carefully to prevent cracks from occurring.
- As a result, the main part is screwed into the back of the chair, securing them with self-tapping screws.
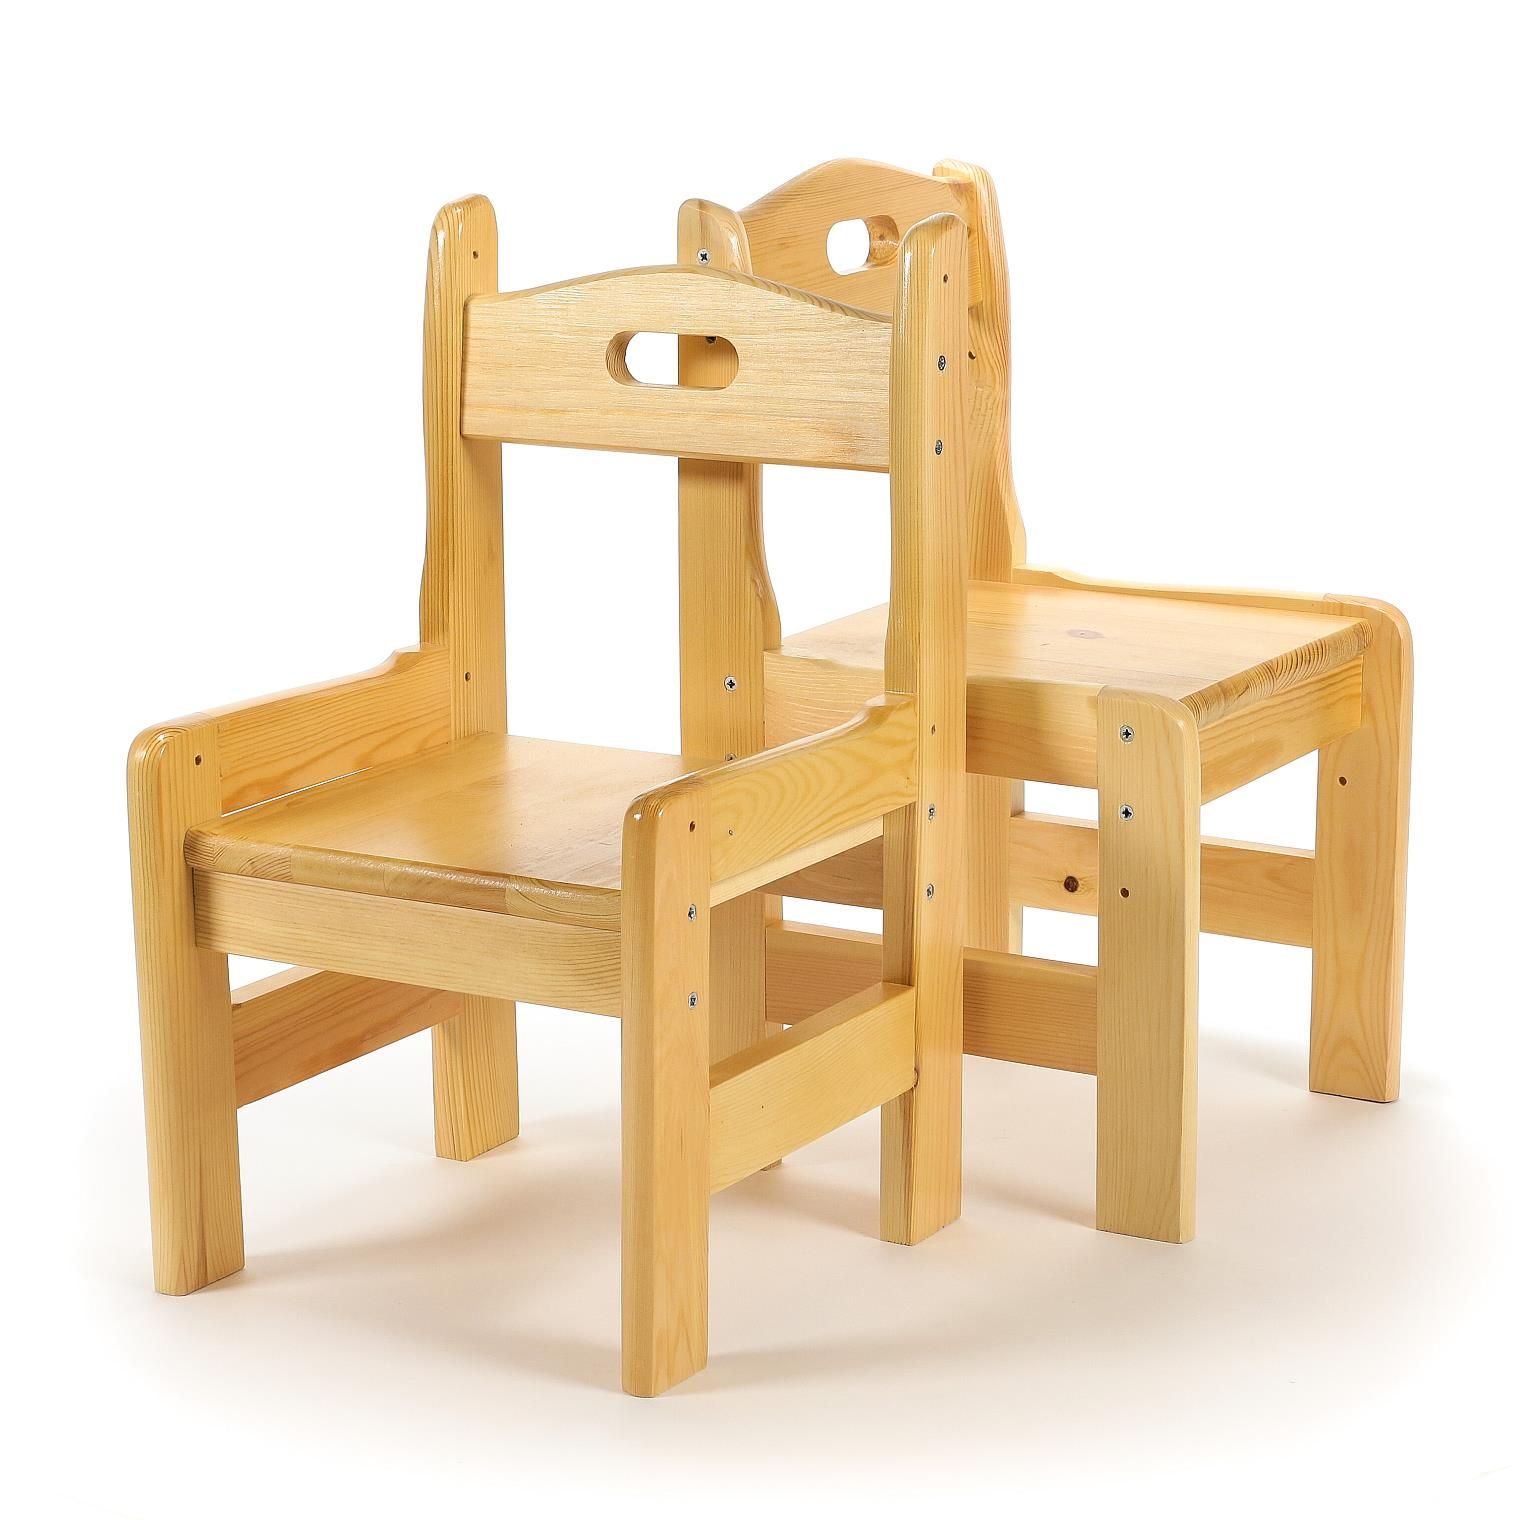
DIY wooden children's chair
Of course, the approach to the construction process for children will be different from others. This is explained by the difference in the required sizes, therefore, less material is wasted.Namely: the length of the legs, straps and connecting elements of the frame with the seat is no more than 20 centimeters. When selecting parts for the legs, you should pay attention to their thickness; the parameters should be 5*5 cm. As for the necessary tools, these are a screwdriver, a jigsaw, a screwdriver and a hacksaw.
Drawings and dimensions
Of course, an important step is the choice of dimensions. In this case, it will depend on the fact that the child must be on an equal footing with other people when at the table. This will require a significant length of legs, which are attached quite widely in relation to the base. The top part should be approximately 30 centimeters below the table. it's better to do deroak chair with backrest.
Step-by-step instruction
After the preparatory stage, you can proceed directly to work, which consists of the following steps:
- Cut all the bars from the solid wood to the required sizes. If necessary, eliminate excess segments.
- Connect the legs to the main structure. This procedure is carried out using special fasteners. It is also recommended to use construction adhesive.
- Use screws to secure the seat and back of the chair.
- The resulting structure should be treated with sandpaper to eliminate possible roughness.
- Further, if desired, the device is equipped with varnish and decoration.
IMPORTANT! Before using the chair for children, you should first check the unit for strength.