DIY light table for sand painting
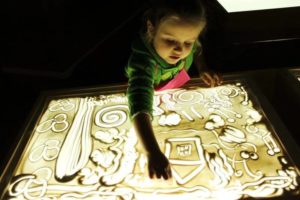
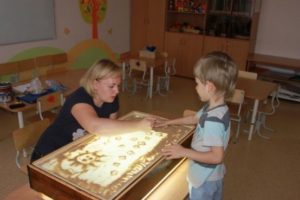 The modern sphere of needlework and creativity is distinguished by a wide range of options. Among all the variety, sand painting has become very popular - an unusual and interesting type of painting.
This creative process requires a special table with lighting. In specialized stores, this design is quite overpriced.
You can make the necessary table yourself using available materials. We'll tell you how to make a light table for sand painting with your own hands.
The content of the article
Preparing for work

Before starting work, you should decide on the manufacturing method and prepare the necessary materials. Then the work process will be faster and more exciting.
Materials and tools
To work you will need the following.
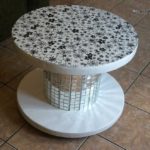
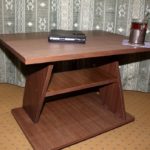
- A small coffee table (if available with a ready-made box).
- 4 boards of the same size (if you build the box yourself).
- Acrylic glass according to the size of the drawing surface.
- Acrylic glass according to table size.
- Ruler.
- Assembly knife.
- Self-adhesive LED strip.
- Cable for connecting light.
After the chosen method and full preparation, you can begin to work.
How to make a light table
There are two methods to make a table suitable for sand painting:
- slightly transform the finished coffee table; or
- make a suitable product yourself.
Let's transform an ordinary table into a light one
First, let's make the desired design from a ready-made piece of furniture.
- Using a ruler and pencil, we make markings on the surface of the table. It must match the dimensions of the acrylic glass.
- Using a mounting knife, carefully cut a hole for the glass. Many tables contain additional padding, so it must be removed.
Attention: you must use a knife with sharp blades. This will help in high-quality and accurate work.
- At the corners of the table there are legs, the corners of which need to be slightly trimmed. These holes will serve as a support for the glass and help place it at the tabletop level.
- After determining the angles, you can begin painting. The bottom and sides of the furniture must be treated with white paint. It helps improve brightness and light distribution when working.
After a few simple manipulations, the sand painting table is ready. The final stage will be the installation of lighting.
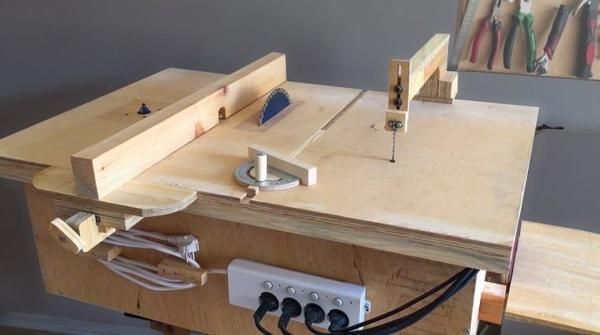
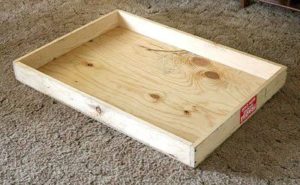
Self-production
You can also make a suitable surface for drawing yourself.
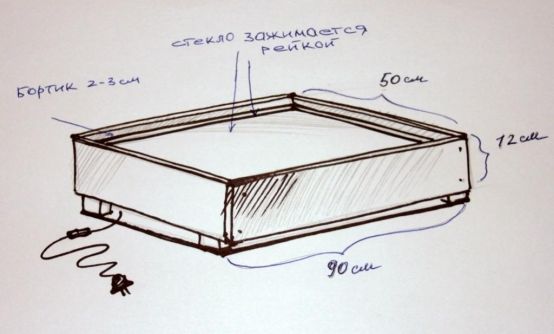
For work you will need four boards, the width of which is about 10 centimeters. This volume is quite deep and small at the same time, suitable for work.
- Using bolts and a screwdriver, we fasten the corners of the boards. The box model is square or rectangle; the specific choice depends on the personal preferences of the owner.
Important: the boards should be planed in advance.
- Then you can make an additional compartment for storing sand. To work, you will need two planks of the same width and length.Stepping back the same number of centimeters from the edges, we place marks. We fasten the strips inside the box. The additional compartment is ready.
- The next step is the hole to place the glass. We measure the exact parameters of the material and place marks on the bottom of the box. Remember that an extra centimeter should be left on all sides, which will serve as support for the acrylic material. When the marks are set, we cut out the unnecessary block of wood. We place acrylic glass in the finished hole.
The creativity box is ready. You can place legs on the sides of the bottom to create a full-fledged table.
Making the backlight
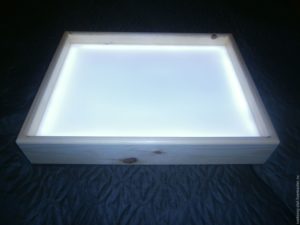
An important element in the artistic process is light. The final work depends on the correct arrival of rays, lighting and brightness. To install the lighting you will need a self-adhesive LED strip, a special power supply so that the strip can be connected to a regular outlet, and a plug.
First, you should fix the location of the plug to which the tape is connected. To do this, a hole is drilled in the corner, the wires of the tape are threaded inside and attached to the plug.
The tape itself is glued directly to the glass. Gradually, being careful, we glue the LED strip on with a snake.
At the end of the process, place the glass with the tape inside and connect the material to the outlet. The lighting is ready, you can begin creative work.
Reference: the approximate consumption of LED strip is 5 meters. The length may vary depending on the width of the acrylic glass.
Useful tips
A few additional recommendations will help in the correct work on making a sand painting table.
- It is recommended to start the process of adhesive tape from the end, that is, from the location of the plug.When working, you may encounter a shortage of material. In this case, the location of the plug will have to be changed, placing it in a different corner.
- Many users note that they installed additional lighting. Lamps or flashlights located under the table are suitable for this.
- When choosing a ribbon, it is recommended to choose a cool white shade. When perceived, it is brighter.
- The tape can be glued to the folds and corners with double-sided tape. This will help in a more secure fixation.
- The surface of a wooden box can be decorated with bright decor: stickers, stripes or drawings. It will be much more fun for your child to study on such a table.
- The glass must have a matte surface. If there is no such glass, you can solve the problem by using paper glued to the underside of the glass using regular electrical tape.
The development of creative skills in every person opens up new abilities and skills, regardless of age. One of the most fascinating and uninteresting artistic processes is sand painting on glass. We hope that with the help of our tips it will be easy to make a drawing table yourself.