Assembling a pool table
 For some, the word “billiards” evokes associations with a smoky basement, where dark personalities hit balls with force, and greasy banknotes pass from hand to hand, but such times have sunk into oblivion. Today it is a professional sport, popular both among Russians and throughout the world. The popularity of games such as Russian billiards, snooker, pool or carom depends on the temperament and character of a particular people. But no matter how different the games are, the main element is the billiard table. Its choice is very important, but its correct assembly and installation is also no less, and probably more important. Since the table is quite massive and heavy, transportation is carried out disassembled.
The content of the article
Preparatory work before assembling the billiard table
The work will require at least two people - parts of the table are quite massive. After delivery from the table, you must carefully remove the wrapping packaging so as not to damage the surface. Then, following the instructions, arrange the parts in order of installation. To avoid distortion, the table must be assembled on a flat surface.
ATTENTION! Poor table assembly can ruin a good game later.
Tools needed for assembly:
- screwdriver and screwdrivers;
- set of wrenches;
- cutter, spatulas;
- sandpaper for sanding.
IMPORTANT! Before picking up the tools, you need to check the completeness of the delivery, its integrity, and carefully read the instructions and installation diagrams.
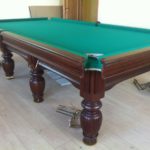
Assembling a pool table
It is necessary to follow a certain sequence of actions when assembling a table for playing billiards.
How to assemble a carriage
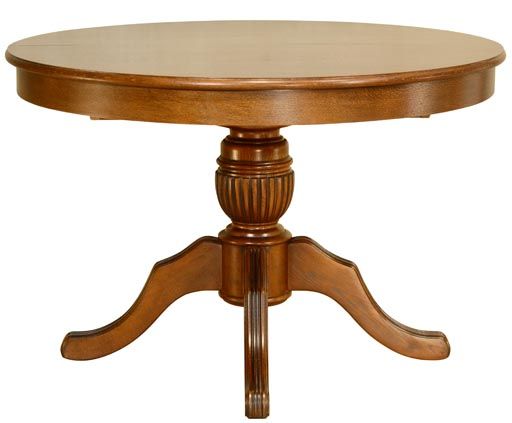
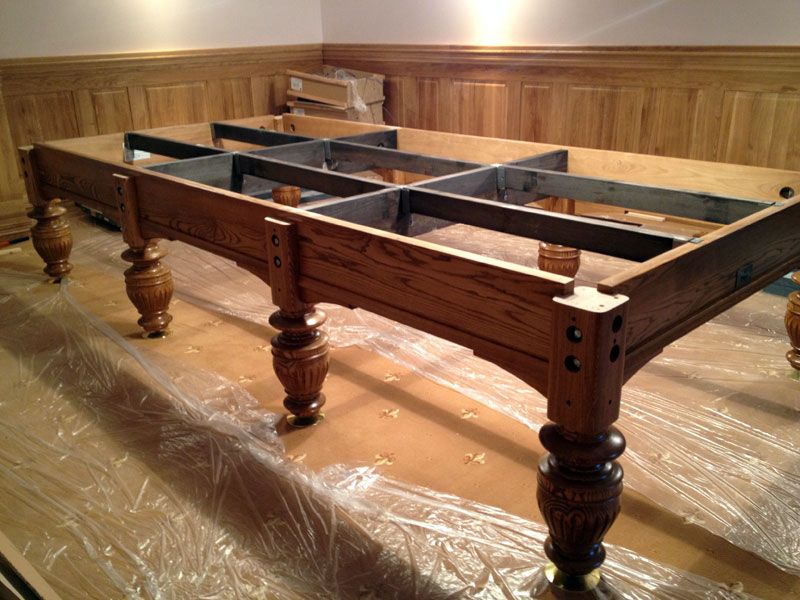
Since table carriages may vary, assembly must be carried out strictly according to the instructions. Small tables are sold with an already assembled frame. All that remains is to install the legs, this greatly simplifies the task: Install the support screws in the legs, place the carriage in the support cups.
- We make sure that the frame is perfectly level, does not swing, does not fall.
- Next, we attach the brackets and install the drawers.
- By adjusting the screws on the supports located in the legs, we set the carriage horizontally.
- We check the installation accuracy with a level. All parts must be securely tightened and not loose.
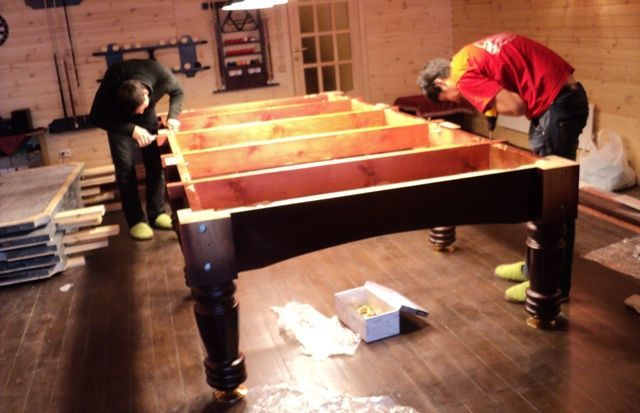
ATTENTION! To make work easier, it is more convenient to assemble the frame in an inverted position.
How to install the playing field
The carriage is adjusted. Now, sequentially, observing the numbering indicated on the ends or marking lines, we lay out slabs (made of wood or stone). For reliable fixation, we attach them to the drawers. Pour wax or putty into the resulting joints. They have approximately the same properties, but a large layer of wax shrinks, while putty does not. Again, we check the position of the playing field with a level; if necessary, we adjust it with supports. We fasten it with self-tapping screws around the perimeter of the slats.
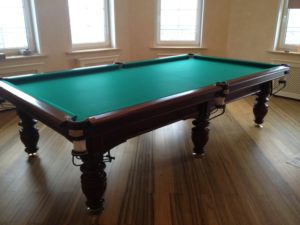
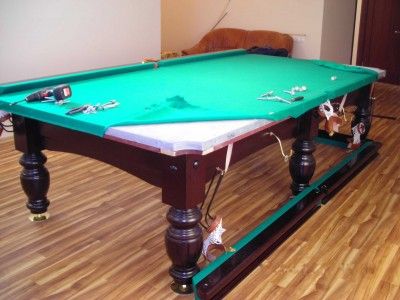
Fabric stretching and boarding installation
To smooth out wrinkles, we recommend shaking the cloth thoroughly before stretching. Then remove debris and threads from its underside.Next, we lay it facing up and secure it around the perimeter with special staples. The standard holes for fasteners will serve as a guide. We align the canvas along them and fasten them with a stapler. Next, with each hole around the perimeter. The stretching occurs from the middle (middle pocket) to the corner. If you follow this tactic, you will get an evenly stretched cloth over the entire area of the table. Try to avoid folds and wrinkles on the fabric, but if they form, you should not over-tighten.
After laying and stretching the cloth, we install the sides. This happens in several stages. Fastenings can be horizontal or vertical. We bait the board, fix pockets and glasses on it. Then we fix it. We repeat the procedure on all sides. Then we align them and finally fix them. The final stage is the installation of decorative trim.
ATTENTION! If you have never assembled billiard tables, then entrust this work to professionals. For competent implementation of the process and effective results, appropriate qualifications are required.
After assembly you need:
- align correctly;
- calibrate the slabs, putty the seams;
- set the height;
- cover with cloth.
And this is only a small part of the tasks that a specialist can handle in 5–7 hours. How long will it take you to deal with them?