DIY table for the dacha
A summer cottage is not only about work on the site, an even tan throughout the body and daily fatigue. It is also associated with relaxation, barbecue, fishing, and gatherings with friends and relatives. Without comfortable furniture located under the shady branches of fruit trees, you won’t be able to fully enjoy the weekend, fortunately you can make it yourself, spending a little time and money. How to make a table for your dacha with your own hands and is it really that simple?
The content of the article
Possible design options
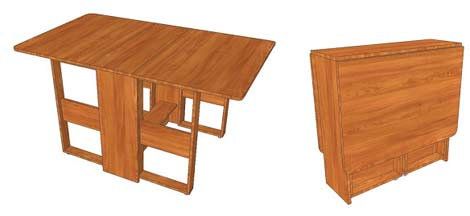
Variations of tables are limited only by imagination and can be either compact or large, equipped with tabletops of various shapes. The most popular are folding structures, small round tables and products made from boards, which can probably be found at any dacha. You can often find tables assembled from pallets, as well as simple structures made from large stumps with a tabletop installed on them. As for the legs, they can be straight, crossed, or absent - instead of them, another pallet can be attached from below, for example.
Large table for the garden
Wood is of key importance - it must be of high quality and dry. In addition, spruce, pine and other conifers, although easy to process, release resin during use, which can stain the tablecloth. The best choice would be oak, ash, birch, and aspen, which are more durable and attractive in appearance.
As for the material, for the country table you will need:
- board with a minimum thickness of 30 mm;
- timber with a cross section of 50x50 mm or ready-made balusters;
- putty and spatula, glue;
- screws and screwdriver;
- sandpaper or sander;
- drill with drills;
- pencil, tape measure, building level.
Before starting work, all wooden products should be thoroughly sanded until completely smooth. It is advisable to buy tongue and groove boards, if possible - in this case the tabletop will be solid and without cracks. Assembling a table for a summer house is carried out in several stages:
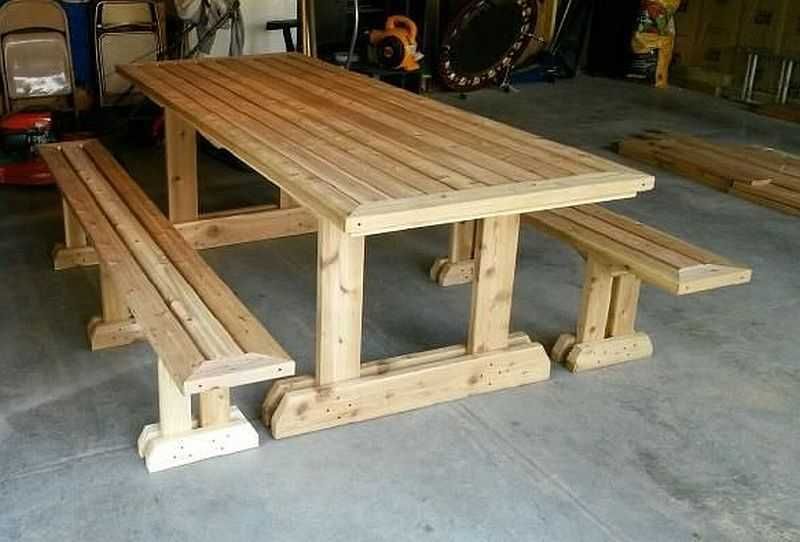
 Frame. Provides strength and reliability of the structure, while the tabletop should be 25–30 cm larger than it. It is formed from 4 boards for the outer side and 6 transverse planks for the inner side. The boards are fixed at right angles with self-tapping screws with preliminary gluing of the joints. To avoid cracks and chips, holes for screws are drilled in advance. The cross bars should be positioned perpendicular to the sides of the frame, and the heads of the fastening screws should be slightly recessed when screwed in. Further? The tabletop boards are laid face down on the floor, leveled and the frame is placed on them. Holes for self-tapping screws are drilled and the elements are fixed together.
- Legs. The table top is placed on stools or a workbench, after which the legs are installed in the corners one by one and secured with clamps. Holes for screws are drilled, glue is applied to the beam, and it is screwed on, with at least 4 self-tapping screws.
- Finishing. After assembly, the table is placed on its legs and carefully sanded.If it is not possible to avoid cracks, they are puttied and, after drying, rubbed with sandpaper. Then the entire structure is treated with stain or varnish.
It is recommended that all work be carried out using a protective mask and goggles. You can give the finished product an unusual appearance using various patterns applied with paint.
A small table for the garden with your own hands
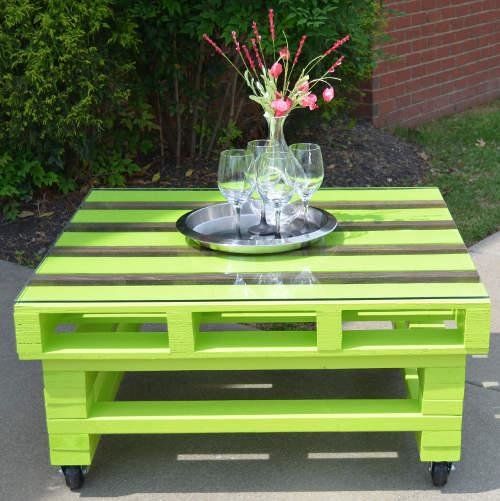
A compact and inexpensive country table can be assembled from pallets. The design is simple, and the process itself takes just a few hours. First of all, pallets and legs made of timber are processed with sandpaper and covered with stain, varnish or paint, which also significantly extends the service life of the product if it is constantly located on the street.
After this, the finished elements are fastened with bolts or long screws and the structure is ready for use. During the assembly process, you should also follow safety rules and use protective equipment.
