DIY toy rack
Every caring parent will try to provide their child with everything necessary. Children often spend time playing games, so it is necessary to have a special place for such activities. And to prevent toys from lying all over the apartment, an excellent solution would be to create shelves for toys in the nursery with your own hands. How to make them without difficulty is described in this article.
The content of the article
Features of choosing a toy rack design
 The master himself chooses what appearance the toy rack for the nursery will have with his own hands. However, it is important that the product is stable and, most importantly, safe. To make it easier to decide, you can take the following rules as a basis:
- For a child under one year old, it is recommended to use a small box or device with several shelves. This is explained by the fact that at this age the baby does not have many toys.
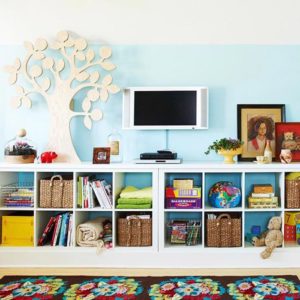
- If the baby is already one year old, but not six years old, it is advisable to provide him with many boxes where he would store toys. It is during this period that children are quite active, they have a lot of games, which require a large space.
- Up to ten years. During this time period, everything depends on the owner of the game items. Some people prefer to engage in mental games and learn about the world around them through study.And the other part of the children remains active admirers of physical games.
- After the age of 10, almost all children experience an attraction to toys. Most often, they only have their favorite exhibits that do not take up much space. All you need is a small box.
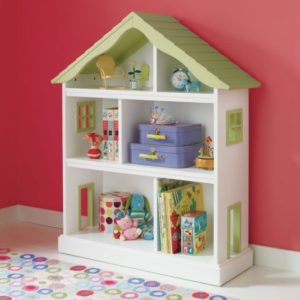
In addition to age, there is also gender. It influences the choice of cabinet colors. Everything is very clear here: for girls - brighter colors, for boys - restrained.
What materials will be needed
 The set of necessary materials depends directly on the model you choose. So, for the simplest one you will need fabric. Here you need to stretch the desired material onto the frame. Every person can cope with this. But if you prefer a more complex option, you should stock up on chipboards, wooden blocks and plastic. As for the main details, this is a list consisting of:
- Plywood. Due to it, the rear part of the structure will be built.
- Framing wire to create fabric products.
- Cardboard or multi-colored paper: needed for decoration
- Glue. You can also purchase stationery. The main thing is that he can glue various parts (wood and plastic).
Stages of work
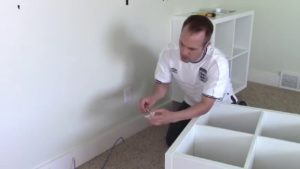 Once all the necessary items are ready and the design has already been thought out, you can proceed to the main stage. So, first you should make a sketch; it will represent a kind of template that you will have to follow throughout the entire work. It should indicate the parameters of the product.
This is necessary in order to calculate the amount of material. Let's consider the following situation. Let's say you need fabric 1.3 by 1.5 m, which means you will need 4 shelves (30*60 cm), 6 sidewalls (30*30 cm), 4 cardboard inserts (28*28 cm) and one meter of tape.
- First you need to sew the product according to the type of pocket, after folding it in half.
- The sides are connected, and cardboard is inserted into the recess made.
- To hang the finished structure in the desired place, you need to sew on braid.
This is what concerns the simplest option. If you get down to business with laminated chipboard, then first you need:
- Cut a sheet with a thickness of 16 mm to make the frame.
- Make shelves. To connect all the elements, they need to be glued together and given time to dry. For complete fixation, you can use metal corners.
- Using nails, the shelves and vertical walls are connected. And the intermediate ones are fastened with pins.
- For the drawers you will need special rollers on which the device is placed.
- Finally, the entire structure is treated with sandpaper.
How to decorate the finished product
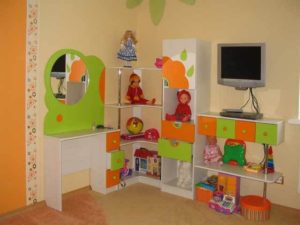 Most often, the finished structure is painted in the desired shade, and then furniture varnish is applied. In addition, you can use melamine edge or install a baguette. This way, your shelving can look attractive.
REFERENCE! Psychologists recommend giving the child the opportunity to decide for himself what his toy storage item will be.