DIY shoe cabinet
Since this design is in high demand among users, it is clear that the cost can sometimes be too high. To avoid high costs, it is possible to make a shoe cabinet with your own hands in the hallway according to your taste and preference. Moreover, a huge number of models are offered. In the article we will try to analyze the features of each, and also touch on the issue of making a homemade structure.
The content of the article
Types of shoe racks
The great popularity of the invention explains the diversity of existence of different species. Let's look at each of them:
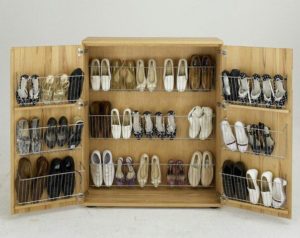
- If you have a small apartment, then a wardrobe would be an excellent option. The place can also be saved by combining the main wardrobe with the one being described. Its doors practically slide apart in different directions.
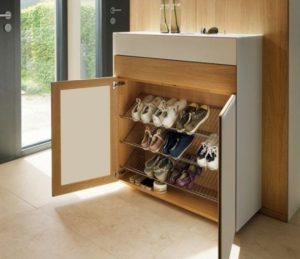
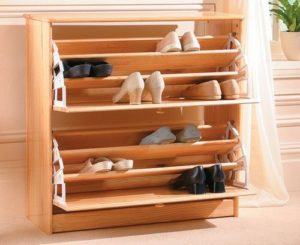 For owners of tall shoes, a slim-format model is suitable. The doors open at a certain degree. Typically, indicators vary from 45 to a right angle. The shoes themselves in the design are located accordingly at a slope.
- If you are not afraid of the possible instability of the device, you can make your own display case that will resemble a rack. The location is usually along the wall. The main advantage is the large selection of shelf sizes.
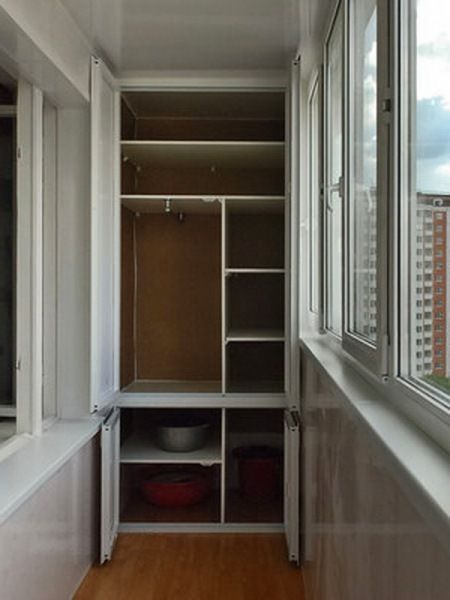
- Galoshnitsa. It dries wet shoes quite quickly.Most often used on the balcony.
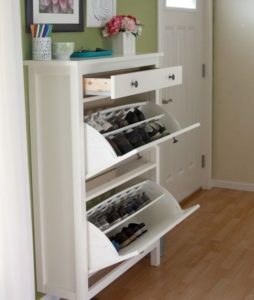
- Cabinet. It is considered the most common option. Because it provides maximum durability and compactness.
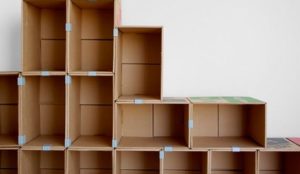
- Rack. Like the previous type, it is in high demand. However, he does not have such advantages.
How to make a shoe cabinet with your own hands
Of course, when choosing to create any model, you may encounter few difficulties in the process. The only thing is that in some places there will be fewer of them, and in others there will be more. Even the most inexperienced person in this matter is able to independently design and build a device for himself. You just need to know some features and prepare the necessary materials and tools that you cannot do without.
How to calculate optimal sizes
 It is important to consider that the product must be produced with a reserve. That is, if size 42 shoes fit into the shelf, then you need to add at least another 1–2 centimeters. Of course, if your family uses small shoe sizes, you can vary the size. Therefore, the main factor on which the scale varies is the size of the users’ feet. In addition, in order to definitely determine the parameters of the future invention, you should put together all your existing shoes and plan how much space it will take up. It is also worth paying attention to the number of shelves; there are usually 3 or 4 of them.
REFERENCE! Consider the margin. So, if the thickness of the chipboard is 16 millimeters, then the width of the entire cabinet will be 32 mm greater than that of the shelf. So, the standard parameters: height - 1.2 meters, depth - 0.32 m, width - 0.9 m.
Necessary materials
To create you should purchase:
- Loops in the amount of 4 pieces.
- door handles 2 pcs.
- Confirmat 8 pcs.
- Self-tapping screws at least 10.
- Shelf holders 4 pcs. for each (parameters 5 to 70).
Edging and detailing
In continuation to the previous point, but taking into account the required dimensions, the following will be useful:
- The side walls are 320 mm long and the height is 1 meter 184 mm.
- Chipboard parts for use as a frame. The height should be 100 mm and the width 868 mm.
- Cover 900:320 mm.
- Doors (facade) made of MDF, two pieces. 1195 mm by 447 mm - height and width, respectively.
- One sheet of fiberboard is needed to create the back wall. 1195 mm and 895 mm.
Assembly
To correctly assemble the entire structure, it is advisable to follow the following algorithms:
- First of all, you need to make holes on the sides in order to insert confirmations into them. This will require a recess of 8 millimeters.
 To ensure stability, metal corners should be used. In addition, they will come in handy at the stage when you attach the structure to the wall.
- As for the back wall, it requires fastening with self-tapping screws.
- After the presented actions, it is worth taking care of the shelf supports and handles. They need to be attached, and then the shelves need to be hung.
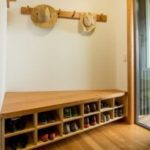
- You decide for yourself how the structure will be positioned: you can put it on the floor, then you will be able to sit down while putting on your shoes, or you can hang it up. An additional tabletop can be built as a support.
- It is best to also provide a vent. This is necessary to ensure that the inside of the structure is always dry and that it does not emit unpleasant odors.
Thus, during production you not only saved money, but also provided your interior with an integral part.