DIY tool cabinet
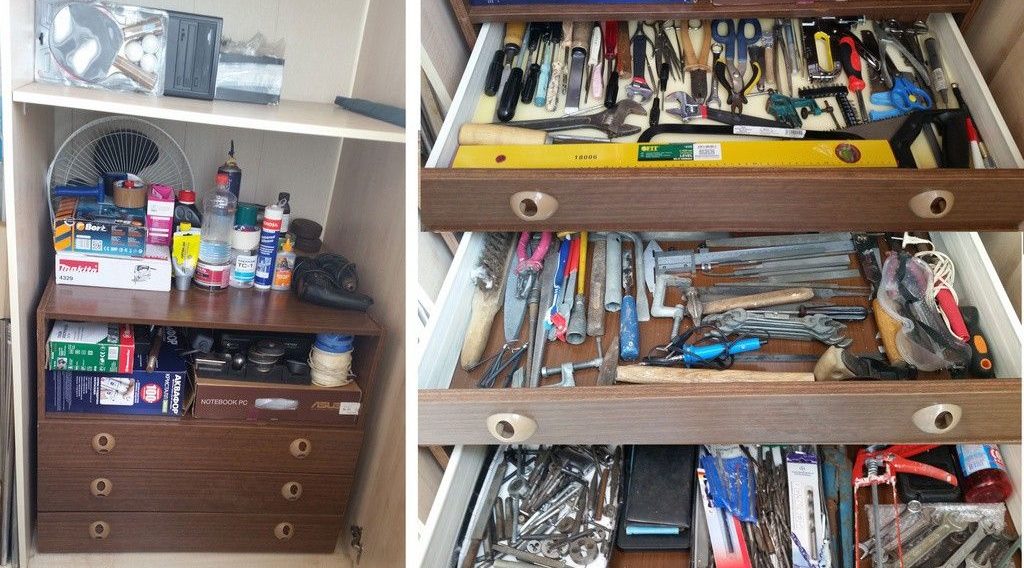 In any apartment, from time to time there is a need to fix something, renovate something, or make some devices with your own hands. In this case, you will probably need different working tools and materials for repairs. To prevent all this from cluttering the room, it is better to use drawers or a special cabinet.
The content of the article
Making your own tool cabinet
A cabinet intended for the purpose of storing tools should be small and with drawers of small depth (so that all the tools fit in one row).
Materials and tools
In order to make a convenient and functional closet, you will need the following consumables:
- Wooden boards. Pine boards are considered the best option. Naturally, they must be of good thickness so as not to bend under the weight of metal tools.
- Sheets of plywood. They are used to create partitions in such furniture and for the back wall. It should be borne in mind that this is a fragile material, so it is not suitable for making the bottom of a box.
- The timber is used to make the legs.
- Specialized corners for fastening are used to make the structure more durable.
- Screwdriver, drills and bits.
- Furniture screws that require special nuts.
- Self-tapping screws with which auxiliary fastenings will be made. Galvanized screws are recommended.
Important! The drawing for creating such a cabinet is done quickly, a small amount of data is enough for it. When creating a drawing, you need to take into account the dimensions of the side and rear walls, shelves and pallet. You also need to find out what the thickness of the shelves will be.
Step-by-step assembly of a tool cabinet
Wood is a vulnerable material, so before starting work, wooden parts are treated with a special solution against fungi and bacteria. The wood also needs to be coated with a primer.
Before assembling the structure, you need to carefully study its diagram. You need to assemble such furniture according to the instructions, paying attention to the smallest details, because the safety of the future product depends on this.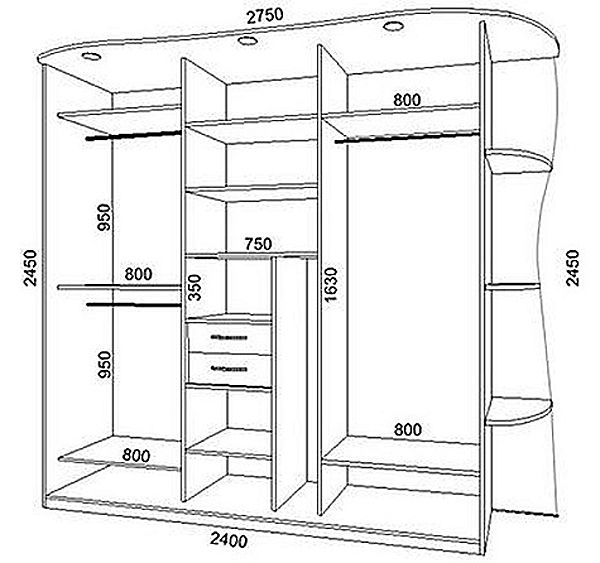
Before assembly, the floor is checked for evenness, and if the surface is not level enough, it needs to be straightened. Only then does the installation of the cabinet begin.
The assembly of such a design for tools is carried out as follows:
- First, the back wall is installed, which is often made of hardboard.
- Then they make a frame and test it for strength and stability. After this, the internal filling of such furniture begins. Holes must be drilled on the parts into which the shelves are attached using self-tapping screws.
- The rod is attached to special flanges. Later, drawers and drawers are inserted into the product.
- The final stage of work is the installation of the door leaves. Particular attention must be paid to installing a mirrored door.
Important! If you plan to assemble a wardrobe, it is better to carry it out when all the parts are located horizontally.The back wall needs to be attached along the entire perimeter with screws; the last stage of assembly is installing the cabinet in the place where it will permanently stand.
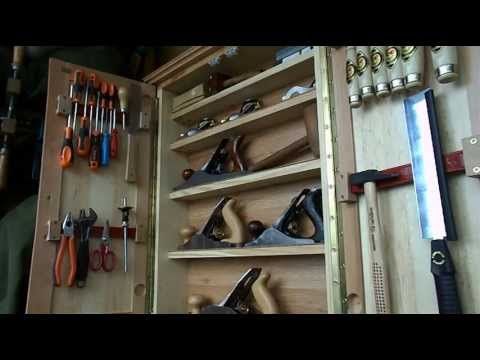
How to properly arrange tools in a cabinet
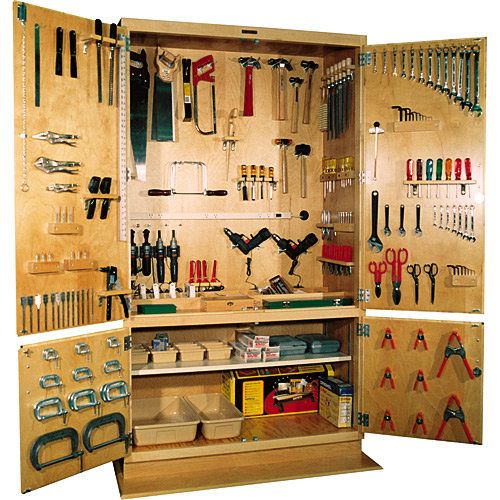
There are different ways to arrange tools in such a cabinet. Plastic canisters can be used to store small tools such as tools, bolts and nuts.
In order to store screwdrivers, craftsmen make a narrow shelf out of wood and create holes in it.
A wooden stand on the wall of the structure is suitable for storing screwdrivers and pliers.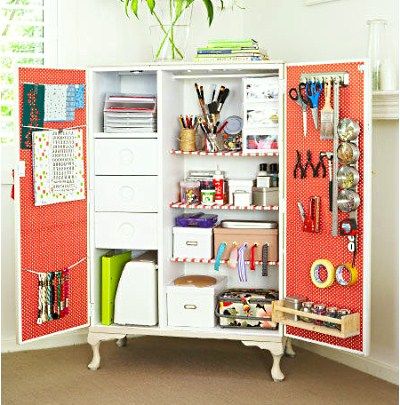
You can hang a metal rod under the ceiling to store paint brushes. A special rack is used to store wrenches. Aerosol paints - open wooden cabinet.
Sometimes a tray is installed in cabinets for storing garden tools. And for power tools, a simple wooden block is often used, on which metal hooks are suspended.
If the walls of the structure are equipped with shelves and hooks, then with the help of this system you can perfectly place all the tools. Magnetic tape is suitable for storing small items.

