How to combine a built-in wardrobe and a suspended ceiling
 Sliding wardrobes, as well as suspended ceilings, are firmly established in everyday home environments. The first ones save space, are roomy and practical, and the variety of materials used in the manufacture and design of furniture makes it possible to combine them with any interior style. Tension solutions have a stunning appearance, easily hide ceiling defects, and make the room stylish and unique. Despite the abundance of positive qualities, both designs cause headaches during renovation. This is due to the fact that the furniture, as a rule, touches the ceiling in height, and its tension version is installed at some distance from the rough ceiling. Let's look at how to combine a built-in wardrobe and a suspended ceiling.
The content of the article
Stretch ceiling or closet – what to do first?
If you follow the long-established repair rules, then all work is performed from top to bottom. Usually the ceiling is done, then the walls are finished and the final stage is the installation of the floor and the placement of furniture. As for the combination of a suspended ceiling and a cabinet, you can start with any of them. There are 2 types of coupes, which affects their installation options:
- Frame.They are a collapsible structure that can be easily dismantled and reassembled in another place. In this case, it is advisable to tighten the film first.
- Built-in. A static structure that is permanently in one place and is attached to the wall. When forming the ceiling, a special strip is attached to such furniture.
The second option requires a professional approach. A properly installed plank will ensure the integrity and attractiveness of the structure.
Stretch ceiling and wardrobe - combining correctly
Often, the stretch ceiling is attached first and only then they try to install a cabinet under it, which often results in damage to the film on the stretch ceiling and additional costs. Attaching to a suspended ceiling should be done competently. The following design combinations exist:
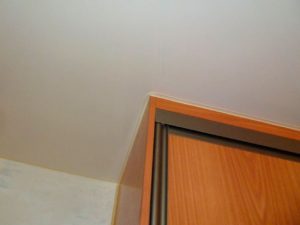
- Installing a cabinet after a suspended ceiling. Since nothing can be attached to the film, the furniture is installed after it, and the gap is hidden by a decorative element.
- Installation of a compartment in a load-bearing ceiling. The most practical option, since no gap is formed, and the interior space of the cabinet is large.
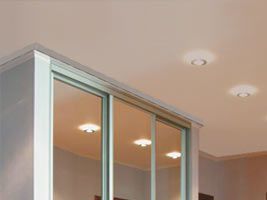
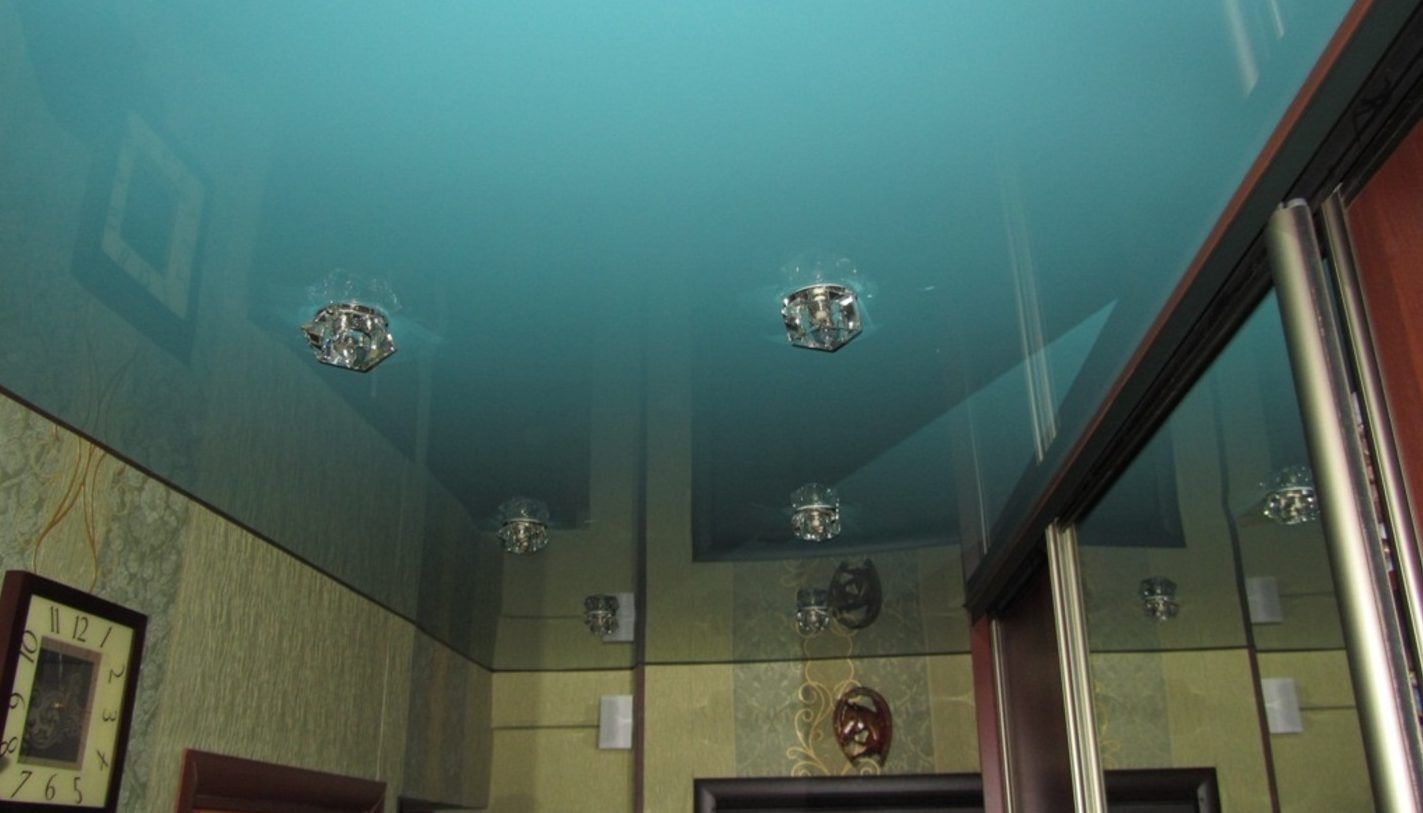
In any case, each of the options is good and guarantees an aesthetic result if the work is done correctly, look at the photo. The final decision is made by the owner together with the employees based on the characteristics of each premises and personal preferences.
Features of installing a cabinet under a suspended ceiling
There are several ways to combine a suspended ceiling structure and furniture, which should be chosen based on the concept of the room.The decision is also influenced by what kind of cabinet will be installed, what kind of lamps there will be, and whether you want the film to continue inside the product, creating a neat connection.
We place the closet under the finished ceiling
It is necessary to prepare a wooden beam, guides, canvas and harpoon system or aluminum fasteners. The method is characterized by high speed of implementation and practicality, which makes it possible to install a piece of furniture at a time convenient for you. The process looks like this:
- A door track is attached to the rough ceiling.
- A retaining profile beam is fixed along the ceiling. Next, a special fastener is screwed onto it from the side of the cabinet to hold the suspended ceiling.
As a result, the film will completely hide the timber, and the cabinet can be assembled either immediately or as a last resort.
NOTE. This method is applicable only if the exact dimensions of the furniture are known.
Canvas over the cabinet
Similar to the previous method, but both the ceiling structure and the cabinet are attached to a wooden beam. Installation is carried out as follows:
 First of all, a wooden beam is mounted, and it is desirable that its cross-section be 100x100 mm, since it will be subject to significant load.
- Door guides are installed on the beam below.
- A decorative laminated chipboard is attached to the outside, which should overlap the guides. Make sure that the heads of the screws are located above the level of the future ceiling.
- A film is stretched, which visually appears higher than the cabinet, after which the joint and panel fragment are decorated in any way.
The method has gained great popularity, since the volume of the upper shelves is maximum, there is no film inside the compartment, which means it cannot be damaged. From an aesthetic point of view, everything is perfect - the tension structure fits perfectly with the furniture, without the formation of gaps; in some cases, a mortgage may be needed.
Film inside the cabinet
The film is located both outside and inside the cabinet, decorating it, which can be further enhanced by installing lamps. Sequence of work:
- a wooden beam is installed, the lower part of which should be thoroughly cleaned and sanded until smooth, as it comes into contact with the film;
 The door leaf is installed, after which a PVC plate is preliminarily fixed in the place where the door guide will be attached;
- if desired, lamps are built in, and then doors are installed;
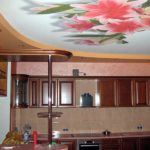
- the joints are decorated with ceiling plinths, in which it is advisable to install LED strips, which serve as an additional source of light in the room.
This is not a particularly popular method, due to the high probability of damage to the film during furniture use. If there is a need to dismantle the stretch ceiling, you will have to first disassemble the compartment.
Split design
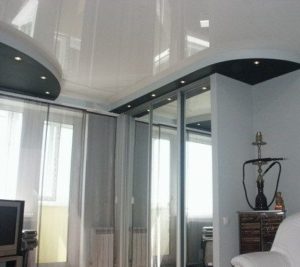
Choosing this method will ensure the visual integrity of the tension structure and the wardrobe, while they will be located separately from each other. Installation is very simple and requires only care and precision.
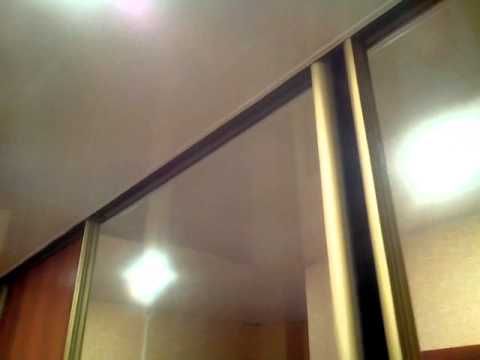
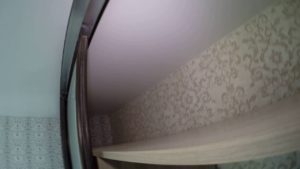
First of all, a suspended ceiling is installed around the entire perimeter of the room, after which the furniture is assembled and the top cover is installed. The last step is the most difficult, since the short distance to the film makes it possible to damage it.
Recommendations from experts
Of primary importance, according to all experts, is the correct and accurate calculation of the dimensions of the interior item and its location. It is recommended to seek the services of experienced craftsmen who will draw up a competent installation diagram and select the location for fixing the mortgage. It is also recommended to pay attention to the following tips:
- If you prefer a wardrobe, then you must inform the workers who assemble the suspended ceiling about this. They will take your wishes into account and give recommendations on further actions.
- When installing furniture, you need to be extremely careful with its sharp corners, which can easily damage the film.
- If you prefer a frame structure, then first you need to stretch the ceiling, since the furniture can be dismantled in the future.
A variety of methods make it possible to combine a suspended ceiling and a wardrobe, giving the room a finished and attractive appearance. The key to an excellent result is planning the upcoming work and entrusting it to experienced specialists.