How to assemble a pencil case
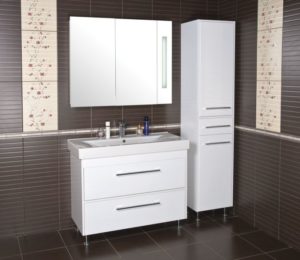 The bathroom is not the most space-rich place, but there are enough items stored there. Most people have washing powder, soap, brushes and other household and hygiene items in this room. To organize all this, they came up with special cabinets. They are so named because their height is much greater than their width. This design allows the pencil cases to be quite spacious while saving significant space. Another advantage of having this furniture in the bathroom is the ability to hide personal items from prying eyes.
The content of the article
Requirements for bathroom furniture
The bathroom differs from others not only in its size. High humidity and temperature changes have a detrimental effect on furniture. The main requirements for a bathroom cabinet are:
- resistance to high temperatures;
- protection from moisture penetration;
- mildew resistance;
- strength;
- compactness.
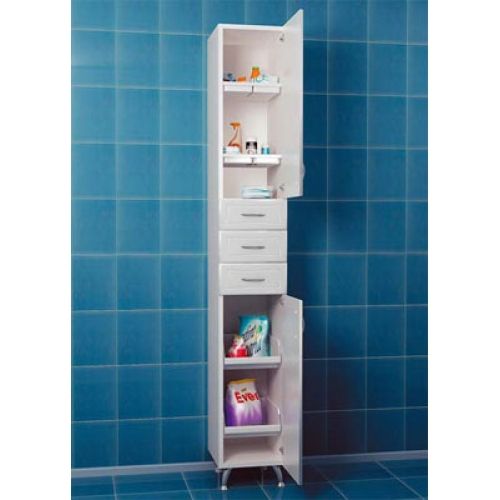
ATTENTION! The material that will be used to assemble the pencil case needs to be given special attention. The problem is that wood and non-chromed iron that are not coated with a moisture-proofing compound will quickly deteriorate.
The best materials for bathroom furniture will be:
- Chipboard. Laminated particleboard works well for this purpose.The widespread availability and low cost of this material will be a definite plus. The laminated chipboard coating is moisture-proof. The only thing that needs to be given serious attention is the high-quality closing of the ends with an edge.
- Tree. This material will cost more, and there will be more work to do with it. To use it in the bathroom, it will need to be coated with waterproof paint.
- MDF. Suitable with moisture-resistant impregnation. The best, but at the same time the most expensive option would be MDF lined with acrylic panels.
- Plywood. A good choice. Protection from moisture in the form of paint and impregnation will be required.
All of the above materials are good, but chipboard remains the best choice in terms of price/quality ratio.
What types of bathroom pencil cases are there?
Depending on the decor, the amount of free space, and the placement of bathrooms, you need to decide on the type of bathroom cabinet. The most common types of pencil cases are:
- Mounted. Takes up little space and can be installed above other bathroom furnishings. Attaches to the wall using furniture hangers or a mounting strip.
- Floor. Standard wardrobe. It is advisable to install it on legs, otherwise the bottom of the structure will deteriorate.
- Angular. May be convenient in some cases. For example, in the corner near the door.

REFERENCE! The door of any of the above types of cabinets can be equipped with a mirror. This will improve its appearance and make it more functional.
How to assemble a pencil case with your own hands: tools, diagram and work process
If you decide to assemble a pencil case with your own hands, first of all you need to take care of the tools and materials. For fast and high-quality work you will need the following:
- Hand-held circular saw or jigsaw. Without them, you won’t be able to cut out the required parts quickly and evenly.
- Measuring tool. For measurements you will need a tape measure. A carpenter's square and a ruler will help you mark the material before cutting.
- Electric drill and screwdriver. They will be needed to attach cabinet parts to each other.
- Sandpaper. This will be used to process the edges of the cut. Having a sanding machine will simplify this task.
- Furniture fastenings. Self-tapping screws, door handles and fittings are sold in specialized stores.
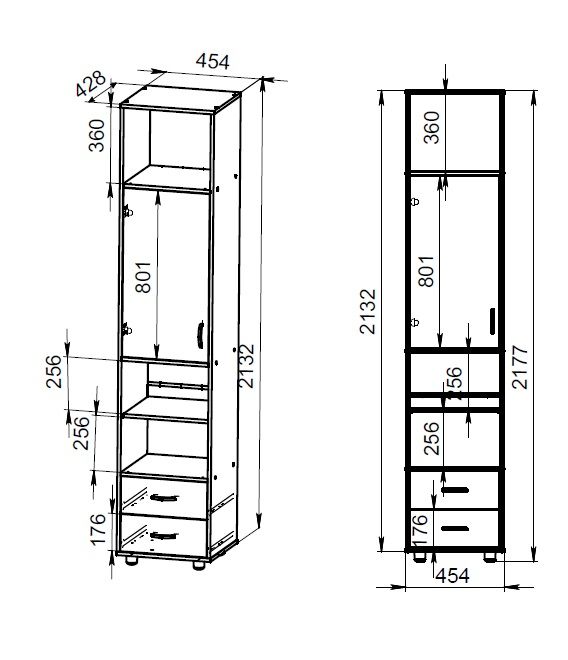
The next step after collecting all the necessary tools is to create a diagram. The first step is to decide on the size and number of shelves. Next, draw a drawing on paper. On it indicate the dimensions of each side.
Having well-made drawings, you can go to a furniture materials store, where they will cut out the necessary parts from chipboard. If you wish, you can do this yourself by drawing lines on the material with a pencil and cutting everything out with a jigsaw or saw.
When all the cabinet elements are ready, you can begin assembly:
- Mark and drill holes for screwing in confirmations in the side, top and bottom parts.
- Connect all 4 parts with confirmats (euro screws).
- Attach the shelves using dowels, furniture corners or euroscrews.
- Attach the back cover. If condensation will not collect at the location where the cabinet is installed, then fiberboard can be used as the back wall. This material is secured with nails.
- Then attach the doors. A cheap and simple fastening would be secretory furniture hinges. But it is better to install invoices with closers.
- Next, attach the legs of the structure (if the cabinet was planned on them). In the case of a hanging pencil case, install furniture canopies.
The final stage will be finishing the product. To do this, you can use self-adhesive film or regular waterproof paint.
Fastening the cabinet-cabinet
If the cabinet design includes legs, then its installation should not raise any questions. The main thing is that everything is adjusted in height and it does not wobble.
Mounting to a mounting plate is the simplest option, although it costs more. To do this, you need to attach the plank to the wall, and the hooks that come with it to the cabinet. Then simply hang the product in place.
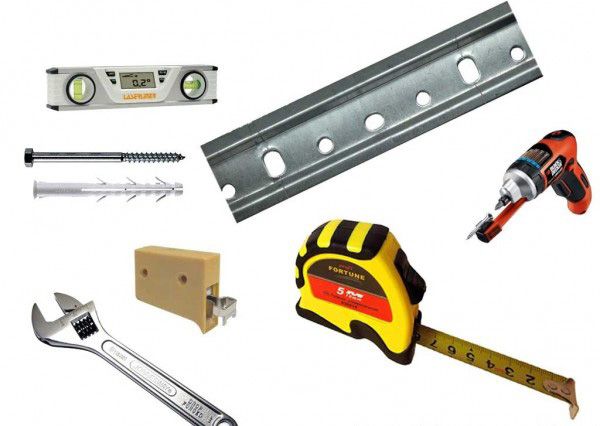
If you choose furniture canopies as mounting, you will need an assistant, since hanging the pencil case straight yourself will be problematic. To attach it to canopies, you need to drill a hole in the wall and install a special hook there. Then attach the canopy to the product. Place it in place, align it and mark the position of the second fastener. Next, do the same as with the first one and hang the pencil case.
Assembling a pencil case with your own hands is not a very difficult, but useful task. And if you use your imagination, the result will be a product that fits well into the interior of the bathroom.




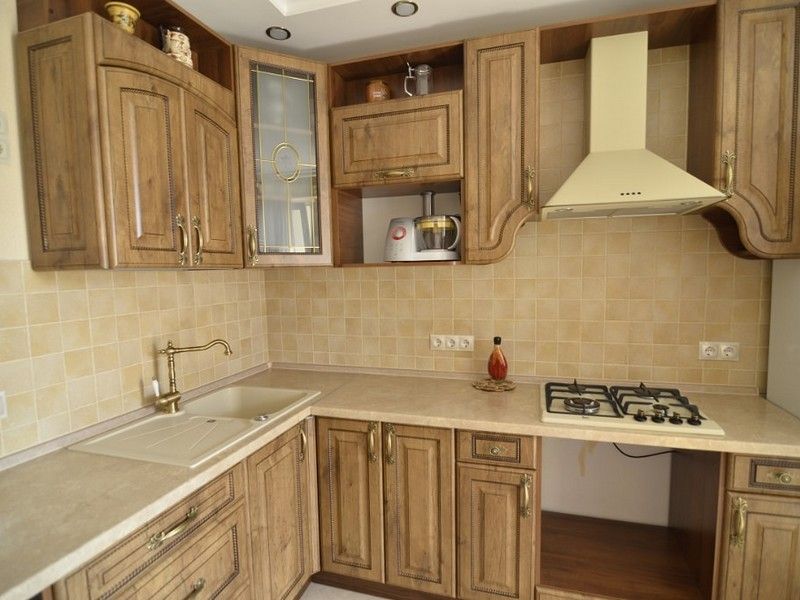
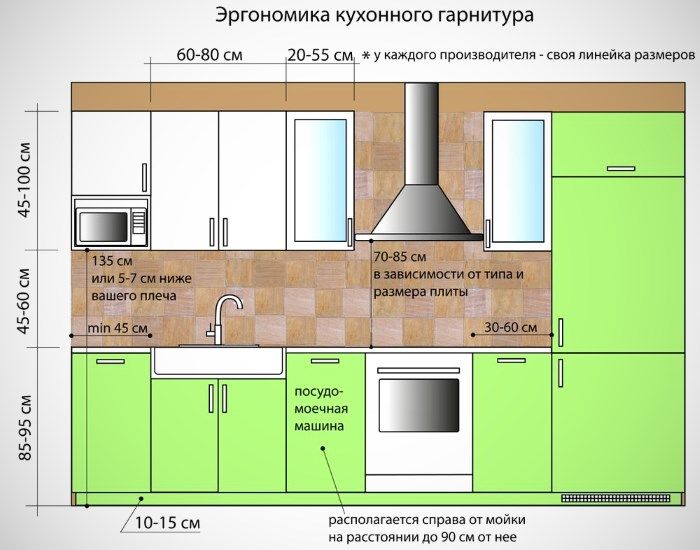
This time we decided to buy cabinets from Hypernet. Normal cabinets. True, their prices are a little higher, you can find them cheaper, but you overpaid for reliability