How to make drawers in a closet
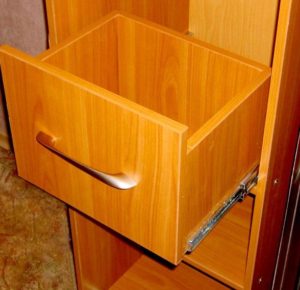 Space in the closet is a very mysterious thing, sometimes it seems to us that there is enough of it, but when it comes to putting things in order, it turns out that a couple of drawers would not hurt. Most of this furniture is equipped with shelves, but drawers are better for ease of use. And if your closet doesn’t have any, then you can easily make them yourself.
The content of the article
Necessary tools and materials for drawers
Drawers are very convenient to use, they are more practical than shelves, and it is easier to put things in them. To make these shelves yourself, you will need the following tools:
- high power screwdriver;
- jigsaw for cutting materials;
- roulette;
- well-sharpened pencil;
- construction angle;
- drills sizes 5 and 8 mm;
- rag;
- knife.
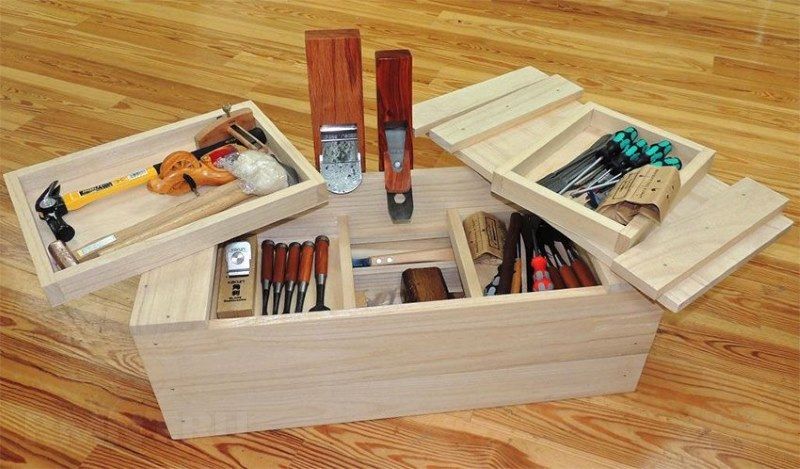
You can use chipboard as materials, but it is better to buy furniture wooden panels, they will generate less waste. You can make a product from poplar, and the bottom is birch plywood, its thickness is uniform, this material is quite durable.
DIY drawer assembly
Making drawers yourself is absolutely not difficult, but such work requires extreme precision and a trained eye.
IMPORTANT! If you are not sure that you can cut the material as evenly and accurately as possible, it is better not to undertake this - order cutting from a professional.
To begin all the work, you need to decide on the location of the future product. Be sure to measure the depth of the cabinet so you know the dimensions of the corresponding fittings.
Selection and calculation of guides
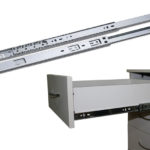
 To choose the right drawer elements, the width, height and depth of the drawer must be known, because the guides are one of the most important elements of the entire structure. There are two types of guides: roller and full rollout. The latter are more convenient to use. But if you decide to use roller retractable elements, be careful with their markings, it can cause difficulties, although the tolerances are the same for both types. You should not use wooden slats as a rollout, it is not practical, and there is no point in making a box, spending money on materials, and at the same time using pieces of wood. You need to approach the process as professionally as possible so that you are pleased with the result.
ATTENTION! The guides have a maximum length of 50 cm. If the depth of the drawer is the same, then purchase 45 cm guides for a tight closure.
Marking the position of the guides is a responsible task, although not difficult. It is important to be careful here. The main thing is to start taking all measurements from above. When marking, half the height of the upper facade is taken into account. The guides will need to be attached to the marking line.
Measure the opening where the box will be installed and its height. The width of the finished product must be reduced by 25 mm, since the width of the guides is 12.7 mm.
Detailing drawers
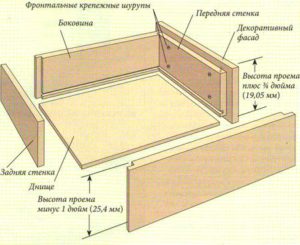 To make boxes, it is better to buy furniture panels; you can also use chipboard, but this is not economical, since you will end up with a lot of leftovers. If you are a very good carpenter and have experience working with wood, then preparing all the parts of the future product will not be difficult, but not everyone is a master. That is why it is better to order cutting in a workshop, or use such services at the place where the material was purchased. Don't forget that you will need the following supplies:
- facades;
- side parts;
- front and back walls of drawers.
If you nevertheless decide to make the cut yourself, then it is best to mark the length of all parts using a stop rather than a tape measure. Any box has a bottom, which means you need to cut it out. Hardboard is suitable for these purposes; the parts are screwed to the finished product.
Fasteners and accessories
To assemble the product, you need a standard mounting kit:
- confirmations;
- screws of different lengths.
Manufacturing process
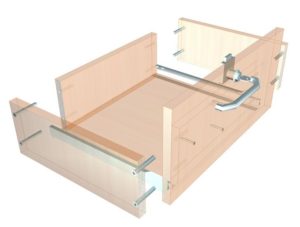 Before assembling the boxes, all parts must be processed. The edge is glued along the edge. You need to attach an edge to the end, turn on the iron at almost full power, and apply it to the edge. These steps need to be repeated several times, then go along the edge with a dry cloth, smoothing the edges. If there is an excess edge, cut it off with a knife, but very carefully so as not to spoil it. To avoid burrs on the workpiece, sand it using sandpaper.
For fastening elements it is necessary to make holes 8 mm in diameter. The hole in the end will be 5 mm. Next, the guides are attached; they usually run in the middle of the drawer.
Full rollout retractable elements are sold in pairs and must be separated before installation. If you are making drawers for a cabinet, then you need to attach the guides to the inside of the cabinet and to the outside of the drawer. Don't forget to leave 3 mm from the edge of the inner cabinet wall when attaching the guides.
To install these elements smoothly, you need to follow simple rules:
- Drill a small hole in the front to install handles.
- Attach the retractable elements and secure them on the reverse side through the drilled holes. Next, you need to pull out the drawer and secure the guides inside in the normal position. After all these steps, the fasteners must be unscrewed.
- Now you need to drill the holes so that you can install the handle.
In this simple way you can make your own drawers. If you do all the work correctly, the design will work correctly, and this is the main thing. If you still see shortcomings somewhere, or incorrect operation of the product, check your calculations again; perhaps an error was made. In this case, everything will have to be corrected.
IMPORTANT! With all calculations, you need to be very careful so that the end result can please you the first time.
Try it and you will definitely succeed. After all, it’s always better to make something yourself than to look for a similar product in a store.


