How to make LED lighting in a closet
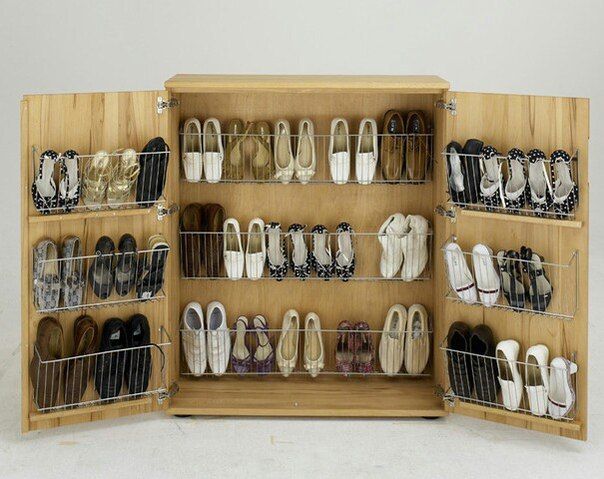
 The modern model of a sliding wardrobe is furniture of impressive size, which has a variety of compartments and shelves for storing many things. To quickly find the necessary things in this furniture, you will need to go to the switch each time in order to turn on the general light. This is not always convenient. There is a more original solution - to make LED lighting directly in the furniture. Let's look at how to make LED lighting in a closet when opening doors with your own efforts, so that it is always light and easy to find the necessary things.
The content of the article
LED lights
To make the inside of the furniture much lighter, you can choose one of many lighting options and implement it yourself. Among the variety, LED backlighting is the most popular.
This is a very convenient and practical option. By installing just such lighting, you can be sure that it will not be difficult to find the necessary things in the closet, because it will always be light when you look into it.
LED lighting is safe and the risk of fire is minimal. The entire installation process will take a little of your time, but the result is worth it.

What you need
In order to make lighting in the closet with your own hands, you need to prepare some materials:
 The tape itself and, of course, the power supply. Measure yourself how long the tape you will need, it depends on the size of your closet and the desired effect. Experienced experts recommend giving preference to white color, this will minimize the likelihood of color distortion of products.
- Aluminum profile.
- Limit switch.
- ShVVP type wire with cross section 2x075.
- Switch.
Having prepared all the items from this list, you can independently assemble the desired lighting scheme in the closet. It's not as difficult as it might seem at first glance.
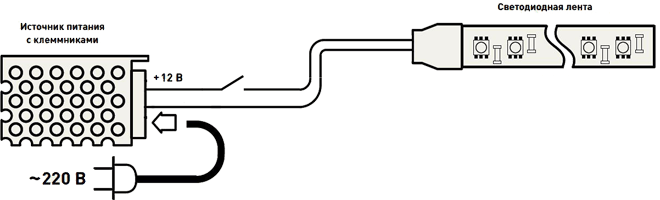
Electrical diagram
Before moving on to the assembly stage, you need to consider this point. You should have an electrical diagram to make future connections. In the picture you can see how it should look. Its main difference from a conventional circuit is the presence of a microswitch. When connecting, be careful not to mess anything up.
IMPORTANT. In order for everything to be safe and work properly, follow the diagram when connecting.
Assembly - the main process
- First of all, you will need to prepare the LED strip itself. Cut off the section you need and, on one side, solder wires approximately 20 cm long. Do this at this stage so that later you do not stand in an awkward position with the soldering iron.
- The tape is glued to the profile, after which you can begin attaching the entire structure. To do this, you can use liquid nails. This process is very simple.
- The next step is to decide where the power supply will be installed. You can route the wires behind the cabinet and make a hole in the cabinet wall.
REFERENCE.It is best if you think about laying wires at the stage of repair work. This is the most rational solution.
- Connect a microswitch to one of the wires at the break. Its contacts should not be closed when the button is pressed.
IMPORTANT. In the cabinet, the wire must be laid in a special cable channel.

Check your creation for functionality. If everything works well, you can fix the microswitch on one of the cabinet walls. Now it will not be difficult to find the necessary things in your casket.