DIY screen for a room
 Screens have long been used to zone rooms without taking up much space, which is especially important for small apartments. The simplicity of the design and light weight allow it to be stored in the pantry, if necessary, and the use of patterned materials and glass in the decoration will decorate the room and give it an unusual look. In addition, there is no need to spend money on purchasing a product, often expensive, since anyone can make a screen for a room with their own hands. What does that require? Fantasy, some simple materials and time.
The content of the article
Do-it-yourself screen for a room - how to make it?
The classic version is a slatted or plank partition structure with fabric stretched in the middle, but modern models can be easily made from almost any material. Depending on the features of the interior and your needs, the screen can be:
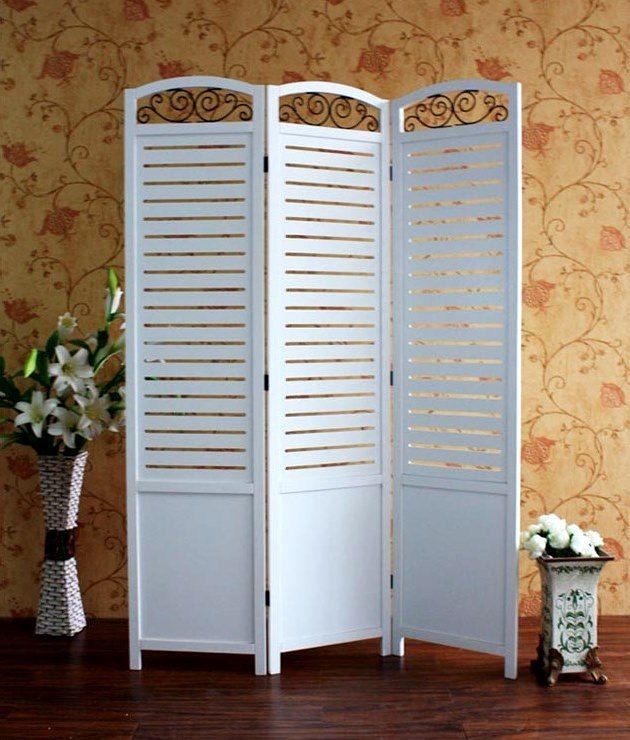
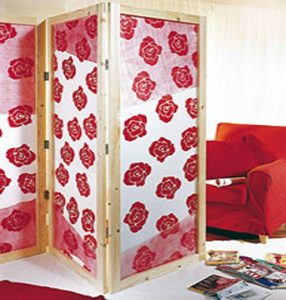
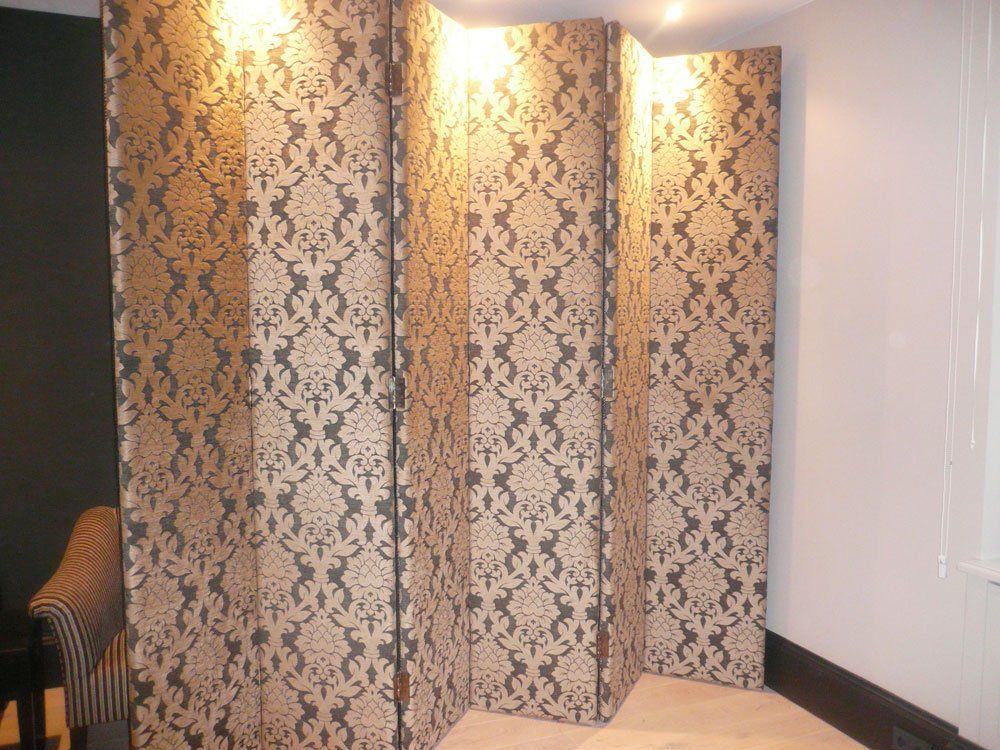
 Casement. It is a frame connected by hinges, the number of which is selected individually. Most often there are 3 or 4 sashes, and they often perform an exclusively decorative function.
- Single screen. It has one flap, so it does not fold. It takes up minimal space and is convenient for zoning space, representing an impromptu flat wall.
- Flexible. The design consists of vertical flexible guides, between which the fabric is stretched.The peculiarity of such screens is that they are easily rolled up and removed, if necessary.
- A cloth. Static models that are attached to the ceiling and are used to separate the bedroom, workplace, etc. Most often, the material is synthetic linens and fabrics.
The listed varieties are not all, because the popularity of screens is steadily growing, which entails the emergence of new creative models. Making them yourself is attractive, first of all, because of their low cost and interesting appearance, the opportunity to decorate a room and make it more comfortable.
Step-by-step instruction
The process of making a screen with your own hands is exciting and interesting, and does not require experience or expensive materials. It will fit perfectly into any interior and will give you the opportunity to retire to be alone with your thoughts or read an interesting book.
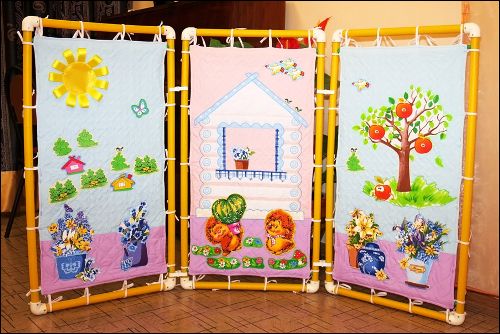
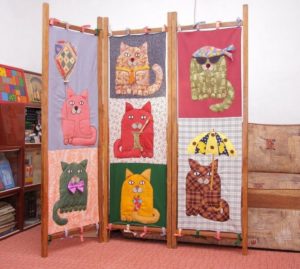
For a classic partition consisting of 3 sections, you will need:
 12 bars for a frame with a cross section of 40x40 mm - 6 pcs. about 2 m long and 6 pcs. a little shorter;
- dense fabric, the quantity of which is calculated based on the size of the sections;
- decorative elements - photographs, pictures, magazine clippings, figurines, etc.;
- strong tea leaves for visual aging of paper elements;
- pencil, tape measure, scissors, square;
- varnish, glue, brushes;
- screwdriver, screws and nails;
- electric jigsaw;
- carpenter's stapler;
- 4 compact door awnings;
- decorative braid.
The start of work is preceded by drawing up a drawing indicating the dimensions of all elements and their attachment points. When assembling, you must constantly check them to avoid errors. The whole process consists of several stages:
- Making the frame.Wooden blocks are cut to the required sizes, after which they are assembled into frames and fixed with screws. Their correct fastening and evenness of the corners is checked with a square. Next, the doors are opened with two layers of varnish and left to dry.
- Connection of sections. To do this, loops are attached to them with self-tapping screws, and the locations are carefully measured with a tape measure.
- Cut out the fabrics. In accordance with the previously accepted dimensions, 3 fabric fragments are cut out, which then need to be decorated. To do this, the tea leaves are filtered through a fine sieve and applied to paper, which is subsequently ironed. After drying, the sheets are glued to the fabric. Then the fabric is fixed with a stapler in each section with a distance between staples of 5 cm.
Finally, the places where the fabric is attached are hidden with tape, which is glued along the perimeter of the frames. At the same time, you need to make sure that it is light, even and neat.
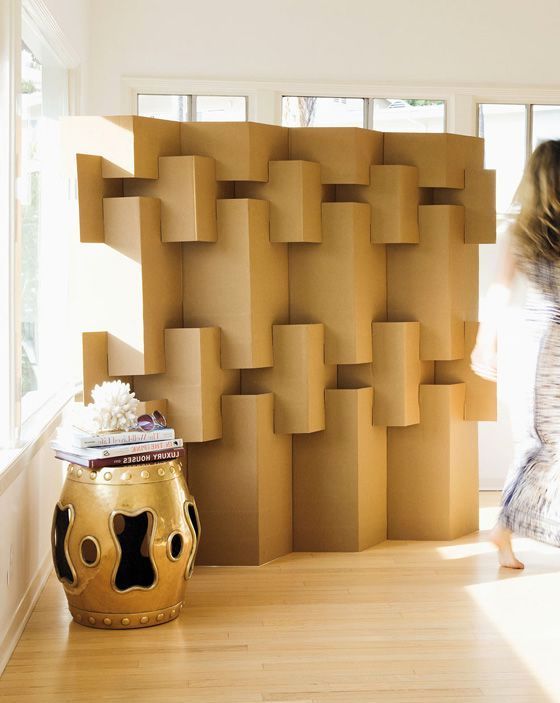
An alternative option is a cardboard design
The simplest and at the same time attractive solution. This screen is environmentally friendly and light in weight, while its production uses cardboard tubes on which fabric and polyethylene are wound. They are considered waste and you can easily find them in many stores. To implement the plan, you will need 18–20 pipes, a piece of strong rope, scissors, a pencil, a tape measure, a drill and bits, and paint. Construction assembly stages:
- The pipes are cut to the required length, and it can be made in different lengths. Next, they are placed on the floor and aligned along one edge, which will be the bottom of the screen.
- With a pencil, 3 points are marked on each pipe - at a distance of 20 cm from the bottom and 2 more at a distance of 50 cm and 1 m from it, in which holes are then drilled.
- All elements are fastened together with threads and secured with knots at the edges.
If desired, the structure can be painted, including each pipe separately - such a screen will be bright and perfect for a child’s room.