DIY ottoman made from plastic bottles step by step
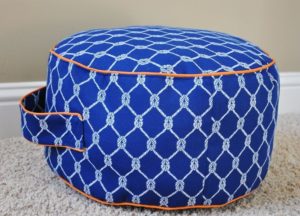 Plastic products have become a part of our lives and accompany us every day. If desired, it will become an excellent material for creativity - light and reliable, and most importantly, affordable. Even a fragile girl can work with him. Try making an ottoman out of plastic bottles. This accessory will be useful if you like to welcome guests or will be an excellent solution for a children's room, thanks to its ease of movement, safety and durability.
The content of the article
How many bottles do you need for an ottoman?
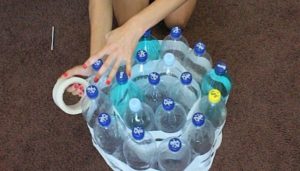 In this matter, everything depends on the chosen model and the size of the future product. You can make a small round seat or a rectangular, elongated version. Each part consists of two bottles, so you will need 20 2 liter bottles.
IMPORTANT! Textured or ribbed bottles provide additional rigidity to each piece.
The container must be prepared - rinsed to remove any remaining drinks and dried. The next stage is strengthening the strength of the plastic. Screw on the caps and place the bottles in the freezer or on the balcony, if the temperature outside is sub-zero, leave overnight. Afterwards, screw on the caps in the cold, and only then take them home and leave them under the radiator.Thanks to this trick, the air inside the bottles expands and makes the plastic stronger.
ATTENTION! To make the structure heavier and static, each bottle can be filled with sand, but not more than 1/3.
What else is needed to make an ottoman?
In addition to plastic containers, the following materials will be required to make an ottoman:
- adhesive tape and masking (paper) tape;
- thick cardboard in several layers, corresponding to the shape of the future seat;
- sheet of foam rubber, thickness from 50 mm;
- old fabric (a sheet or unwanted T-shirts will do);
- pencil, paper, scissors, strong thread and gypsy needle;
- fabric or yarn for a decorative cover;
- stationery knife, furniture stapler.
Having prepared everything you need, choose your workplace. An important condition is the presence of a flat surface to maintain the level of bonding of the bottles.
DIY ottoman made from plastic bottles step by step
Each bottle needs to be prepared for this:
- Having retreated 1/3 from the lid, glue masking tape in a circle. Using a utility knife, cut the tape in the middle.
- Separate the neck and insert it inside, to the very bottom. The resulting structure fits a whole bottle. Tape the joint several times with tape.
- This must be done with all bottles. We glue the resulting parts, 3 pieces each, together with several layers of tape.
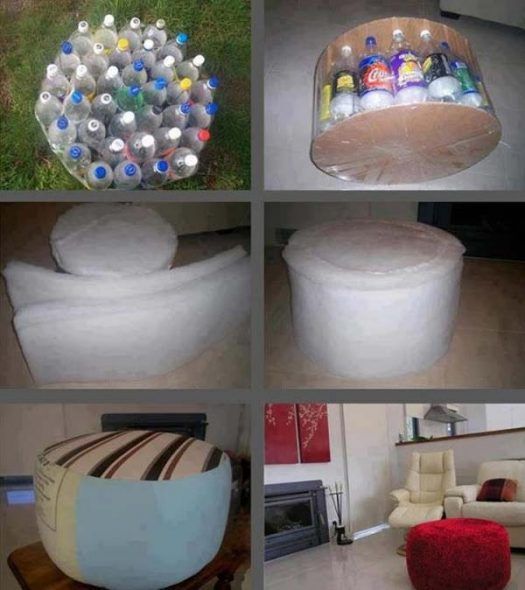
ATTENTION! The round shape of the future pouf is assembled from 1 central bottle, and to make an oval, two are placed in the center.
All triple parts are again fixed together with tape, and then:
- Place the finished frame on paper and trace the outline; it will help you cut out the parts from foam rubber and fabric. Cardboard parts are attached to the side parts.First, glue or “stitch” several layers with a stapler.
- It's time for foam rubber. Using a paper pattern, cut out the seat of the required shape, as well as the part for the side. Attach the soft parts to the base and sew along the edge with strong thread.
IMPORTANT! Do not pull the stitches too tightly. Over time, the thread can cut the delicate foam.
For practicality, cover the resulting ottoman with old knitted fabric. It will not allow the foam rubber to clump or tear. To do this, cut out 3 parts: top, bottom and side according to ready-made patterns for foam rubber, adding seam allowances of 1.5-2 cm. Also, do not forget to take into account the thickness of the foam rubber.
First, the side part is sewn together, followed by the top and bottom. The cover is turned out and put on the pouf; it should fit snugly enough. Such a “rough” cover can be made permanent by sewing it at the bottom using a furniture stapler.
Decorating an ottoman with a photo
The most creative and enjoyable part of making an ottoman from plastic bottles! The finished piece of furniture should fit into your interior, be its detail. Therefore, do not rush to choose a fabric, but explore several options:
- A fabric cover is a classic option, the main thing is to choose a color that matches the room. It is better to choose a fabric that is denser and abrasion-resistant. Furniture upholstery is perfect.
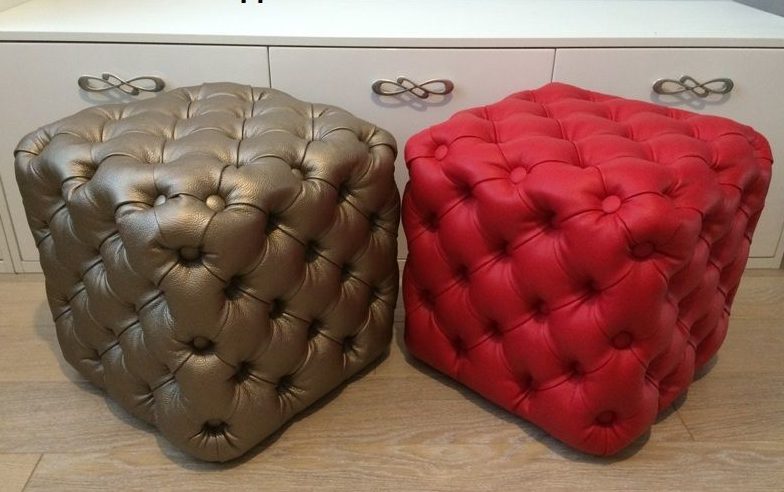
- Leather or leather substitute. Suitable for more formal designs and office settings. This pouf will fit perfectly into a home office or work area.
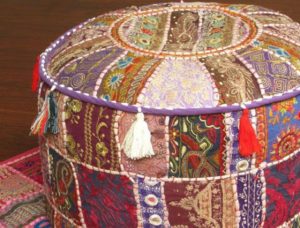
- Patchwork. Such covers will make the pouf homey and cozy; it can be placed in a nursery or bedroom. It all depends on the fabrics and colors used. Covers made from old jeans look original.They are practical, modern and do not require additional costs! To this case you can sew a pocket for the necessary little things, for example, a remote control or a magazine.
- Knitted cover made of knitted fabric. Interior items using this yarn have come into fashion not so long ago and are becoming more and more popular. After all, they are suitable for almost any interior due to the wide range of colors and external presentation. You can knit a cover with a beautiful gradient, or using contrasting shades.
- Case “for a pet”. By covering the ottoman with thick carpet fabric, you can get an excellent scratching post for your furry pet, thereby keeping more expensive pieces of furniture safe!
ATTENTION! If you have children, feel free to involve them in creating plastic creations. A child’s vision is different from an adult’s, so the results will be unpredictable, and joint creativity will captivate both of you.
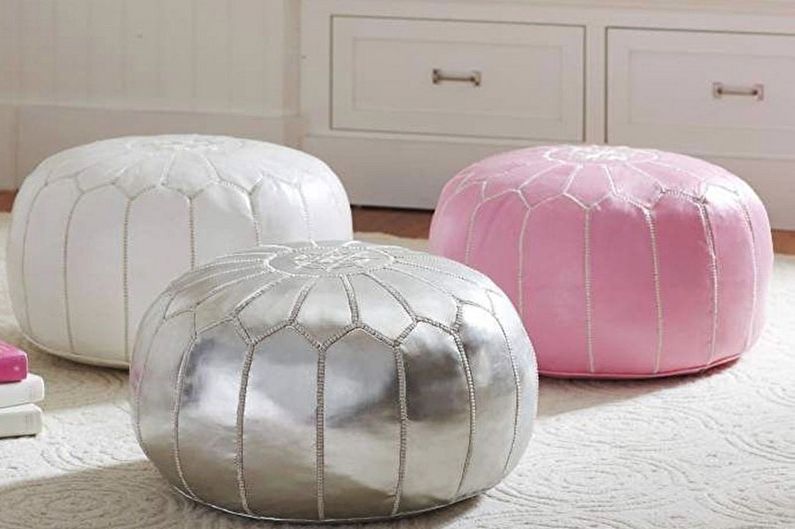
As a result, by spending a few hours of free time and putting in a little effort, you can create a very practical and necessary thing for your home, and most importantly, it will be one of a kind, which rightfully makes it a designer item!

