DIY spice rack
 Each housewife arranges the kitchen in her own way so that there is no clutter, and everything necessary is stored in the most accessible place. Organizing a place to store spices is no exception, so that during cooking the necessary ingredients are at hand, but not in the way. The best solution is special shelves for spices - they do not take up much space and you can make them yourself.
The content of the article
How to make a spice rack with your own hands
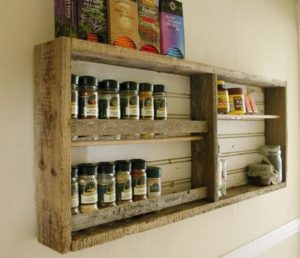
The most convenient option for placing containers with spices is an open shelf. All the necessary spices will be visible and can be easily obtained. The shelves are made compact so that they can be installed in any part of the kitchen area. Scraps of any wooden boards, plywood, or chipboard can be used as material. Parts from old fruit and vegetable boxes are perfect.
It is most convenient to install the shelves on the table or hang them on the wall above the kitchen table, since you can simply reach the desired jar with your hand. However, not everyone likes a lot of items on the table, and there is also a risk that children or animals will get to the spices. For this case, the shelves can be attached to wall cabinets or to doors.
Mostly, shelves are made from boards or plywood; it will be enough to find five boards of the same size, but you can also combine two boards of shorter length for the side walls, and the remaining three for the main shelves.The size of the board should be appropriate for containers for spices, and it is better to make shelves with a margin in width so that the jars do not stand on the very edge.
The boards are sanded, then measurements and marks for fastenings are made. Holes for fastening elements are drilled according to the marks. The ends of the shelf bottom are connected with self-tapping screws to the side part. Before installation, the shelf is opened with varnish. To ensure the stability of the cans, you should add sides made of slats or boards, placing them at the level of the middle of the length of the containers. If you want to diversify your creation, you can add carving patterns.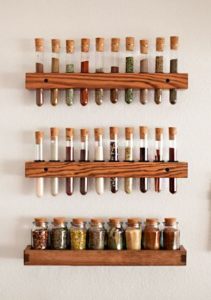
What will it take?
To create a spice rack out of plywood yourself, you need to prepare the necessary materials and tools in advance:
- Six pieces of plywood;
- Four wooden planks;
- Wood glue;
- Primer for wood;
- Sandpaper;
- Wood paint;
- Acrylic lacquer;
- Small nails without heads;
- Jigsaw;
- Fraser;
- Ruler (it is recommended to take a metal one);
- Pencil;
- Clamp;
- Brush;
- Hammer;
- Roller (small size).
Dimensions and drawings
Two pieces of plywood should be 10 mm thick, measuring 70 mm by 540 mm. The other four parts are 6 mm thick, measuring 70 mm by 270 mm.
The size of the wooden planks is: 2 pieces of 20 mm thick by 280 mm and 2 pieces of 10 mm by 280 mm.
The preliminary drawing is made directly on the surface itself: on the longest parts we draw segments: one segment - 10 mm and three segments of 150 mm each. Draw straight perpendicular lines along the marks.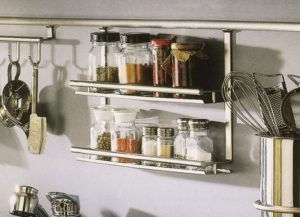
Attention! In order for all the desired jars to fit on the future shelf, you need to take measurements of the jars in advance and mark them on the work surface.
When all the preliminary preparations have been completed, you can begin the main part of creating the shelf.
Spice rack: step-by-step instructions
- We take a router and, using pre-drawn lines, make grooves 5 mm in size on the plywood.
- Pour wood glue into the grooves made and install a piece of plywood 6 mm thick.
- After the glue has completely hardened, we glue the barrier strips to the front side of the shelf.
- To finally install the planks, we secure them with nails without heads.
- Apply primer.
- After the primer has dried, sand the surface of the shelf with sandpaper.
- We paint in two layers.
- When the paint is completely dry, cover the surface with acrylic varnish.
- Fastening loops are attached to the sides.
- All you have to do is hang the finished shelf in the place you like.
You can diversify the arrangement of the shelf by dividing it into sections or cells. It wouldn’t hurt to add small drawers, which can be made without rollers.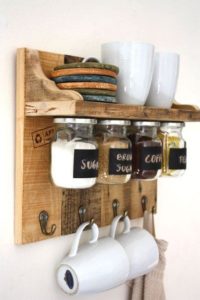
If you have an unnecessary wooden box, then it is perfect for creating a small shelf for spices. The box must be disassembled in advance and all the nails removed. The basis of the structure will be thin, narrow boards. Sand the boards with sandpaper. You can also use the pallet itself from the box. You need to measure the jars to make the boards slightly wider than the diameter of the jars.
To make it you will need: six long and four short boards (of the same size), nails and wood glue.
Making a shelf from a box is quick and easy, just follow the instructions:
- Take two long boards. Place short ones between them at a distance equal to the height of two jars, and make marks with a pencil.
- Secure the structure along the marks with glue and small nails.
- Long boards will form the basis for the lower and upper shelves. Short ones are needed for the sides of the bottom shelf.
- Attach two long boards to the side (where the edge is) of the lower main board and the lower part of the side boards on the front and inside sides, resulting in sides for the bottom shelf.
- Using the same manipulations, attach two boards to the base of the top shelf, and secure the sides between them.
- Paint the structure in two layers and open it with varnish.
- The shelf should be light, so you can secure it by hanging it on a rope.
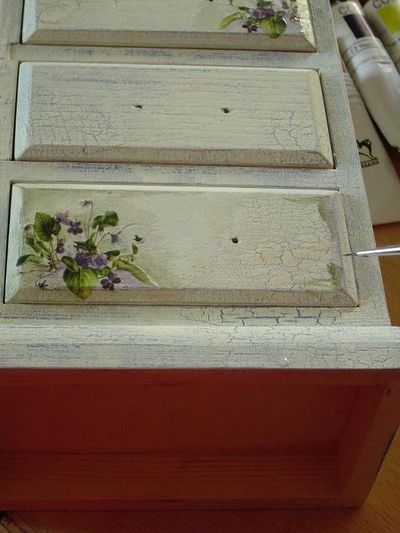
Important! While painting, the shelf can be decorated using the decoupage technique or simply painted with brushes; there are many photos with different types of decorations that you can make yourself.


