DIY plasterboard shelves on the wall
 It is so easy to work with plasterboard sheets (GKL) that creating original shelves is possible even for those who have never encountered it in their work. And the most amazing thing is that although seemingly fragile, this material can withstand heavy loads. But so that the laudatory odes are not unfounded, you need to know several subtleties of working with this material.
The content of the article
Advantages of plasterboard for shelves over other materials
 The main advantage of gypsum plasterboard is its lightness. This applies to weight, processing, and ease of installation. Other benefits include:
- low cost;
- fire safety;
- absence of harmful substances.
ATTENTION! The fragility of the material is considered a disadvantage. But careful handling of gypsum boards during the preparatory work and compliance with the rules for its installation make it possible to create structures that are not inferior to wooden analogues in their performance characteristics.
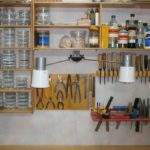
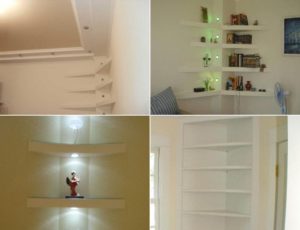
Due to the lightness, it is possible to significantly reduce the load on the walls. Fire resistance makes it possible to install power lines inside the box, thereby creating spectacular and functional shelves and racks with lighting.
Flexible ceiling or arched plasterboard makes it possible to implement curved contours. For structures of special strength, tongue-and-groove gypsum plasterboard, which is even seismically resistant, is well suited. True, such material is quite expensive and is not sold in every hardware store.
Making a shelf from plasterboard with your own hands
 The secret to a durable design is the correct selection of material in accordance with the tasks assigned to it. To do this, it is worth deciding on the place where the shelf will be placed and the tasks assigned to it. She may be:
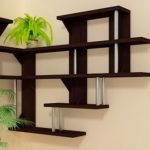
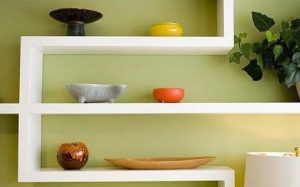
- decorative;
- functional.
The first option allows the use of less durable and relatively inexpensive materials. Arched or ceiling gypsum plasterboard, the thickness of which is 6.5 and 9.5 mm, respectively. The design is based on a lightweight metal profile and the use of nylon dowels is allowed.
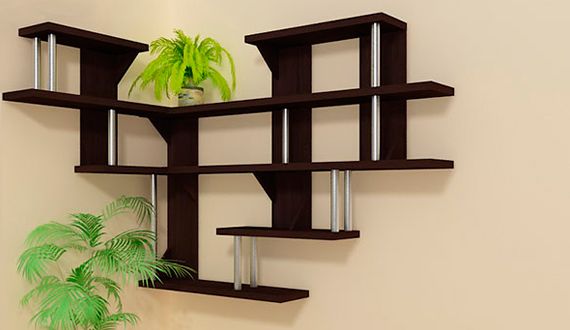
If a shelf is created that can withstand heavy loads, for example, a corner shelf, then wall plasterboard is used. Its thickness is 12.5 mm. The frame is made reinforced, and fixation on the vertical is carried out using metal dowels.
IMPORTANT! The kitchen and bathroom are characterized by high humidity, so you will need moisture-resistant drywall. Shelves made from it are additionally treated with products with water-repellent properties, which will significantly extend their service life.
Required materials and tools
 In addition to drywall, to create a shelf you will need a supporting and guiding metal profile. Due to the existing cuts, the arched profile is easily bent, acquiring the desired shape, which can be useful when creating curved shapes.
Supplies you will also need:
- screws and dowels;
- liquid primer;
- mounting grid.
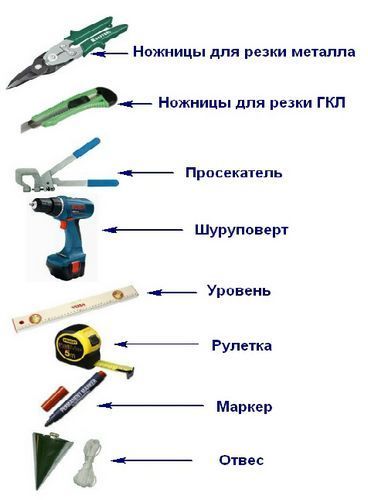
Tools needed:
- level and plumb;
- roulette;
- knife and scissors for metal;
- screwdriver;
- plane;
- hammer and pliers;
- spatula, brush;
- sandpaper.
A separate line includes finishing materials, the type of which depends on the preferences of the apartment owners. This could be paint, wallpaper or something else.
Design
The design of the shelf depends entirely on the preferences of the apartment owners. In order not to be disappointed with the result, you need to make a schematic drawing of the structure and evaluate how harmoniously it will fit into the interior.
The next stage is a sketch indicating dimensions. Based on it, it will be possible to calculate the required amount of consumables. Focusing on the sketch, it is easy not to miss the number and size of elements when preparing for installation. And the latter makes it much easier.
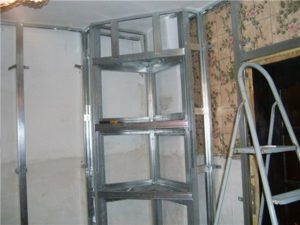
Creating a frame and attaching drywall
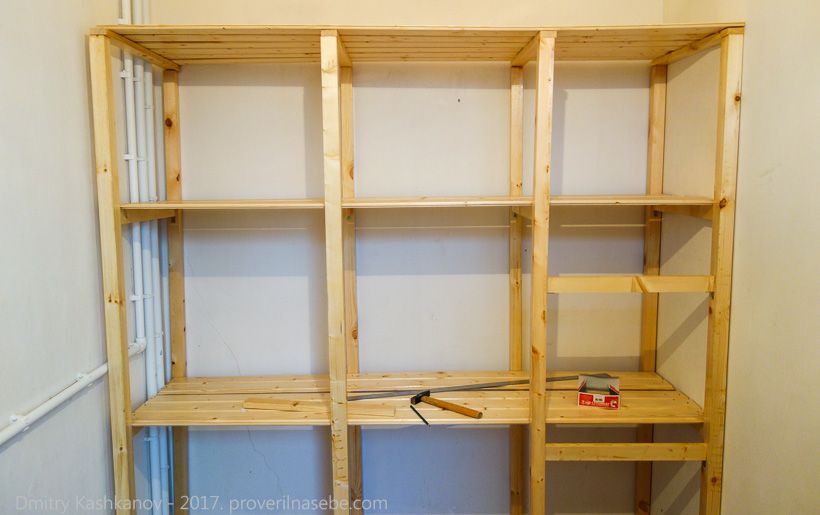
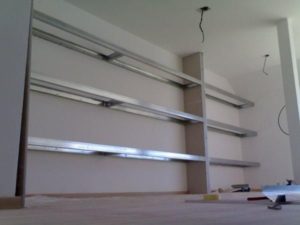 Experienced craftsmen recommend first mounting the frame and only then starting cutting drywall. This will allow you to timely adjust the dimensions of the elements, achieving their maximum fit to each other.
Installation of the frame can be divided into 4 stages:
- Taking measurements and making marks.
- Fixing the supporting profile on the wall. The distance between the fasteners is unacceptable more than 25 cm. If serious loads are expected, the interval between the screws is reduced.
- Installation of guides.
- Adding lintels to weak points of the structure.
The profiles are connected to each other using short screws. Additional strengthening of the shelves is carried out using vertical racks.
When the metal profile structure is ready, all that remains is to cover it with plasterboard. First, the elements of the upper and lower sides of the shelves are mounted, then it’s the turn of the side ones. The end is sewn up last. Following this procedure, it is easy to adjust the parts, achieving maximum fit and avoiding distortions in the structure.
IMPORTANT! If you are making a shelf for a TV or other massive household appliances, a plywood insert is placed under the top sheet. This will further strengthen the surface and prevent it from breaking.
Step by step cutting of gypsum boards looks like this:
- marking element boundaries;
- cutting one layer of cardboard;
- bending and turning the sheet;
- cutting the second layer of cardboard.
The workpiece is treated with sandpaper or a plane to eliminate irregularities on its edges. The elements are attached to the frame profile using spacer butterfly dowels.
REFERENCE! To ensure that the shelves look like new throughout their entire service life, the joints should be treated with reinforcing mesh. The end corners are closed with putty corners for the same purpose.
The penultimate stage of shelf construction is finishing putty. It is made multi-layered. Each layer is rubbed with sandpaper, which prevents the appearance of unevenness and roughness. When the putty has dried, all that remains is to prime the almost finished structure and begin decorating it.
Painting and lighting
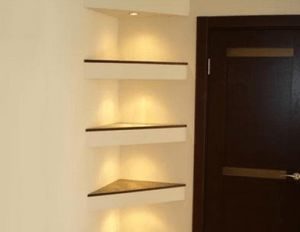 The lighting of the shelves looks original, which can also play the role of additional lighting. For these purposes, you can use both LED strip and spotlights. If you decide to add shelves with them, then the wiring of power lines must be taken care of immediately after creating the frame from the metal profile. Holes for lamps in gypsum boards are made at the stage of cutting into cladding elements. To do this, you will need a special drill attachment (bit) of a suitable diameter.
There is only one requirement for decorative finishing - stylistic combination with the design of the room. Prepared drywall can be easily painted or pasted over with any materials, be it wallpaper or decorative stone. To get a high-quality coating, just follow the instructions from the finishing manufacturer.