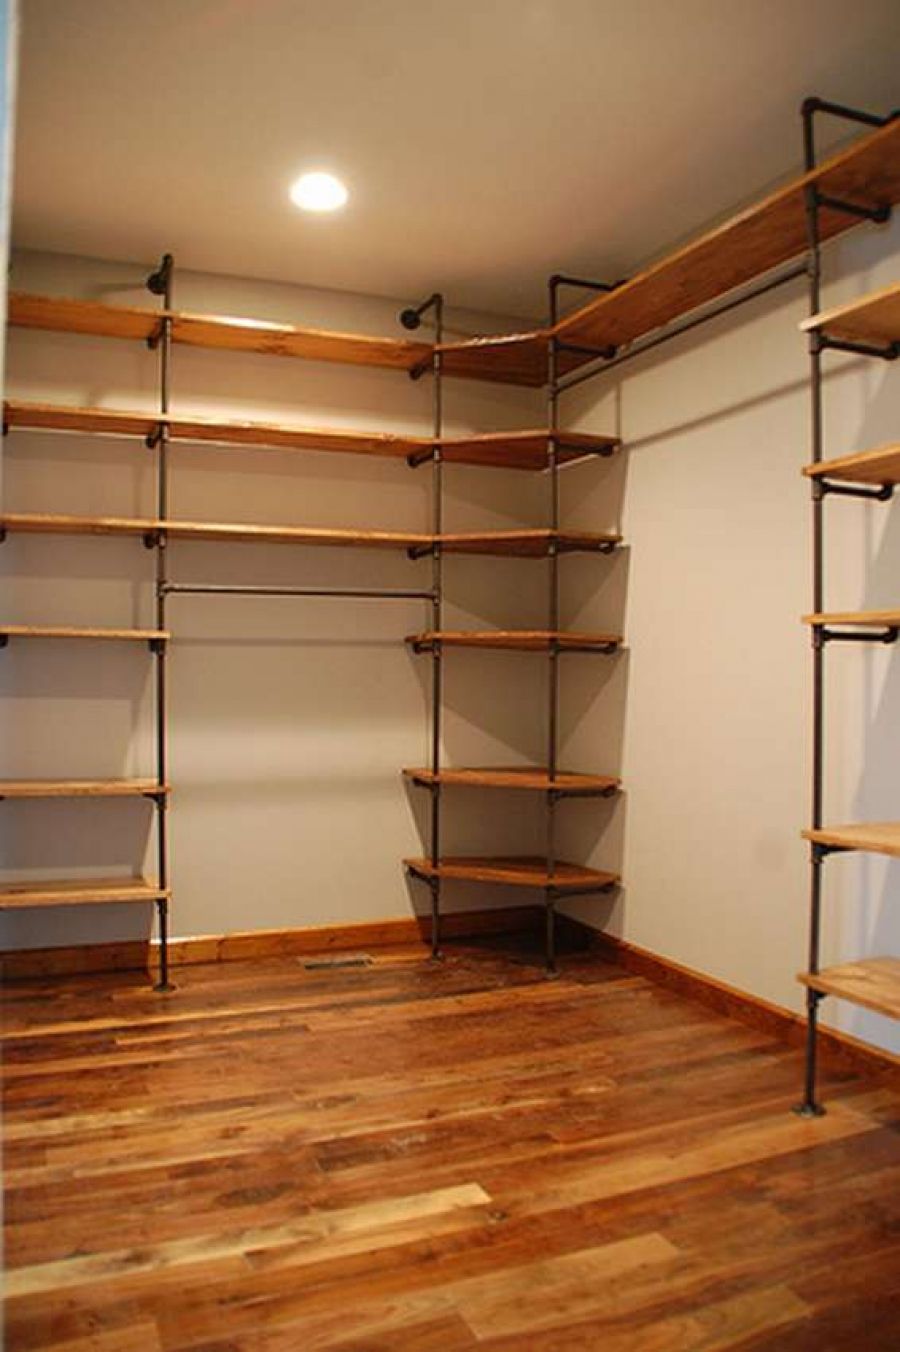
DIY tool shelves
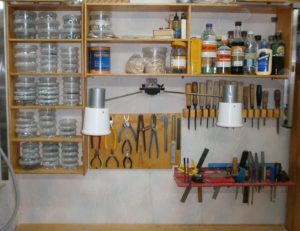 Every person needs personal space, and for men, such a place is often the garage. This is a meeting place with friends, a “stall” for iron horses, as well as a storage for tools, furniture and other things that no longer have a place at home, but it’s a pity to throw away. To keep this corner of privacy in a decent form, you need as many surfaces, shelves, cabinets as possible, and we will consider what options exist below.
The content of the article
Types of material for tool shelves
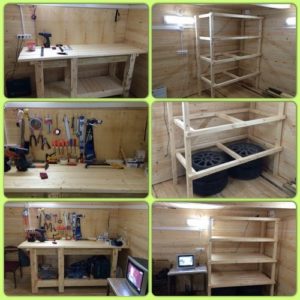 Wood and metal are the most affordable and wear-resistant materials for creating shelving; sometimes plastic is used. Metal shelves are reliable and durable. On such shelves it is convenient to store heavy and bulky items (tires, cans, sledgehammers). If you coat the finished product with an anti-corrosion compound, it can last for several decades. The disadvantages of this material include the price and complexity of processing.
Wooden panels, boards, and bars can be purchased at most hardware stores and at reasonable prices. Wood products are easy to process, connect, and install. The disadvantage of this material is its low resistance to wet conditions, and with it the possibility of deformation, rotting and being eaten by insects. To avoid these troubles, even at the creation stage, it is necessary to impregnate the material with antiseptic compounds and paints, and periodically coat the finished product with varnish or oil.
One of the most profitable options is a combination of a metal frame that is resistant to mold, deformation and fire and wood. This will significantly simplify and reduce the cost of the final product.
Much less often they choose plywood, stone, plastic, etc. After all, the choice of material directly depends on the functionality of the future product and financial capabilities.
Shelf design options
The design options for shelves are numerous:
- closed and open;
- wall-mounted and floor-mounted;
- stationary or mobile “assistant” type;
- dismantled or permanent.
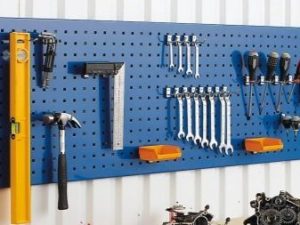 Before you start making a shelf, you need to decide what it is needed for. If you plan to organize a workplace near the workbench, putting away small tools such as screwdrivers, keys, nuts and other things, then it makes sense to take a closer look at the shield shelves with a large number of compartments and drawers. Also practical are small hanging shelves, suspended at the height of the owner. Additional lighting can be an invaluable bonus. Even light from a diode strip will increase the comfort of working at the table, and the workplace will look stylish.
Mobile structures are easy to use, they are mobile, you can transport them with you, having everything you need at hand. But you shouldn’t count on them if you need to tidy up large and heavy items. In this case, you should use the most common option - make a rack that is attached to the wall using reinforcement rods. Closed shelves are convenient for storing those items that you rarely use, thanks to which the appearance of the room will be neat.
Having decided on the design and material, you should choose a location. Hanging shelves are not recommended to be placed in the center of the wall; there is a high probability of wastage of space. And when calculating the dimensions of the rack, allow for open car doors and free movement nearby.
Assembling an open wall shelf with your own hands
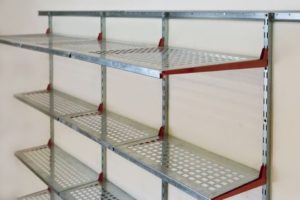 This type of shelves is considered to be one of the simplest. Outline the future location and dimensions, write down the values or mark them with a tape measure and marker directly on the wall. Be sure to indicate the mounting locations.
IMPORTANT! The wall in contact with the shelf must be smooth, plastered and treated with an antiseptic. This will extend the life of the future shelf.
The height of the shelf canopy directly depends on the height of the owner. Furniture should not be secured above chin level.
ATTENTION! If you decide that the shelf will be attached at two side points, please note that you cannot place more than 15 kg on it.
When determining the size of the required boards, proceed from your personal needs. The classic width is considered to be 20–30 cm. The required workpieces should not have sharp edges, nicks or chips. They should be treated with sandpaper of various grains to make them smooth, and then soaked in oil or antiseptic. The boards are fastened together using metal corners or pins. The finished product can be painted or varnished. Eyelets are attached to the upper corners for hanging. Holes are made in the wall using a hammer drill, then a plastic dowel is driven in and a shelf is attached
IMPORTANT! For fastening strength, the depth of the hole in the wall must be at least 2.5 times greater than the layer of plaster.
Wall-mounted shelves are considered stationary, so the fastenings are made blind.
How to make a tool shelf with your own hands
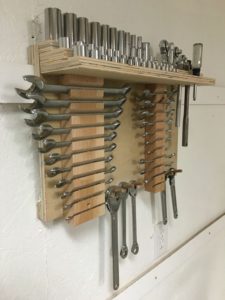 This method of organizing a workplace is suitable for small tools using hanging fasteners. On such a shelf you can clearly display keys or an assortment of screwdrivers, as well as arrange small boxes with fasteners. This main shield is attached to the wall using anchors. A sheet of perforated iron is especially practical; hooks and holders can be attached to it.
ATTENTION! The wall to which the shelf is attached must be primed and plastered to prevent condensation.
Required tools and materials:
- sheet of material (if it is wood or its derivatives, then the thickness should be at least 1.5 cm);
- anchor;
- bars and blanks for shelves or metal corners;
- hooks, screws;
- hammer drill, screwdriver, tape measure.
REFERENCE! Attach several rails to the shield. You can hang glasses or buckets on them to store pencils, pens or other small items.
A convenient addition would be a magnetic tape on the shield. As always, it is important to determine the dimensions. It would be logical if the shield was no wider than the workbench, and vertically no higher than the level of the owner’s outstretched arm. Further:
- The shape of the future shelf is cut out, the location of all functional elements is marked.
- All parts of the shelf are attached using self-tapping screws. There are eyelets in the corners for hanging on the wall.
- Using a hammer drill, holes are made, dowels are driven into them and the shield is mounted in its place.To strengthen the fixation, you can use special washers to prevent the lugs from slipping.
Making a rack
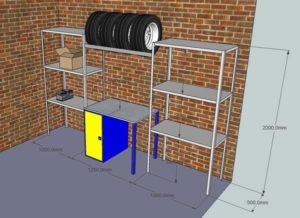 If you have a large arsenal of tools or have accumulated a decent amount of different things, one shelf will not be enough. Shelving is used to systematize and organize the garage space. Particularly popular among craftsmen are collapsible models, in which the number and size of cells can be varied based on needs. Optimal sizes to accommodate almost any equipment:
- height about 1.5 m;
- width from 1.5m;
- depth 60 cm.
Shelves are attached to the vertical elements with metal corners or self-tapping screws, starting from bottom to top, with a distance of 20–35 cm. For the bottom, you can leave more space for storing the largest items and tools. The entire frame of the rack must be securely fixed to the wall, using the already familiar dowels or reinforcing pins.

