DIY desk
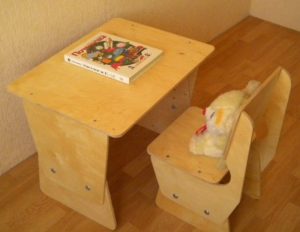 Correct posture is very important at an early age. It is in childhood that the human skeleton and its physiology are formed. It is very important to pay attention to this - a properly designed desk will allow the student to improve academic performance and eliminate slouching in the future.
The content of the article
Preparing to assemble the desk yourself
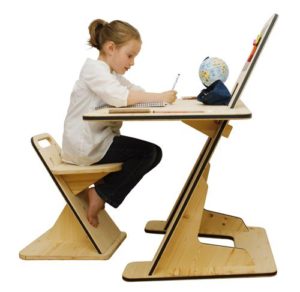 If you decide to make a desk for your home, you need to stock up on materials and tools for construction. Initially, you will need a diagram of such furniture; you can look it up online or prepare a drawing yourself. When choosing a material, you should take into account the financial component; you can use different materials, which will save money. The basis for the future desk can be:
- Metal corner (30 mm wide, 2 mm thick).
- Iron pipe, triangular, square (diameter 30 mm and thickness 2–3 mm).
- Wooden beam 50*50 mm.
- Fiberboard.
- Solid slab made of wood (specify dimensions based on the drawing).
- Wooden block (thickness and width at your discretion).
- Furniture fittings for finishing.
- Paints and varnishes.
You will also need self-tapping screws, bolts and nuts. Depending on the selected material for manufacturing, the tool is selected:
- Welding machine (fully equipped).
- A set of screwdrivers or a screwdriver with a set of bits.
- Angle grinder (grinder with disc).
- Circular saw or hacksaw.
- Sandpaper set.
- Furniture glue.
- Hairdryer (you can use a regular one).
- Electric drill (drill for wood and metal).
- Jigsaw. (for figured carving).
IMPORTANT! Wooden parts should be kept in a dry, ventilated area to prevent deformation and cracks. Before assembling the structure, treat metal products with sandpaper.
Making a children's desk
Let's look at several options for designing a table from various materials. Before you start, you should study the drawing and make blanks.
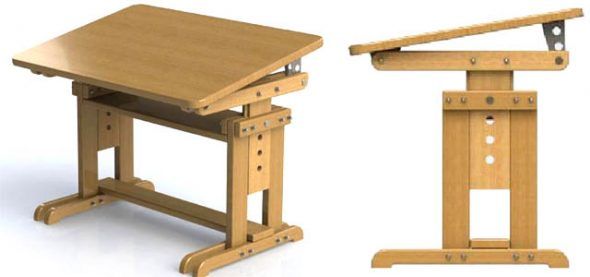
ATTENTION! Pay attention to the angle of the desk, and also decide whether the chair will be connected to the base of the desk.
To use a metal corner at the base of the table, we will prepare sections according to the assembly diagram. In this case we will need:
- 2 corners 50 cm and 2 corners 75 cm. Using a grinder, cut at an angle of 45 degrees, one side of the corner from each edge. We connect them together at the cutting points, thus forming a frame for the table top.
- 4 corners (Length depending on the height of the child 70–80 cm). The corners can be screwed together or welded, 2 pcs. backs to each other for table legs.
- 2 corners 50 cm. Attach these corners to the legs in the center, forming the letter T. For an accurate connection angle, use a construction angle or level.
Next, the finished table supports must be secured to the base of the tabletop in the middle, using welding or bolts. Fiberboard 50*75 cm will be used as a tabletop; it is also possible to use several wooden blocks. Then you should drill holes in the table frame and secure the tabletop using self-tapping screws. Treat the entire structure with paint and varnish.
IMPORTANT! Welding work is carried out in special clothing, protected from fire and in a specially designated place. The angle of the desk is very important to reduce the load on the spine, remember this.
To assemble a table from metal pipes, the same schemes are used as when assembling from corners.
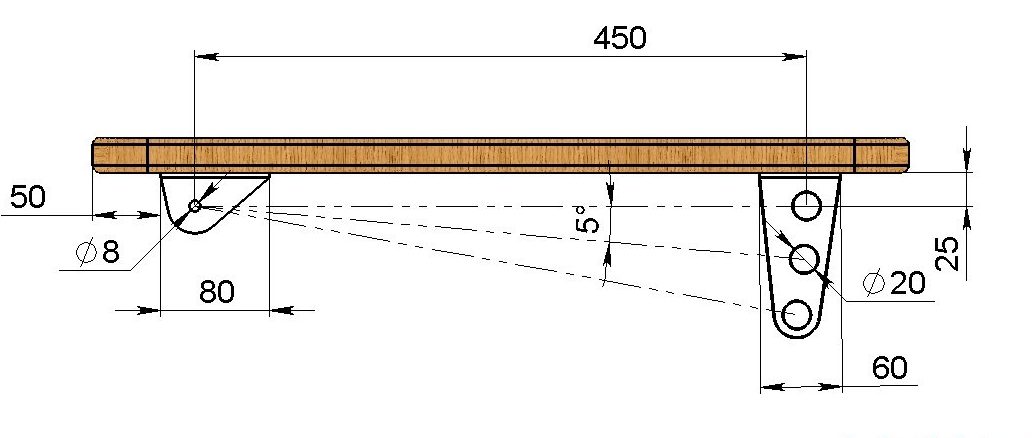
Three sequential schemes for assembling a children's desk with lift adjustment:
- base;
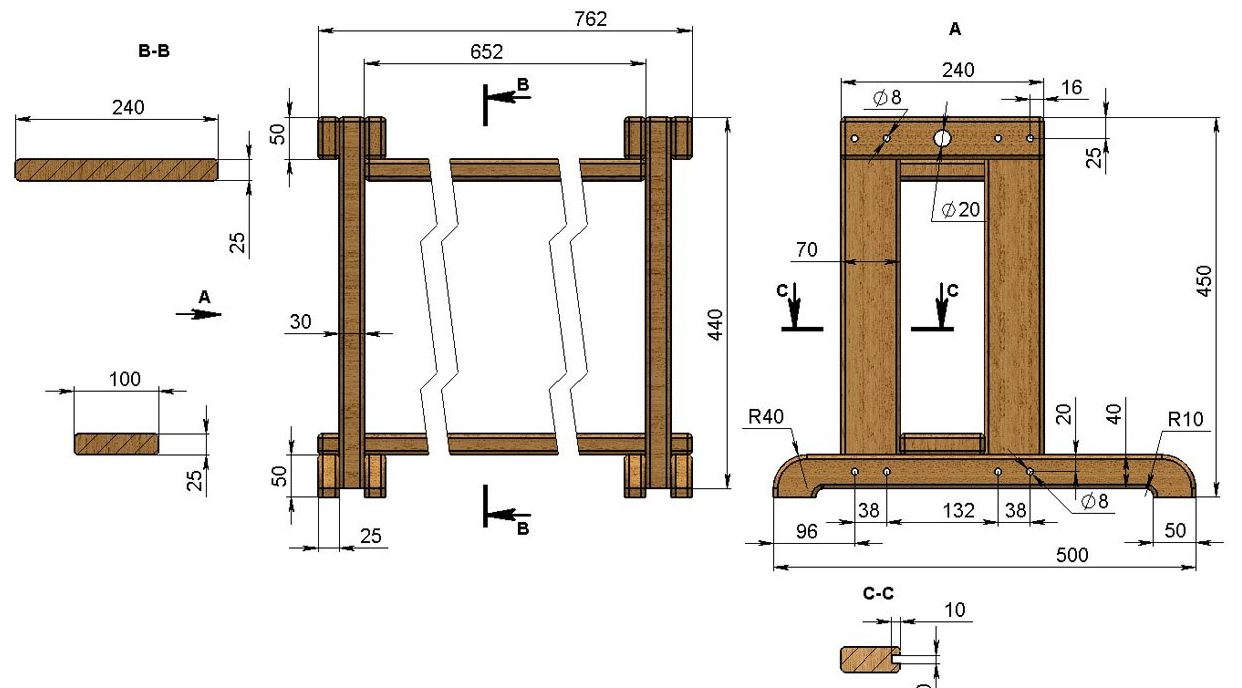
- lifting mechanism;
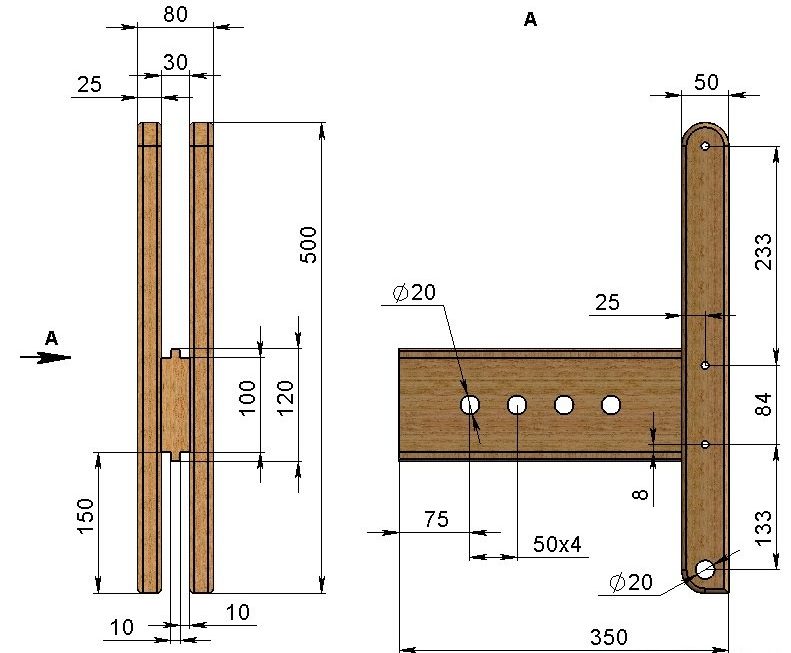
- tabletop.
Fiberboard desk
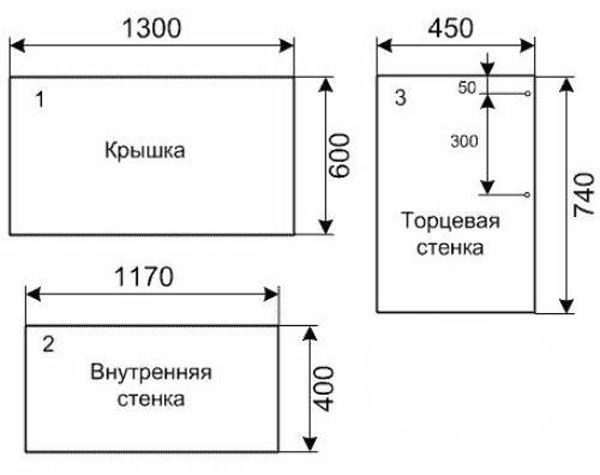
To create a desk from fiberboard, you will need a sheet of material approximately 1.5 * 1.5 m. According to the drawing, you should cut out the components with a jigsaw and connect them using bolts or self-tapping screws. Required parts:
- Table top 50*75 cm.
- Legs.
- 3 tightening sheets.
The legs can be given any shape; the stops for the table top and the floor must be level to ensure the stability of the desk. Next, you need to secure the structure with ties, two ties under the tabletop, one at the base of the legs. Finish the edges of the table with furniture fittings.
Wooden desk
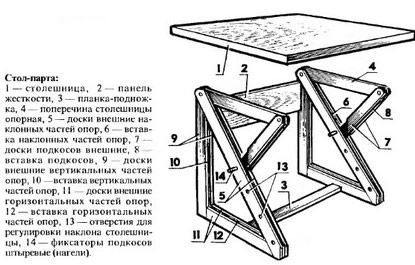
To create a children's desk made of wood you need:
- Bars.
- Edged board 20*2.5 cm.
IMPORTANT! Make the details of the drawing according to the calculations and process them with sandpaper. In case of visible wood defects, eliminate or replace.
Stages:
- Cut 3 boards 75 cm long with a hacksaw or circular saw, saw off 2 bars of 48 cm and 2 bars of 73 cm.
- Lay the boards tightly next to each other and secure them along the edges with bars, using self-tapping screws - the distance from the edge of the boards should not be less than 3 cm. For closer contact of the boards, an L-shaped connection is used.
- Connect the legs to the bars at the corner joints using bolts or self-tapping screws. If a two-legged table is used, a tension strip must be made and secured in the center of the legs.
- Treat with paints and varnishes.
Assembling an adjustable table for a schoolchild
In some cases, there is a need to adjust the height of the table and the angle of inclination; this requires the creation of a fixation mechanism. Depending on the design of the table, the use of the adjustment function will require changes in the design of the legs, except when it is necessary to make a tabletop with a change in the angle of inclination. There are several types of height adjustment mechanisms; you can choose the right one by searching the Internet. Let's consider one of the options.
Let's take as a basis the assembly of the wooden table described above. 2 guides made of boards 20*2 cm and 40–50 cm long are attached to the assembled tabletop. It is necessary to drill holes for fixation in them in increments of 5 cm and with a diameter of 1–2 cm. We make the supporting part of the legs from a 5*5 cm block and two boards 20*2 cm and 30–50 cm long, make holes in the boards in increments of 5 cm, with a corresponding diameter and a distance from the block of 10 cm. For proper fixation, you must use a U-shaped pin or fasten the stop boards with bars along the edges. The table regulator with the lock is ready.

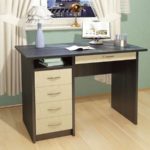


Very unprofessional copywriting!!!
The desk from the first photo is a killer of a child’s posture!!
There are a lot of shortcomings and errors in the article - I do not recommend using driven structures!