How to attach an LED strip to a kitchen unit
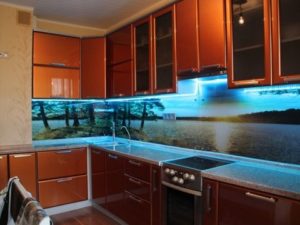 Lighting in modern apartments and houses is installed in different ways and has different designs. The kitchen is one of those places where it is desirable to install additional lighting sources. Correct distribution of light energy will turn routine kitchen work into an enjoyable process. One of the interesting options for additional lighting is an LED strip, which you can independently attach above the work area to the kitchen unit. The advantages of this type of lighting can be considered durability and resistance to external damage.
The content of the article
How to glue an LED strip to a kitchen unit
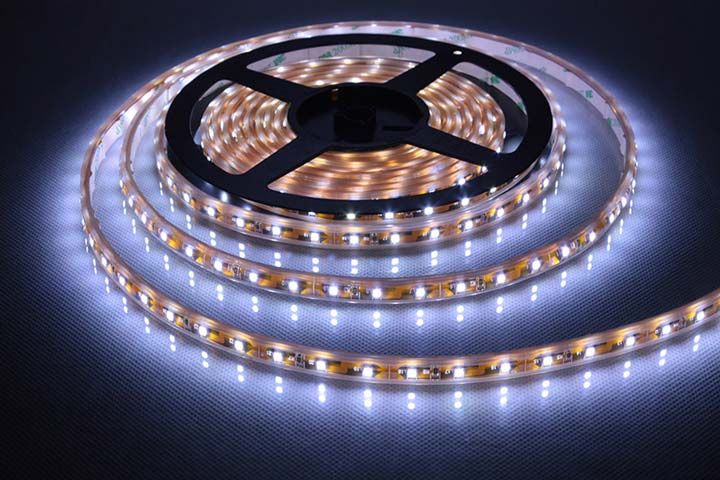
LED strips are sold in rolls five meters long. For further installation, you should purchase fasteners, glue and a power supply. The backlight must be connected through a block that reduces the voltage. Low voltage products do not require a full power supply. Blocks come in different capacities and sizes. The strips themselves are cut, so they need to be connected to each other with special fasteners.
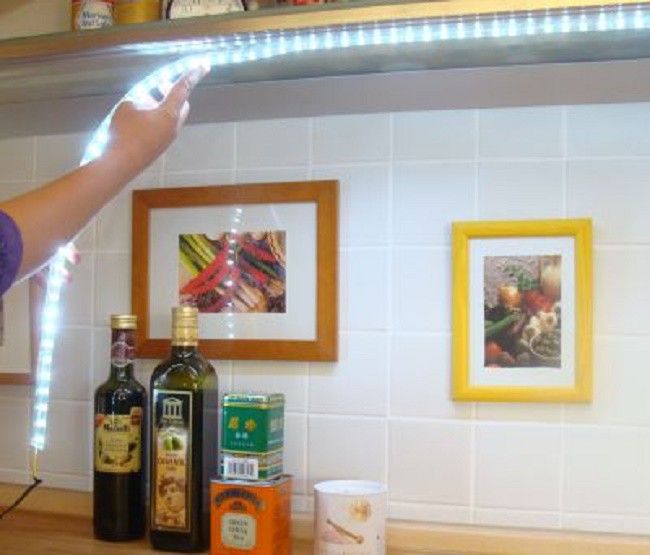
You can use superglue to attach it to the headset. In this case, the LEDs will not come off even after the expiration date. Many products already contain an adhesive layer hidden under a protective film.For a better effect, it is recommended to add double-sided tape for high-quality fastening. On one side the tape is glued to the surface of the headset, and on the other side the LEDs are attached.
Reference! A varied color palette of additional power supplies will decorate any interior of a modern kitchen. The backlight can be made in white, yellow, green, blue and red.
Important points when working
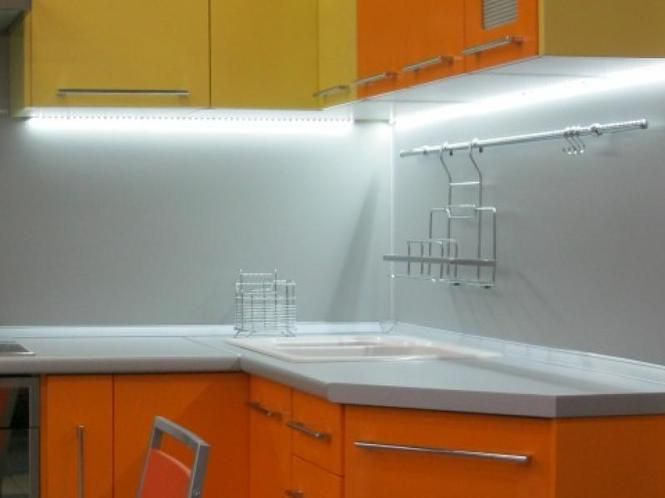
When attaching the tape, make sure that it is not twisted too much, otherwise the electrical components will be damaged. If it is purchased for a kitchen or bathroom, then preference should be given to models that have a high class of protection against moisture and dust. Then, during cleaning, you can wipe the LEDs along with the cabinets. To illuminate the lower part of the kitchen unit, it should be taken into account that during cooking and washing dishes, the likelihood of water getting on the tape increases. And for the living room, for example, you can buy cheap LEDs.
When cutting and connecting parts of the tape, you must ensure that the integrity of the conductive paths is maintained. The brightness of the LED strip is selected depending on its purpose. If you need to illuminate your workplace directly, it is advisable to purchase more powerful products.
Attention! A wide variety of LEDs allow them to be mounted on almost any surface, not only in the kitchen, but also in the living room, living rooms and bathroom.
Which glue to choose
In order to properly glue the LEDs to the surface of the headset, you can choose one of the proposed options:
- double sided tape;
- Super glue;
- adhesive layer on the backing;
Many LED models are sold with a layer of adhesive applied to the side to which the surface of the headset is glued. Usually the glue is protected with a special film. To remove the protection, you just need to pick up the edge of the film with a knife and remove it. There are times when the tape comes off the surface. This happens due to a poorly prepared surface of the headset or when choosing poor quality tape or glue.
Attaching an LED strip to a kitchen unit: step by step
In order to properly attach the additional lighting source to the headset, you should follow the following step-by-step steps:
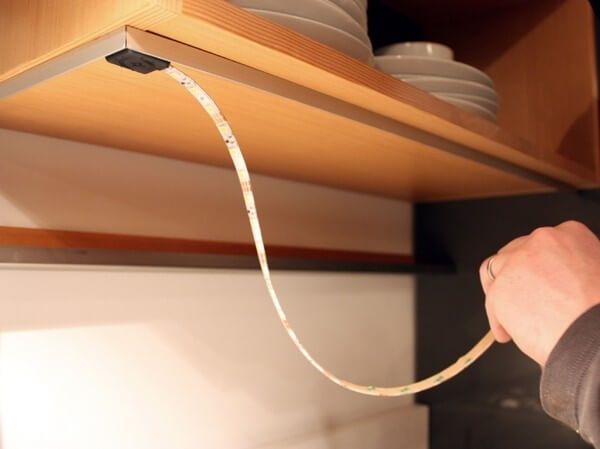
- The first step is to measure the area where the tape will be attached. To do this, you can use an ordinary tape measure. The data must be as accurate as possible.
- The place on the headset where the LEDs will be glued needs to be rinsed well, cleaned of dust and dirt and degreased with regular alcohol or an alcohol solution, then it must dry.
- If there is an uneven surface, it is first recommended to attach a special strip of aluminum to the nails, and then tapes are attached to it.
- To apply self-adhesive tape, you just need to remove the protective film and distribute the LEDs over the surface of the headset. If there is no adhesive layer, you can use regular super glue or double-sided tape.
- The power supply is selected based on the type of tape. It must be mounted in the very corner of the headset, it must be securely hidden, and not be subject to mechanical damage, and prevent water from entering. First the block is connected to the network, and then to the LEDs.
Important! All wire connections must be covered with special caps or wrapped with insulating tape.In this way, you can protect yourself from electric shock. If you take precautions, attaching the product to your kitchen furniture will be safe.
LED strip will be an excellent additional lighting for any kitchen. The ease of installation and connection makes this source of additional energy quite popular. Attaching LEDs to your kitchen furniture yourself is not difficult and does not require any specific skills. But the kitchen will become a cozy and comfortable place where the whole family can spend time at dinner.


All wrong! A MANDATORY condition for using the tape is contact with the heat sink - use a special profile or just a flat thin aluminum plate. Otherwise, after some time, the brightness of the LEDs will become different, and even later, some will begin to burn out.